I’m known for throwing things together. You know those stories where someone tries to get a family recipe from a grandmother or great aunt, only to realize they throw things together without any measurements? That’s me. I also rarely repeat a recipe twice because I’m always interested in trying something new or trying a new ingredient. Or, because I don’t write things down (I really do mean to!), I simply forget the ingredients I used.
… Read More »Simmered Rhubarb Compote
I am surprised I haven’t put ithis recipe up already! As my readers know, I’m all about healthy and delicious recipes that are also fast—because I certainly don’t have much time to spend on cooking what I love very often, and I know many others don’t either.
I wait eagerly for the first deep, ruby red stalks of rhubarb to appear in stores (especially because they tend to pop up right around the middle of May, which coincidentally happens to be around my mom’s birthday, and she adores rhubarb anything). I buy as much as I can and start making recipe after recipe before they disappear again….
Simple Weeknight Pasta
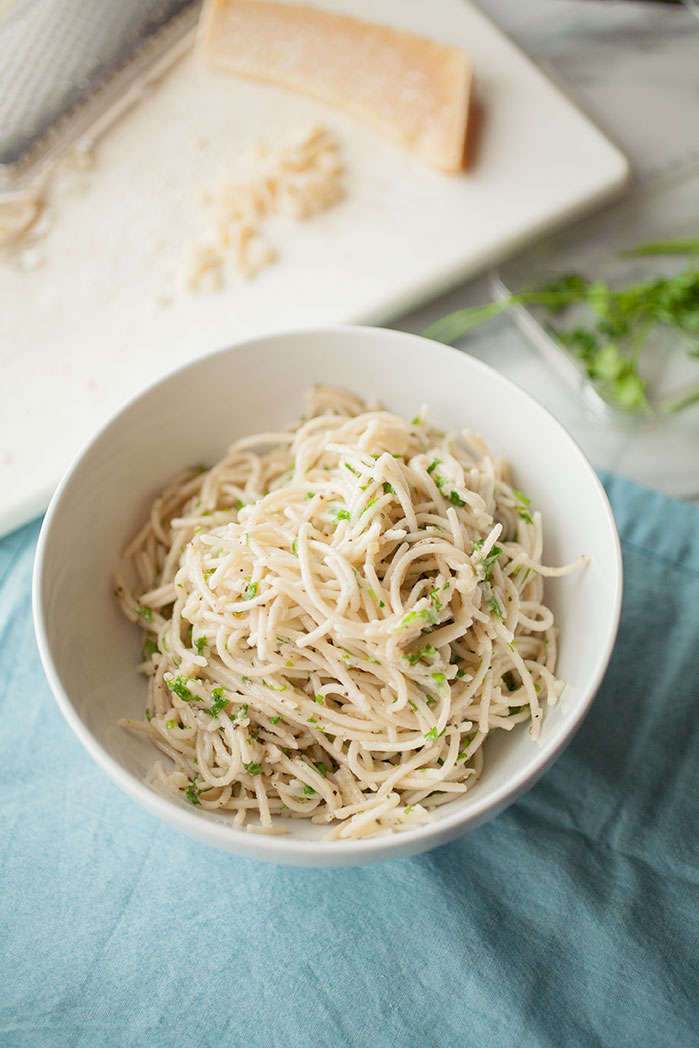
Sometimes you just need a big bowl of pasta, am I right? I know I do. Whether it’s regular pasta, whole wheat pasta, gluten-free pasta, Paleo pasta—there’s something about a big bowl of noodles in front of you that makes the evening more comforting (and more delicious). This simple weeknight pasta is full of layers of flavor from fresh and dry herbs, really good Parmesan cheese, garlic, good olive oil, and salt and pepper—that’s it! It’s done in under 20 minutes, and you can use it as a base for any type of protein (or not) and even additional vegetables. It’s also perfect with a simple side salad, like the winter citrus salad from a few posts back, and maybe some wine and either a good movie or TV show while you cuddle under a blanket or maybe put some candles on the table. Warm, comforting and delicious—this recipe for simple weeknight pasta is perfect for unwinding from a busy day!…
Creamy, Slow-Roasted Tomato Soup
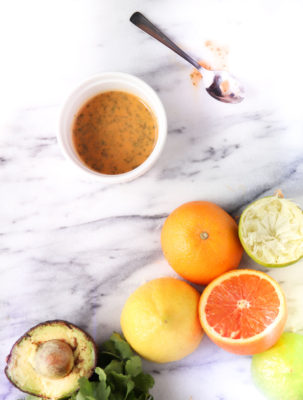
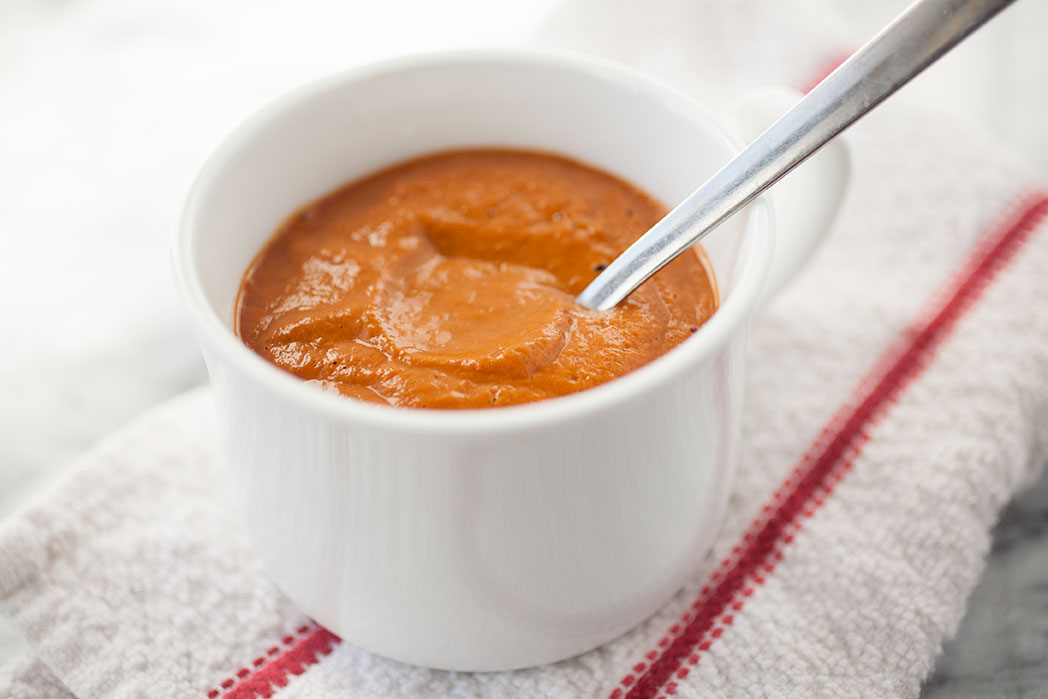
I don’t know about you, but when it’s cold outside, all I want is soup to warm me up! Tomato soup is one of my favorites, but so many soups have either a lot of sodium, a lot of fat, other additives I’m not too happy about, and a lot of dairy, which I usually try to stay away from for personal health reasons. That’s why I love to make tomato soup at home! It’s simple, delicious, and I can put exactly what I want in it. And this creamy, slow-roasted tomato soup is full of layers of deep, mellow flavors from roasting the tomatoes, garlic, and basil, plus a little sweetness from a special ingredient! It’s healthy, gluten-free, dairy-free and the perfect soup to warm you up on a cold winter day, sandwich or no!…
Homemade Roasted Garlic
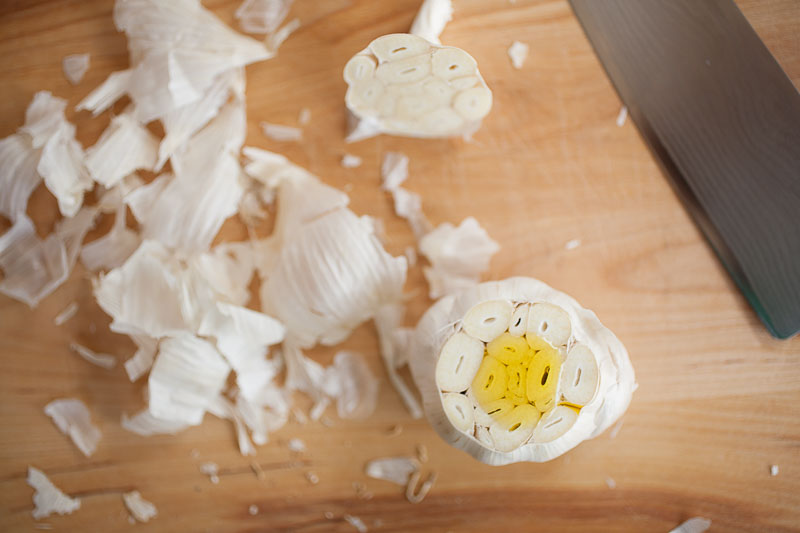
I like garlic, but roasted garlic takes this basic kitchen staple to an entirely new level.
You might have had roasted garlic before, probably at a restaurant, maybe in a compound butter or in a dish (like the time, on a date, I bit into a piece of bread thinking it was cinnamon raisin bread and, wow, that was a surprise. Still tasty, but definitely not what I was expecting…). Thankfully, you don’t have to eat out just to have roasted garlic. It’s probably one of the simplest things to make at home—it just requires patience.
It so incredibly good in pretty much every savory dish—the roasted garlic compound butter I posted here a few weeks ago, in pasta dishes, egg dishes, mixed with roasted veggies, and even just spread over a piece of toasted bread.
If you haven’t had roasted garlic, don’t imagine the taste of raw garlic. Roasted garlic takes on a mild, sweet-yet-savory flavor with just a hint of that garlic bite. It really adds such a layer of flavor to any dish!
It’s kind of heavenly, just like the smell that fills your house while the garlic is roasting. I promise it will make your mouth water!
The process is, again, very simple. You take an entire bulb of garlic, but don’t peel it (although you can peel the very outer layers off if they’re already flaking). Instead, just cut the top off so the tops of the cloves are exposed. You’ll pour olive oil over the bulb, just enough to cover the top and seep into the cloves. Then, you’ll cover the bulb snugly in foil, stick it in the oven, and wait for the goodness!
- 1 full garlic bulb
- Enough olive oil to cover the top of the garlic bulb
- Preheat the oven to 350°. Alternately, you can heat your grill to medium heat.
- Cut off the top of the garlic bulb and pour enough olive oil to cover the top of the garlic bulb.
- Cover the bulb tightly in aluminum foil and place in the oven or on the grill.
- Let the garlic roast for an hour or more until the garlic bulbs are a deep caramel brown and soft (you can take the packet out of the oven and unwrap it to check).
- Remove garlic from its peel and use any way you wish!
It’s that simple! Really, all you need is patience as the garlic fills your kitchen with this rich, garlicky, savory-sweet smell. It’s hard to resist.
‘Till next time!
Buttermilk Panna Cotta with Warm Berry Compote
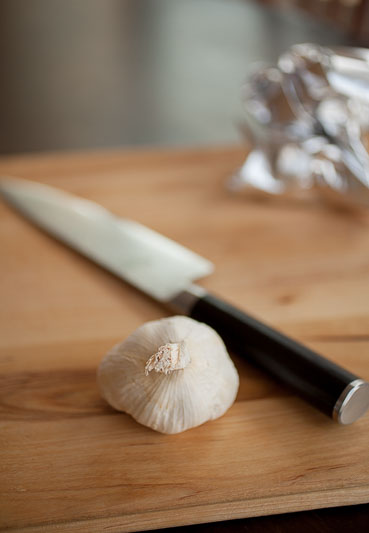
As I promised in last week’s warm summer berry compote blog, I’m posting a recipe for a dessert over which the compote goes absolutely perfectly: buttermilk panna cotta.
In Italian, panna cotta means “cooked cream”, and that’s really what this recipe is. I believe I extolled upon the virtues of, and my love for, panna cotta in the pumpkin spice panna cotta recipe I posted last fall. It’s one of my favorite desserts to make and to eat: soft, creamy, cool, sweet but not too sweet, and with a little tang and fresh tartness from the buttermilk and lemon zest. It’s also a perfect low-heat dessert for these, the hottest days of summer (and wow has this summer been hot…). You don’t need an oven, there’s not a lot of work, you barely need to turn the stove on, and it comes out of the fridge nice and cold. There are also very few ingredients.
So let’s say you’re having friends over for a summer dinner on the patio. Spend twenty minutes that morning (at the most) in the kitchen, put the panna cotta in the fridge, and it will be ready to pull out and serve whenever you and your guests are ready. Just spoon the berry compote (warm or not) on top and you have a delicious and very pretty dessert!
A quick note: The recipe states that the gelatin needs to “bloom”. It will look a little odd and look like it’s already hardened, but no need to worry. It will melt when combined with the warmed milk and set beautifully. Blooming gelatin looks a little bit like this:
- 2 cups buttermilk
- 1 cup milk
- 1 packet of gelatin
- ¼ - ½ cup sugar or honey
- 2 Tbsp. water
- 1 vanilla bean and seeds or 2 tsp. vanilla extract
- ½ tsp. lemon zest
- 1 recipe of warm berry compote
- Stir together the gelatin and 2 Tbsp. water until combined and set aside to let “bloom”.
- Heat the milk, sugar or honey, and vanilla bean and seeds (or the extract over medium-low heat). Stir until the sugar has fully dissolved and the milk is just barely simmering. There will be tiny bubbles around the sides and just a few bubbles under the surface.
- Take the milk off the heat (remove the vanilla bean, if using) and stir in the gelatin and lemon zest.
- Pour into dessert dishes, ramekins, or molds and place in the fridge. Allow to set for at least two hours or until the panna cotta is fully set.
- Serve topped with warm (or cooled) berry compote and enjoy!
Simple and so good! It even looks pretty in whatever you serve it, especially with the deep reds and purples of the berry compote.
‘Till next time! (There’s one more dessert coming in this summer’s dessert series!)
Warm Summer Berry Compote
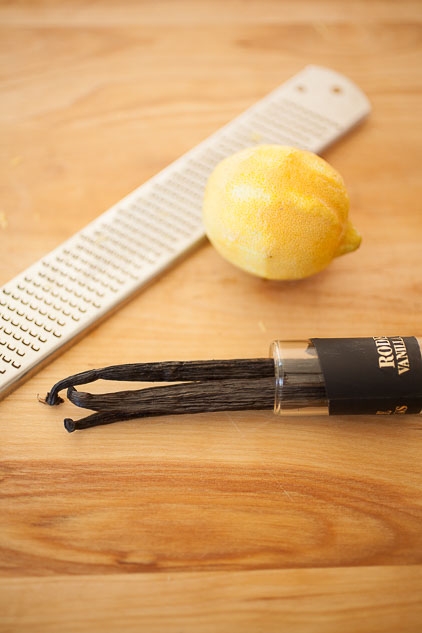
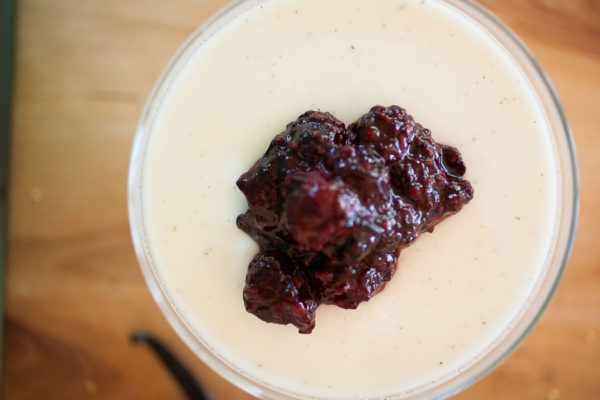
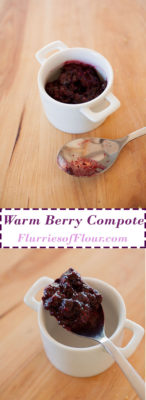
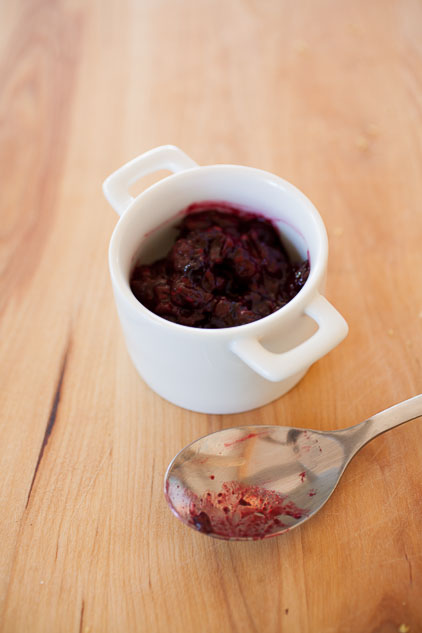
This summer on the blog is, apparently, all about berries. I made a berry compote to top a sweet cornbread for Fourth of July a few weeks ago and let me tell you, it was a miracle any of it made it to the top of the cornbread. It took a lot of self-control not to eat the entire pot with a spoon. It’s like eating the filling of a berry pie, which is really my favorite part.
This compote is also super, super simple to make. I know, I always say that. But, really, all you do it pour whole berries into a pot, squeeze honey over them, turn on the heat and let them simmer down to sweet, sweet goodness. It’s sweet and slightly tart and bursting with berry flavor.
So good!
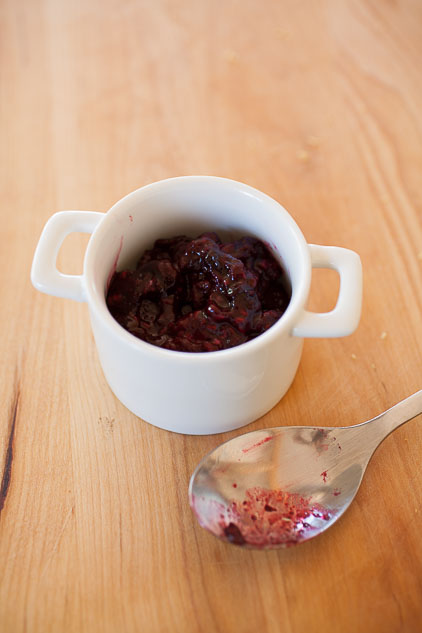
You can use this berry compote:
- In pie
- In a hand pie or turnover
- Spooned over ice cream
- Mixed into a milkshake or smoothie
- Frozen in a homemade Popsicle
- Over grilled angel food cake or pound cake
And, really, this compote is just as good on its own, served warm in a bowl with just a spoon.
And although I’m making this with fresh summer berries, frozen berries are also a perfectly good option! (You can get more information on choosing summer berries at the store in last week’s blog, by the way.) Also, I’m adding a few ideas for add-ins that aren’t needed, but add some extra layers of flavor.
- 2 cups of fresh or frozen mixed berries (like blueberries, blackberries, raspberries, strawberries, and cherries)
- 3 Tbsp. honey
- 1 tsp. cinnamon (optional)
- ½ tsp. vanilla (optional)
- 1 tsp. lemon zest (optional)
- Pour the berries in to a heavy-bottomed pan and squeeze 3 tablespoons of honey over top. Stir to combine.
- Turn the heat to medium-low and let the berries simmer, stirring frequently, for about twenty minutes, or until the berries are melting and the liquid is reduced and thickened. Don’t let it go too long or you will burn the berries.
- Serve.
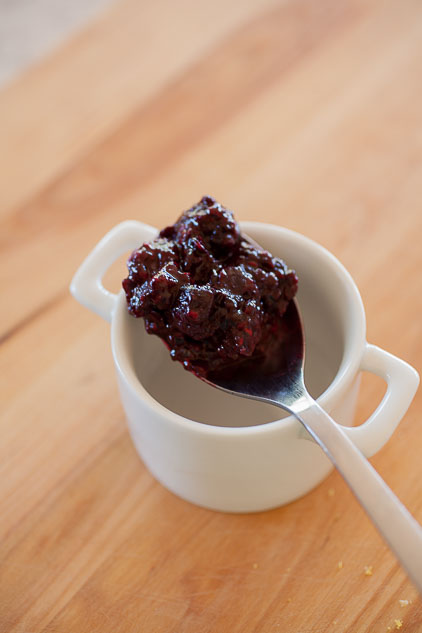
Tada! That’s it. My mouth is watering just thinking about it. I think I’ll go make some more, actually.
‘Till next time! (Sneak peek: next week I’ll be posting a recipe for you to serve these berries over…)
Compound Butter Two Ways
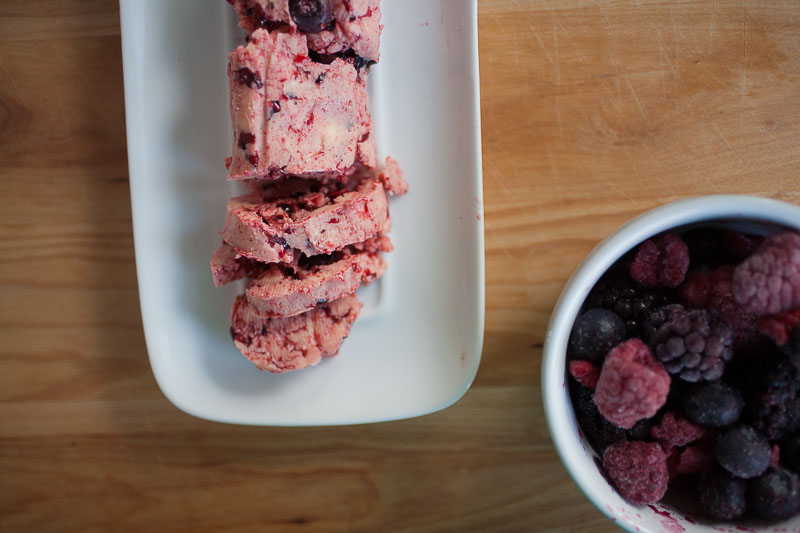
So, butter. I admit it, I love good butter. I love it on toast, I love it on buttered noodles, I love it in potatoes and sweet potatoes and over roasted veggies. I love a little bit in my oatmeal or my cream of wheat or on a piece of fresh-out-of-the-oven cornbread or melted over waffles and pancakes. It’s even great over a grilled steak. I also just adore European butter over a piece of really good crusty bread with a little bit of salt sprinkled on top—heaven!
What can make butter even better? If you add to it in the form of compound butter.
Compound butters are simple to make, but the results are so delicious! And you can make them either sweet or savory.
The two recipes I have today are for a berry-cinnamon-honey compound butter and a roasted garlic compound butter.
So what, you’re probably (not) asking, does this have to do with the summer ’16 dessert series? Imagine this: berry-cinnamon-honey butter melting into every little nook and cranny of a pound cake or angel food cake that’s been grilled (for more on grilling cake you can check out my recipe for grilled peaches and angel food cake). There may possibly be ice cream and berries involved. There you have a fusion of warm, cool, sweet, and tart with a touch of salt that is absolutely heavenly.
And because it’s summer, I’m including the roasted garlic compound butter recipe because it really is perfect over grilled meats, grilled veggies, and melted over rice.
Whether it’s dinner or dessert, these two recipes are the perfect addition to dining al fresco this summer!
Quick Note: I use salted butter for my compound butters, including the sweet butters, because I love the flavor dimensions a small bit of salt creates without overpowering any other flavor. Salt can really bring out the best in other ingredients. If you don’t want salt or can’t eat the salt, however, buy unsalted butter.
- Berry, Honey, and Cinnamon Compound Butter Recipe:
- 8 Tbsp. butter, softened
- ¼ cup fresh or frozen berries (thawed, if frozen)
- 1 to 2 tsps. honey
- 1 tsp. cinnamon
- ½ tsp. vanilla
- For the Roasted Garlic Compound Butter:
- 8 Tbsp. butter, softened
- 4 to 6 cloves of roasted garlic (to your taste preference), mashed
- 1/16 tsp. delicate finishing salt, like Himalayan pink salt, Maldon’s, or grey salt
- Combine all ingredients for your particular butter in a bowl or the bowl of a stand mixer.
- If mixing by hand, use a spatula to stir and mix all ingredients together until thoroughly combined. If using a stand mixer, use the paddle attachment at medium-high speed for a two until everything is well combined.
- At this point, you can taste the butter to see if it needs additional ingredients or seasoning.
- Scrape the butter onto the far end of a piece of wax paper and start rolling the wax paper tightly, shaping the butter into a roll as you go and pressing the ends in.
- Twist the ends of the wax paper tightly, giving the butter one last shaping, and place into the fridge for at least two hours.
- Slice into the butter and serve over whatever you wish!
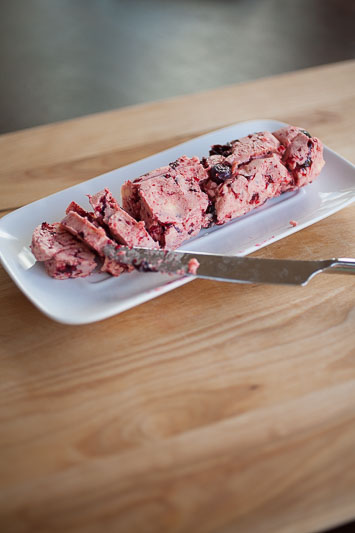
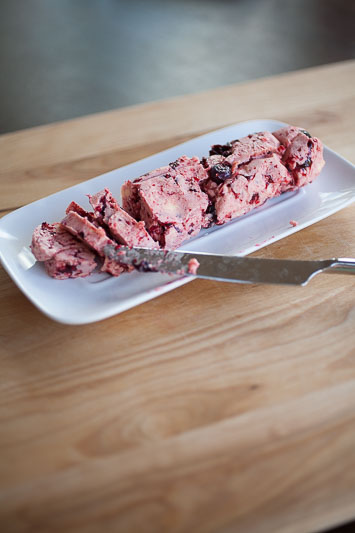
Compound butters can be stored in the fridge for two weeks.
So there you have two recipes for compound butters, but you don’t have to stop here! There are so many different combinations you can try, such as dried or fresh herbs, roasted garlic with fresh or dried herbs, cinnamon and honey, maple butter, cilantro lime, pumpkin spice—it’s up to your imagination!
‘Till next time!
Summer Fresh Basil Pesto
I promised in last week’s double-boiler blog that I would have some recipes coming soon, and here’s the first! Classic basil pesto is one of my favorite sauces. It’s simple to make, packed full of fresh spring/summer flavors, and you can use it in so many ways! We put it over grilled veggies, grilled meats like chicken or steak, grilled or baked fish, into chicken rolls, mixed into dips, and, of course, as part of one of my favorites: caprese salad.
And believe me, homemade pesto is so much better than store-bought.
Pesto: A Recipe
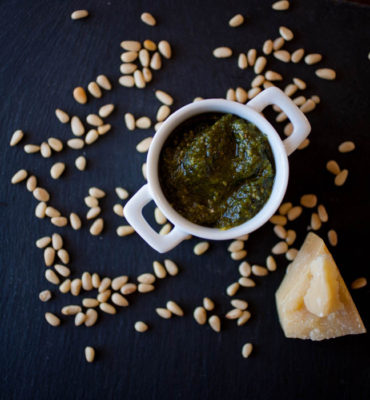
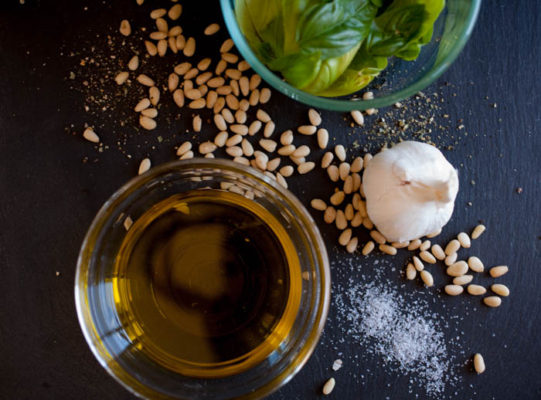
This is the basic Italian-type of pesto you’ll find in most store and at many restaurants. I know I say it a lot, but pesto is very simple. You’ll need just a few ingredients:
- Fresh basil
- Pine nuts
- Parmesan cheese
- Olive oil
A few notes: first, make sure you use real Parmesan. It really, really makes a difference in flavor and texture. The powdered stuff you find in a can or the tubs of waxy stuff make pesto taste off to me. Also, try to find a good extra virgin olive oil. You’re eating the olive oil raw and you will be able to taste good olive oil and bad olive oil.
The only obstacle to making pesto you may have is that it does require either a food processor/high-powered blender or a mortar and pestle. You’ll have to grind everything together until it’s emulsified and it’s difficult to do that with just a knife or a regular blender.
- 2 C Fresh basil leaves
- ½ C Pine nuts
- 2-3 peeled garlic cloves
- ½ C grated Parmesan cheese
- ½ tsp. salt
- 1 tsp. pepper
- ½ C Olive oil
- Place the basil leaves, pine nuts, Parmesan, pine nuts, and salt and pepper into the bowl of a food processor.
- Pulse the food processor a few times until everything is combined.
- While the processor is running, drizzle in the olive oil. You may not use the entire two cups--keep drizzling until the pesto comes together and starts looking like a paste. If you want to add more olive oil, however, feel free! It's up to you.
- Serve and enjoy!
Riff on Your Pesto
Pesto is amazing in its versatility. I will be sharing a few of my favorite recipes for pesto this summer, but you can mix, switch out, and swap so many ingredients. For this type of pesto alone (there are many different types) you can substitute:
- Play with the ingredient ratios. The numbers I put above are suggestions
- Replace walnuts for pine nuts
- Replace Parmesan with another type of hard cheese like Grana Padano or Manchego
- Add sundried tomatoes or fresh spring peas (yes, seriously. It’s kind of amazing…)
Also, you can save your leftover pesto by freezing it in a ice cube tray. That way, it’s already in small portions and you won’t have to unfreeze an entire bag or chip out what you need–nice and neat!
So, that’s the classic basil pesto recipe–perfect to enjoy all summer and beyond.
‘Till next time!
How To: Chocolate Ganache Two Ways
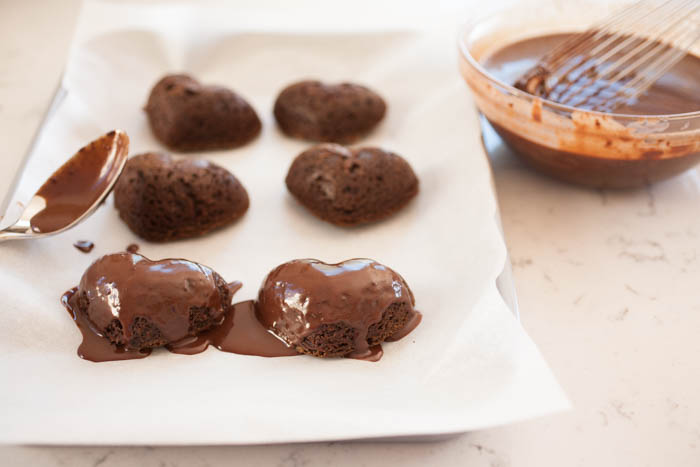
Still looking at easy-to-make, basic recipes that are perfect for Valentine’s Day! Chocolate ganache is really a perfect addition to a Valentine’s dessert. Like the Valentine’s Day smoothie and the roasted strawberries, it’s chocolaty, it’s simple to make, and comes together quickly!
Chocolate Ganache
Outside of Valentine’s Day, chocolate ganache is a culinary basic that can be used for a large variety of desserts. It can be poured over cake as a type of frosting, combined with whipped cream to make an actual frosting, and as filling for cakes, pies, tartes, cupcakes, and pastries. And, in all honesty, it’s kind of wonderful just to take a big spoonful of it and eat it that way.
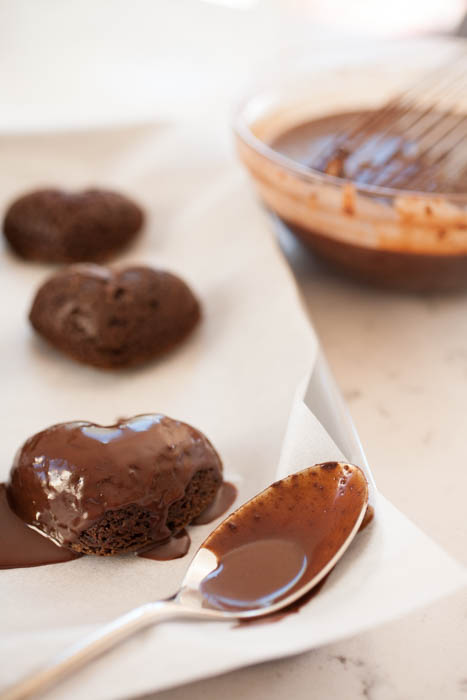
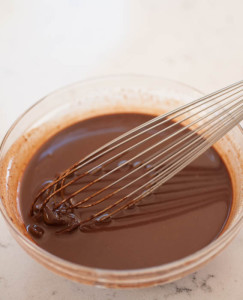
Traditionally, chocolate ganache is made with semi-sweet chocolate, but you can use milk chocolate—it will make ganache that is less rich. I’ve even made bittersweet chocolate ganache, but it wasn’t a favorite of my guests or mine. If you love bittersweet chocolate, however, you may love bittersweet chocolate ganache too!
Two Ways to Make Ganache
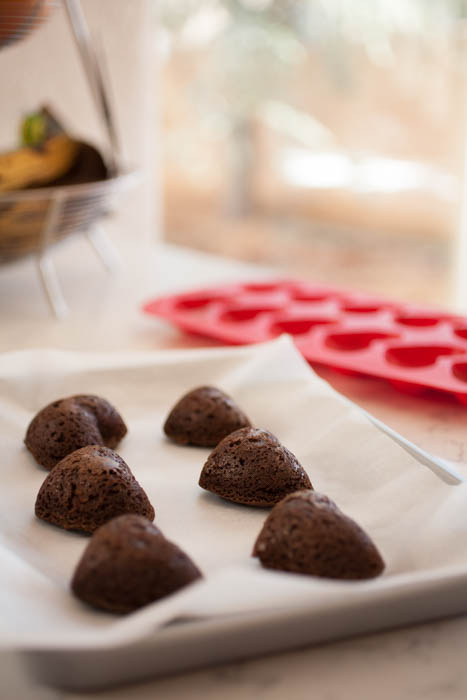
I’m including two ways to make ganache: the traditional ganache and a dairy-free version based on this
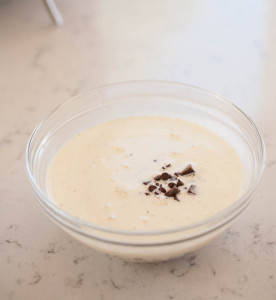
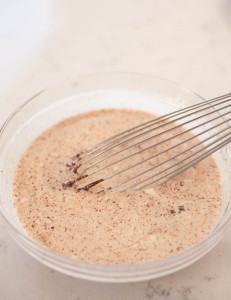
 recipe from the blog Flavour and Savour. Both follow similar techniques and aren’t really that different. For traditional ganache:
- Warm the liquid in a heat-safe bowl over a pot of about an inch or two of water simmering on very low heat (make sure the top bowl doesn’t touch the water).
- Place the chocolate in a separate bowl.
- Once the liquid is simmering slightly (when small bubbles form around the edges), pour it over the chocolate.
- Let the chocolate sit for a minute, then begin to slowly stir. It will come together into a beautiful silky, smooth mixture.
For dairy-free ganache:
- Place the coconut oil and chocolate in a heat-safe bowl over a pot of water, just as above. Again, make sure the bowl does not touch the water.
- Let the mixture sit for a minute or two as the chocolate begins to melt, then begin to stir, holding the bowl as you do.
- Stir just until the entire thing is smooth, then take off the heat. You can use it then or put it in the fridge to set for a bit before you use it.
The ingredients:
Traditional Chocolate Ganache:
- 1 C. heavy cream
- 8 oz. semi-sweet chocolate chips
Dairy-Free Chocolate Ganache:
- 3 Tbsp. coconut oil
- 1 Tbsp. hazelnut chocolate almond creamer or other dairy-free milk (optional)
- ¾ C. semi-sweet non-dairy chocolate chips
I hope your Valentine’s Day is wonderful, no matter how you celebrate!
‘Till next time!