
 As promised in my last blog for traditional, gluten-free teriyaki sauce, here’s a recipe for teriyaki chicken! Roughly translated, teriyaki means “lacquered on the grill,” and that is the perfect way to describe the result of marrying this sweet, simple sauce, meat, and high heat. Sweet, salty, crispy, flavorful and beautiful. And, as always, it’s quick and simple to make!…
Gluten-Free Italian Chicken Fingers

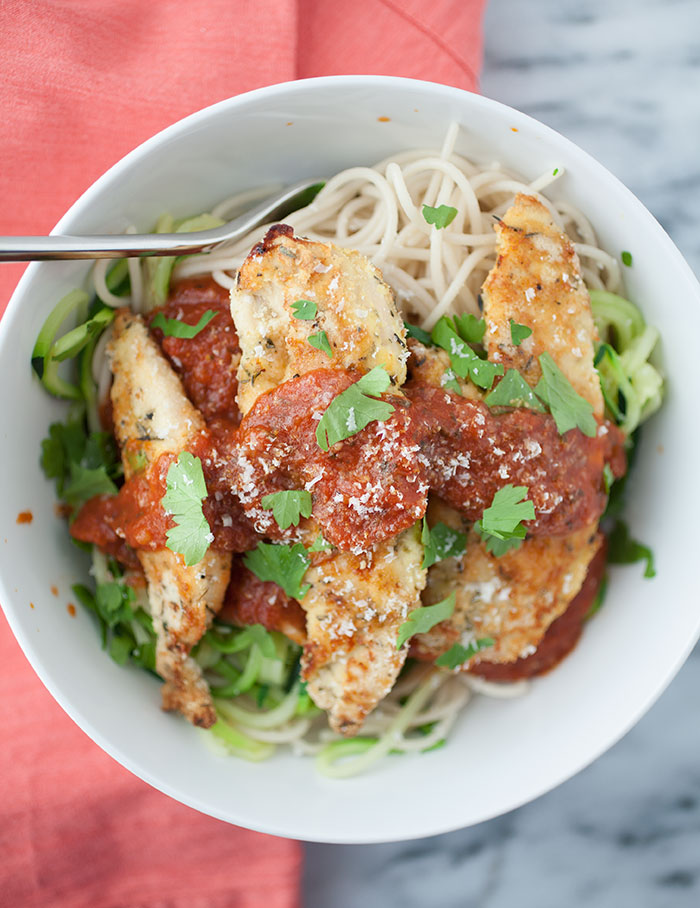 If you’re looking for something fun and delicious for dinner, this recipe is it! Done in under an hour, full of flavor, and gluten-free, it’s as easy as it is healthy and delicious! You can even make this dairy-free if you use dairy-free cheese or even nutritional yeast in place of the Parmesan. These gluten-free Italian chicken fingers are cooked in the oven, so there’s minimal fuss (although if you want to pan-fry them first, it works just as well!). It’s a fuss-free, healthy, delicious and quick weeknight meal!
…
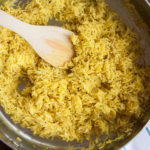
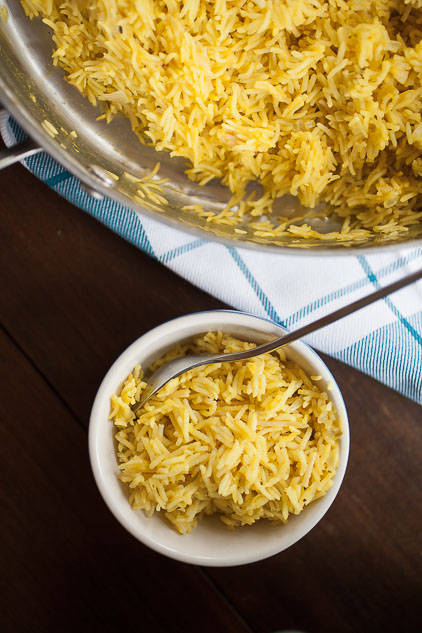
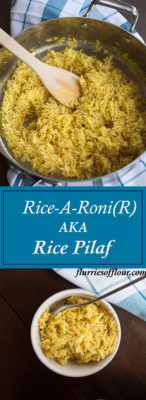
Rice-a-Roni® (AKA Rice Pilaf)
The first time I had Rice-A-Roni® was in high school when I was over a friend’s house for dinner. I didn’t even know what it was, to be honest, but darn it, it was good, especially for a kid who only got “treats” like these when I was over at someone else’s house (I didn’t get to taste Texas toast garlic bread until I was in elementary school and, again, over at a friend’s house). The food at home was wonderful and healthy, but it was fun to eat these types of treats when I was at someone else’s house.

Fast forward to today, and Rice-A-Roni is one of my husband’s comfort foods we buy every once in a while. We’d get it more often, but it has a long list of not-so-healthy ingredients and the salt content is kind of ridiculous. So, loving him as I do, I set out to make a copycat recipe.
I learned something really interesting while I was browsing through recipes—the original Rice-A-Roni recipe is based on a recipe for rice pilaf! I was intrigued. According to this NPR article, the creators of Rice-A-Roni, the DiDemenicos, lived next to an Armenian immigrant in San Francisco in the 1940s. Lois DiDemenico, a young immigrant herself, didn’t really know how to cook. Her next door neighbor, Pailadzo Captanian, took her under her wing and taught her several dishes, including a recipe for rice pilaf. The DiDemenico family took the recipe and created the product we know today.
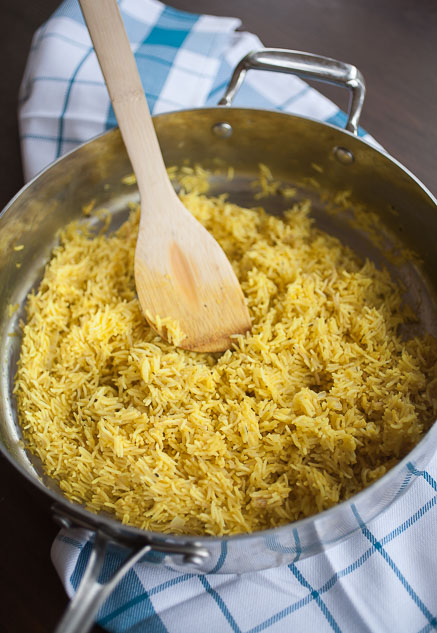
Rice pilaf is an ubiquitous Middle Eastern rice dish—each family, each country, each region has its own variation and there’s no one way to make it. It generally starts with a base of aromatics and results in a deliciously fluffy dish full of savory flavor. The secret to the fluffiness is to dry-cook the rice until it’s lost its translucency and looses some of its starch. This will help the rice absorb more liquid and make it fluffy instead of gummy.
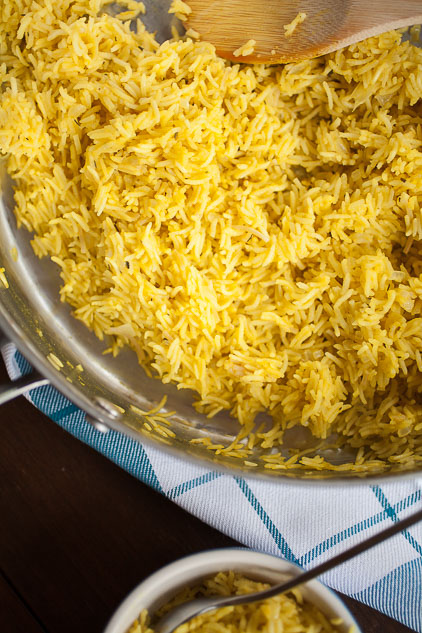
This recipe also include turmeric, just like the original recipe , which is what gives it that brilliant yellow color—plus, turmeric is really good for you.
Armed with that knowledge, and stealing some ingredients from the Rice-A-Roni box, I set out to make a replacement for the boxed version. It’s not as easy as pouring the content of the box into a pan, but it’s still a quick dish to make (on the table in just about half an hour), and I promise it’s completely worth it—it’s husband approved!
Rice-a-Roni® (AKA Rice Pilaf)

Prep time
Cook time
Total time
This fluffy, flavorful recipe for rice pilaf is a healthy Rice-a-Roni® copycat your family will love just as much as the boxed version and it's on the table in about 30 minutes!
Author: Samantha Gallegos
Recipe type: Side Dish
Cuisine: Middle Eastern
Serves: 6
Ingredients
- 2 ½ cups of low sodium chicken stock (has to be low sodium!)
- 1 ¼ cup of basmati rice
- 1 serving of vermicelli or other pasta broken in to small bits (I used GF rice pasta)
- 1 onion, finely chopped
- 1 clove of garlic, finely chopped
- 1 Tbsp. olive oil
- 1 Tbsp. butter
- ½ chicken bouillon cube or ¾ tsp. of Better Than Bullion (you can use less if you want less sodium)
- Italian flat-leaf parsley or 2 Tsp. Italian seasoning
- ½ tsp. turmeric
Instructions
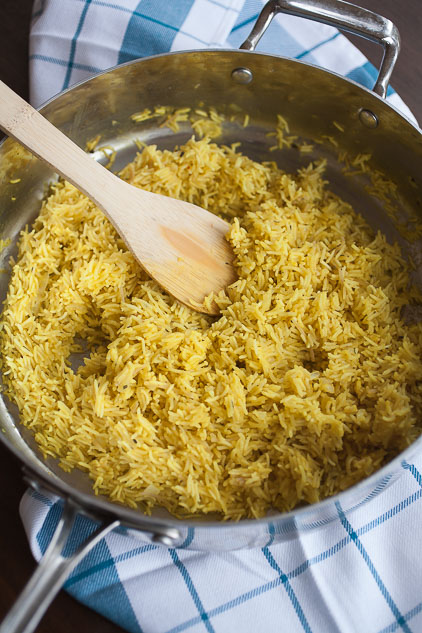
- Heat olive oil in a sauce pan or pot over medium to medium-low heat until the surface is rippling, then sauté the onion and garlic until fragrant and translucent.
- Melted the butter, then add the dry rice, stirring it around until the rice has become less translucent (not quite so white), but not brown.
- Add in the bullion, turmeric, chicken broth, parsley or Italian seasoning and pasta and stir until fully combined.
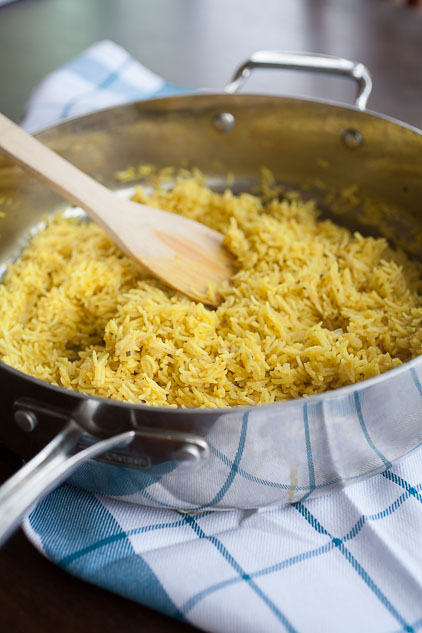
- Let the rice cook 15 to 18 minutes, stirring infrequently (you don’t want to agitate the rice and cause it to release too much starch), until all the liquid has been absorbed but before the rice starts to stick to the bottom of the pan or pot.
- Take the pan or pot off the heat, cover, and let sit for five minutes.
- Serve and enjoy!
There you have a delicious copycat side dish, but this time, it’s pretty healthy and comes without all those strange ingredients or the same level of sodium.
‘Till next time!
Roast Chicken with Meyer Lemon

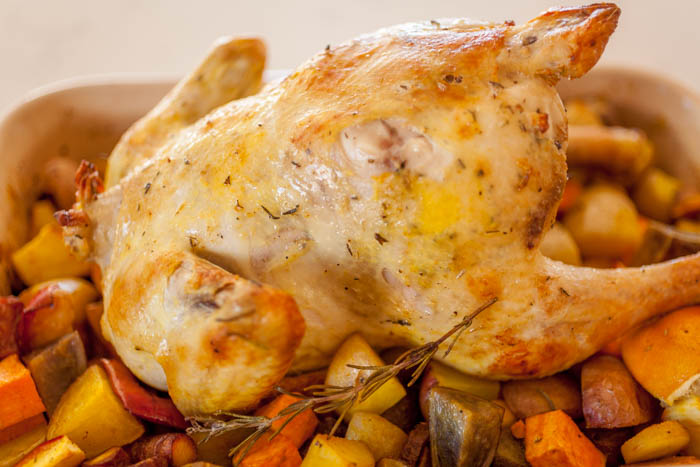 This site is all about the basics, and roast chicken is definitely a delicious and basic recipe. Roasting makes chicken juicy, succulent, and flavorful with crispy, savory skin. It was a staple in our house growing up. Now I love making it when the weather is cold and the oven heats up the kitchen and we can sit down to a delicious hearty meal that doesn’t require much prep on my part. And Meyer lemon adds a sweet tang to the skin, meat, and the creamy vegetables bathed in savory juices.
I use a technique I learned from Gwyneth Paltrow’s first cookbook, My Father’s Daughter. It’s a bit like rotisserie chicken which makes the meat even juicer. And of course, continuing with my love of Meyer lemons this citrus season, this is full of bright flavor! And let me tell you, the delicious aromas of roasting chicken, herbs, and veggies spreading around the house is amazing.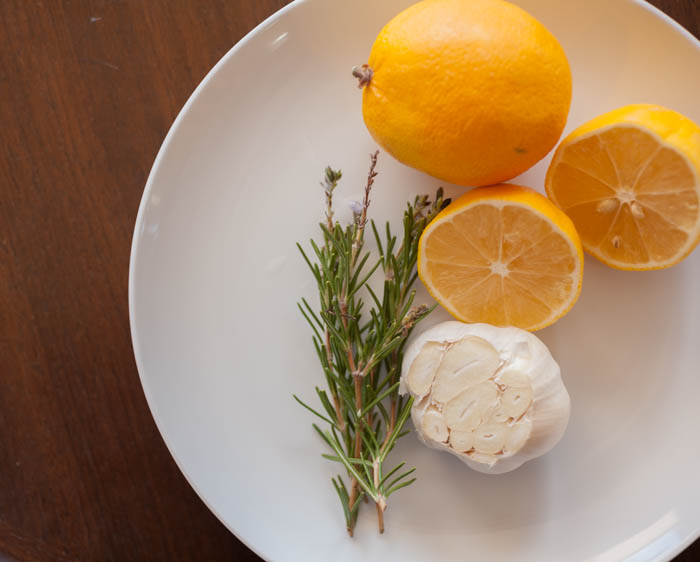
What to Look for in a Chicken
There are different types of cooking chickens, which I will absolutely cover down the road. The best to use for roasting is a “roaster”, although using a “fryer” or “broiler” can work also. The type of chicken will be written on the packaging. And as for kosher versus non-kosher, koshering adds salt to the chicken, so just keep that in mind when using salt in the recipe.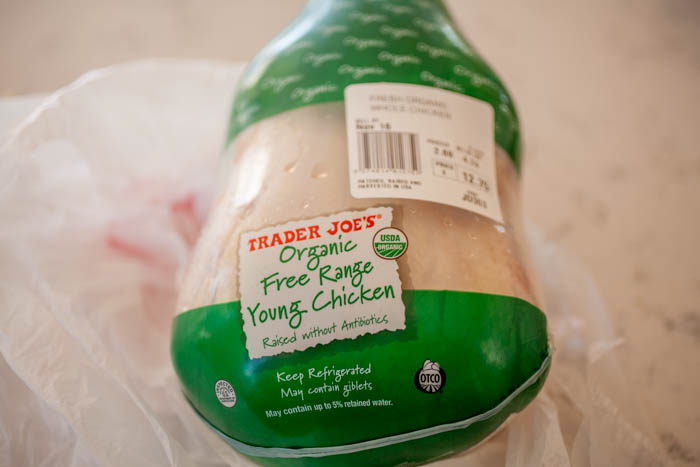
Roast Chicken
Preparing a chicken for roasting is decently simple. There’s no need to wash the chicken, but you may need to reach into the cavity to get the bag of innards. Not all chickens have them, but it’s good to check before the plastic bag gets baked into the chicken.
Place it in a roasting pan or baking dish (as you can see I did because I can’t afford a nice roasting pan yet…). Rub the chicken skin with butter, salt, pepper, paprika, and a squeeze of lemon juice under the skin (just wiggle your fingers under the skin—it will pull away from the meat). Then stuff the whole herbs and the lemon halves in the cavity. You may notice that I don’t actually have any thyme in these photos—the thyme went bad (insert bad jokes here). So I used about a teaspoon of dried thyme and mixed it in with the butter.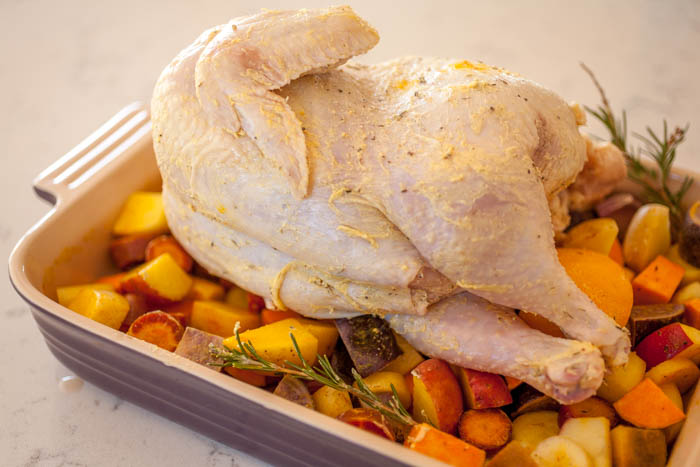
Once you’ve spread the butter inside and out, put the chicken on its side and set the time for 25 minutes. After 25 minutes, switch it to the other side. The easiest way to switch the chicken is to get the tongs into the cavity and use a fork or another set of tongs at the neck. Place the chicken on its back for 10 minutes, then put the breast down for 10 minutes.
Just to be safe, you should get the internal temperature of the chicken breast to 165°, although I usually take it out at 160° so that it get up to 165° while it’s resting for 15 minutes and won’t be too dry. As you can see in the first photo of this blog, I’m still trying to figure out how to work with my new oven because the skin didn’t get quite as brown as it usually does.
As for the veggies, you can peel the veggies or not. I usually don’t because 1) it saves time and 2) I actually like the skin of carrots and sweet potatoes (they’re good for you, too!).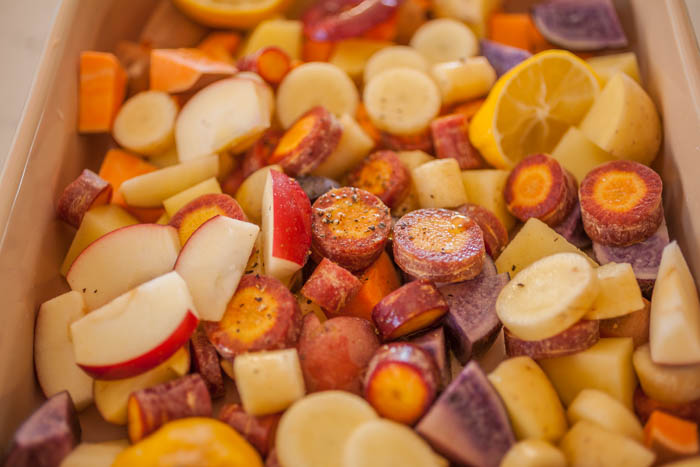 One last note: use unsalted butter, especially if you’re using a koshered chicken. This lets you control the amount of salt in/on the chicken.
Roast Chicken with Meyer Lemon
Prep time
Cook time
Total time
Inspired by Gwyneth Paltrow's technique for roasting chicken, this recipe for roast chicken with Meyer lemon is perfectly juicy with crispy skin and bright flavors!
Author: Samantha Gallegos
Recipe type: Dinner
Serves: 4
Ingredients
- 1 3-5 pound roasting chicken
- 1 sweet potato
- 6 small, waxy potatoes
- 2 carrots cut into large pieces
- 1 ½ Tbsp. of unsalted butter at room temperature
- 2 tsp. of olive oil
- 2 tsp. of pepper
- 2 tsp. of salt
- 1 tsp. paprika
- 2 Meyer lemons, cut in half
- Juice of ½ a Meyer lemon
- 4 springs of thyme and rosemary
- 1 small bulb of garlic with the top cut off
Instructions
- Preheat the oven to 400°.
- Chop the vegetables into large chunks. Toss with olive oil, and 1 tsp. of salt and pepper, and the juice of half a Meyer lemon.
- Unwrap the chicken and take out the gizzard bag. Place the chicken in roasting pan over the chopped vegetables.
- Mix the butter with the salt, pepper, and paprika and spread it over the chicken inside and out and under the skin.
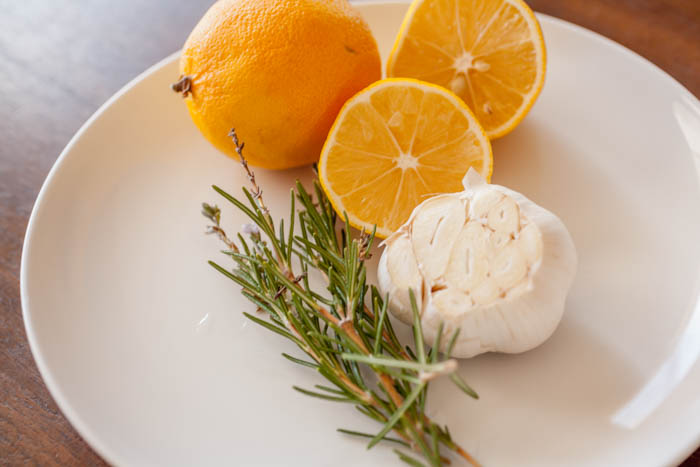
- Stick the lemon halves, half bulb of garlic, and the herbs inside the chicken’s cavity.
- Place the roasting pan into the oven.
- Roast the chicken on each side for 25 minutes, then the back for 10 minutes and the breast for 10 minutes until the internal temperature is 160° or the skin is dark enough for you.
- Let the chicken rest for 15 minutes, then carve and serve!
Roasting chicken is the perfect way to warm up your kitchen and your dinner on a cold night, and the Meyer lemons brighten up the entire dish!
 ‘Till next time!