
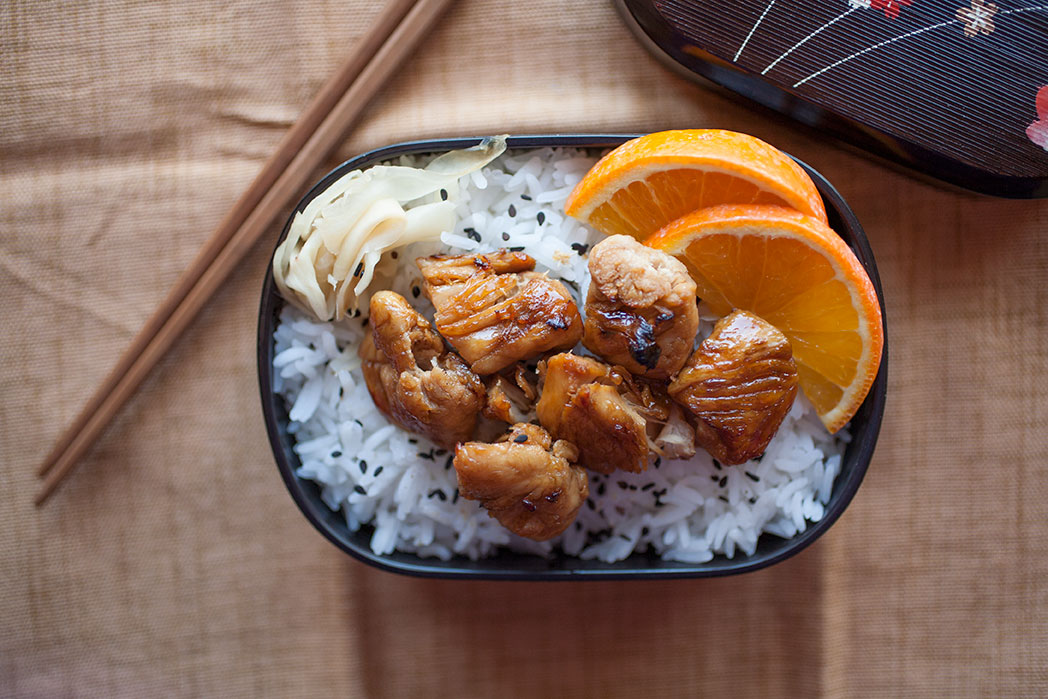
 As promised in my last blog for traditional, gluten-free teriyaki sauce, here’s a recipe for teriyaki chicken! Roughly translated, teriyaki means “lacquered on the grill,” and that is the perfect way to describe the result of marrying this sweet, simple sauce, meat, and high heat. Sweet, salty, crispy, flavorful and beautiful. And, as always, it’s quick and simple to make!…
Summer Fresh Basil Pesto
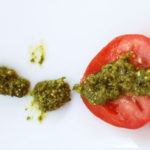
 I promised in last week’s double-boiler blog that I would have some recipes coming soon, and here’s the first! Classic basil pesto is one of my favorite sauces. It’s simple to make, packed full of fresh spring/summer flavors, and you can use it in so many ways! We put it over grilled veggies, grilled meats like chicken or steak, grilled or baked fish, into chicken rolls, mixed into dips, and, of course, as part of one of my favorites: caprese salad.
And believe me, homemade pesto is so much better than store-bought.
Pesto: A Recipe
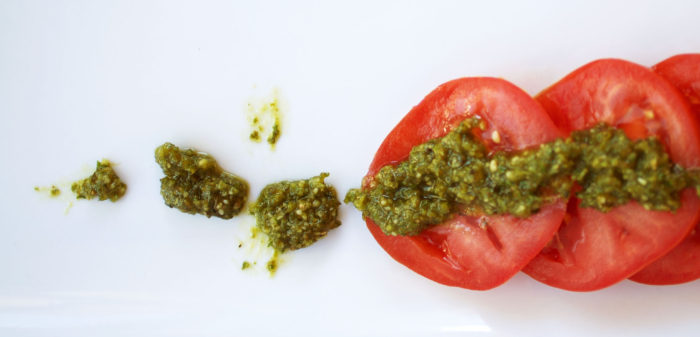
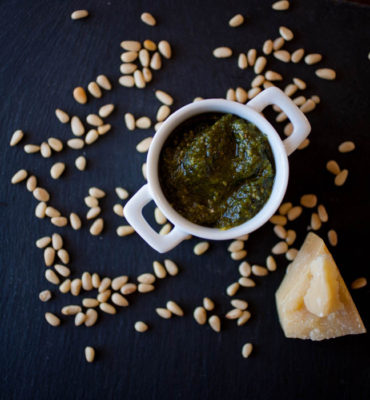
 This is the basic Italian-type of pesto you’ll find in most store and at many restaurants. I know I say it a lot, but pesto is very simple. You’ll need just a few ingredients:
- Fresh basil
- Pine nuts
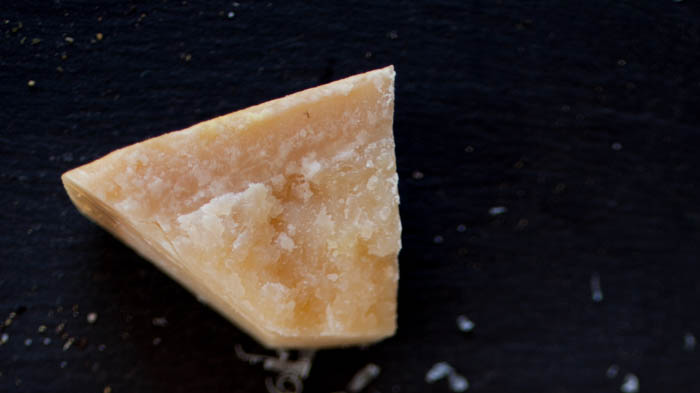
- Parmesan cheese
- Olive oil
A few notes: first, make sure you use real Parmesan. It really, really makes a difference in flavor and texture. The powdered stuff you find in a can or the tubs of waxy stuff make pesto taste off to me. Also, try to find a good extra virgin olive oil. You’re eating the olive oil raw and you will be able to taste good olive oil and bad olive oil.
The only obstacle to making pesto you may have is that it does require either a food processor/high-powered blender or a mortar and pestle. You’ll have to grind everything together until it’s emulsified and it’s difficult to do that with just a knife or a regular blender.
Summer Fresh Basil Pesto
Prep time
Cook time
Total time
Fresh pesto is perfect for summer and it's simple to make! This classic recipe comes together with just a few ingredients in just minutes so you can spoon it over summer salads, roasted veggies and meats, over fresh tomatoes and mozzarella...
Author: Samantha Gallegos
Recipe type: Italian
Serves: 1 cup
Ingredients
- 2 C Fresh basil leaves
- ½ C Pine nuts
- 2-3 peeled garlic cloves
- ½ C grated Parmesan cheese
- ½ tsp. salt
- 1 tsp. pepper
- ½ C Olive oil
Instructions
- Place the basil leaves, pine nuts, Parmesan, pine nuts, and salt and pepper into the bowl of a food processor.
- Pulse the food processor a few times until everything is combined.
- While the processor is running, drizzle in the olive oil. You may not use the entire two cups--keep drizzling until the pesto comes together and starts looking like a paste. If you want to add more olive oil, however, feel free! It's up to you.
- Serve and enjoy!
 Riff on Your Pesto
Pesto is amazing in its versatility. I will be sharing a few of my favorite recipes for pesto this summer, but you can mix, switch out, and swap so many ingredients. For this type of pesto alone (there are many different types) you can substitute:
- Play with the ingredient ratios. The numbers I put above are suggestions
- Replace walnuts for pine nuts
- Replace Parmesan with another type of hard cheese like Grana Padano or Manchego
- Add sundried tomatoes or fresh spring peas (yes, seriously. It’s kind of amazing…)
Also, you can save your leftover pesto by freezing it in a ice cube tray. That way, it’s already in small portions and you won’t have to unfreeze an entire bag or chip out what you need–nice and neat!
So, that’s the classic basil pesto recipe–perfect to enjoy all summer and beyond.
‘Till next time!
All About: Chocolate Basics
 Apologies for being away for so long! As usual, real life got in the way. I should be back posting regularly from now.
Anyway, I’m not sure about you, dear reader, but I am a chocoholic. I’m not afraid to admit it. While I’m not a big candy person and never have been, I adore chocolate of almost any kind.
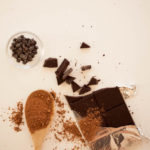
And there are many different kinds. So many, in fact, it can get a little confusing. In this primer, I’m going to focus on the basics of chocolate (I’m guessing no one is surprised…). Answers will include: the different between dark and milk chocolate; what those percentages actually mean; is white chocolate actually chocolate?; and what exactly “Dutched” cocoa is (it’s not made by someone from the Netherlands, which I may or may not have believed when I was a child…)….
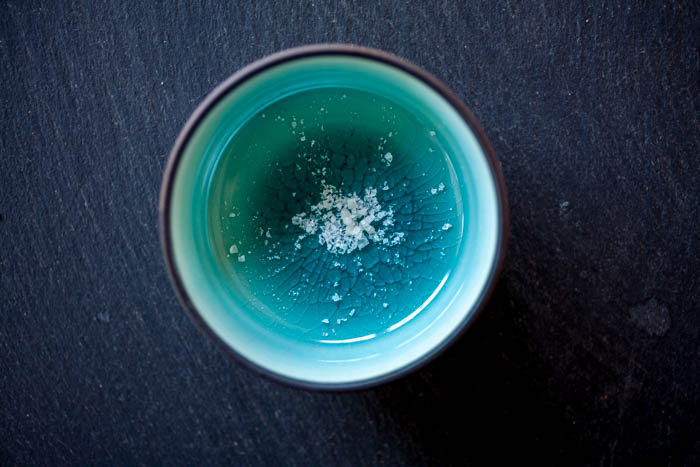
All About: Tips for Salting Food

 I don’t know about you but I sometimes struggle with adding salt when I’m cooking—I will freely admit it. My husband and I don’t add a lot of salt to food and that can make what I cook seem a little tasteless to someone who is used to more. Even if you’re following a recipe, it can be tricky to get the salt right because one person’s idea of perfect season can be too much, or too little, for another. But, my readers, the point of this blog is to help you learn how to play around in the kitchen and cook the way you want to. So don’t let this fact be a barrier to cooking—it’s just one more way you can experiment and find what works best for you.
The Tips
Again, keep in mind that these are tips and guidelines to help you get the right amount of salt as you cook.
- Taste as You Go (Within Reason) and Taste at the End
The best way to judge whether a dish is over- or underseasoned is to taste the food as you go. Ingredients are salty, some dishes intensify in flavor as they cook, and the saltiness can even diminish if it chills for a while. You shouldn’t taste raw food, of course, but when you can, taste whatever you’re cooking.
And then check the taste at the end, before you serve. This is the best time to make sure it tastes good and then adjust if you need to.
- Remember It’s Easy to Add Salt, No So Easy to Take it Away
While it’s important to salt enough so that the food isn’t bland, it’s also important to have a light hand, especially in the beginning. You can always add salt at the end if you need to, but it’s much more difficult to take salt away.
I usually add either the salt called for in the recipe, or, if I’m winging it, I add less than I think I should. I know I can always add salt if I need to.
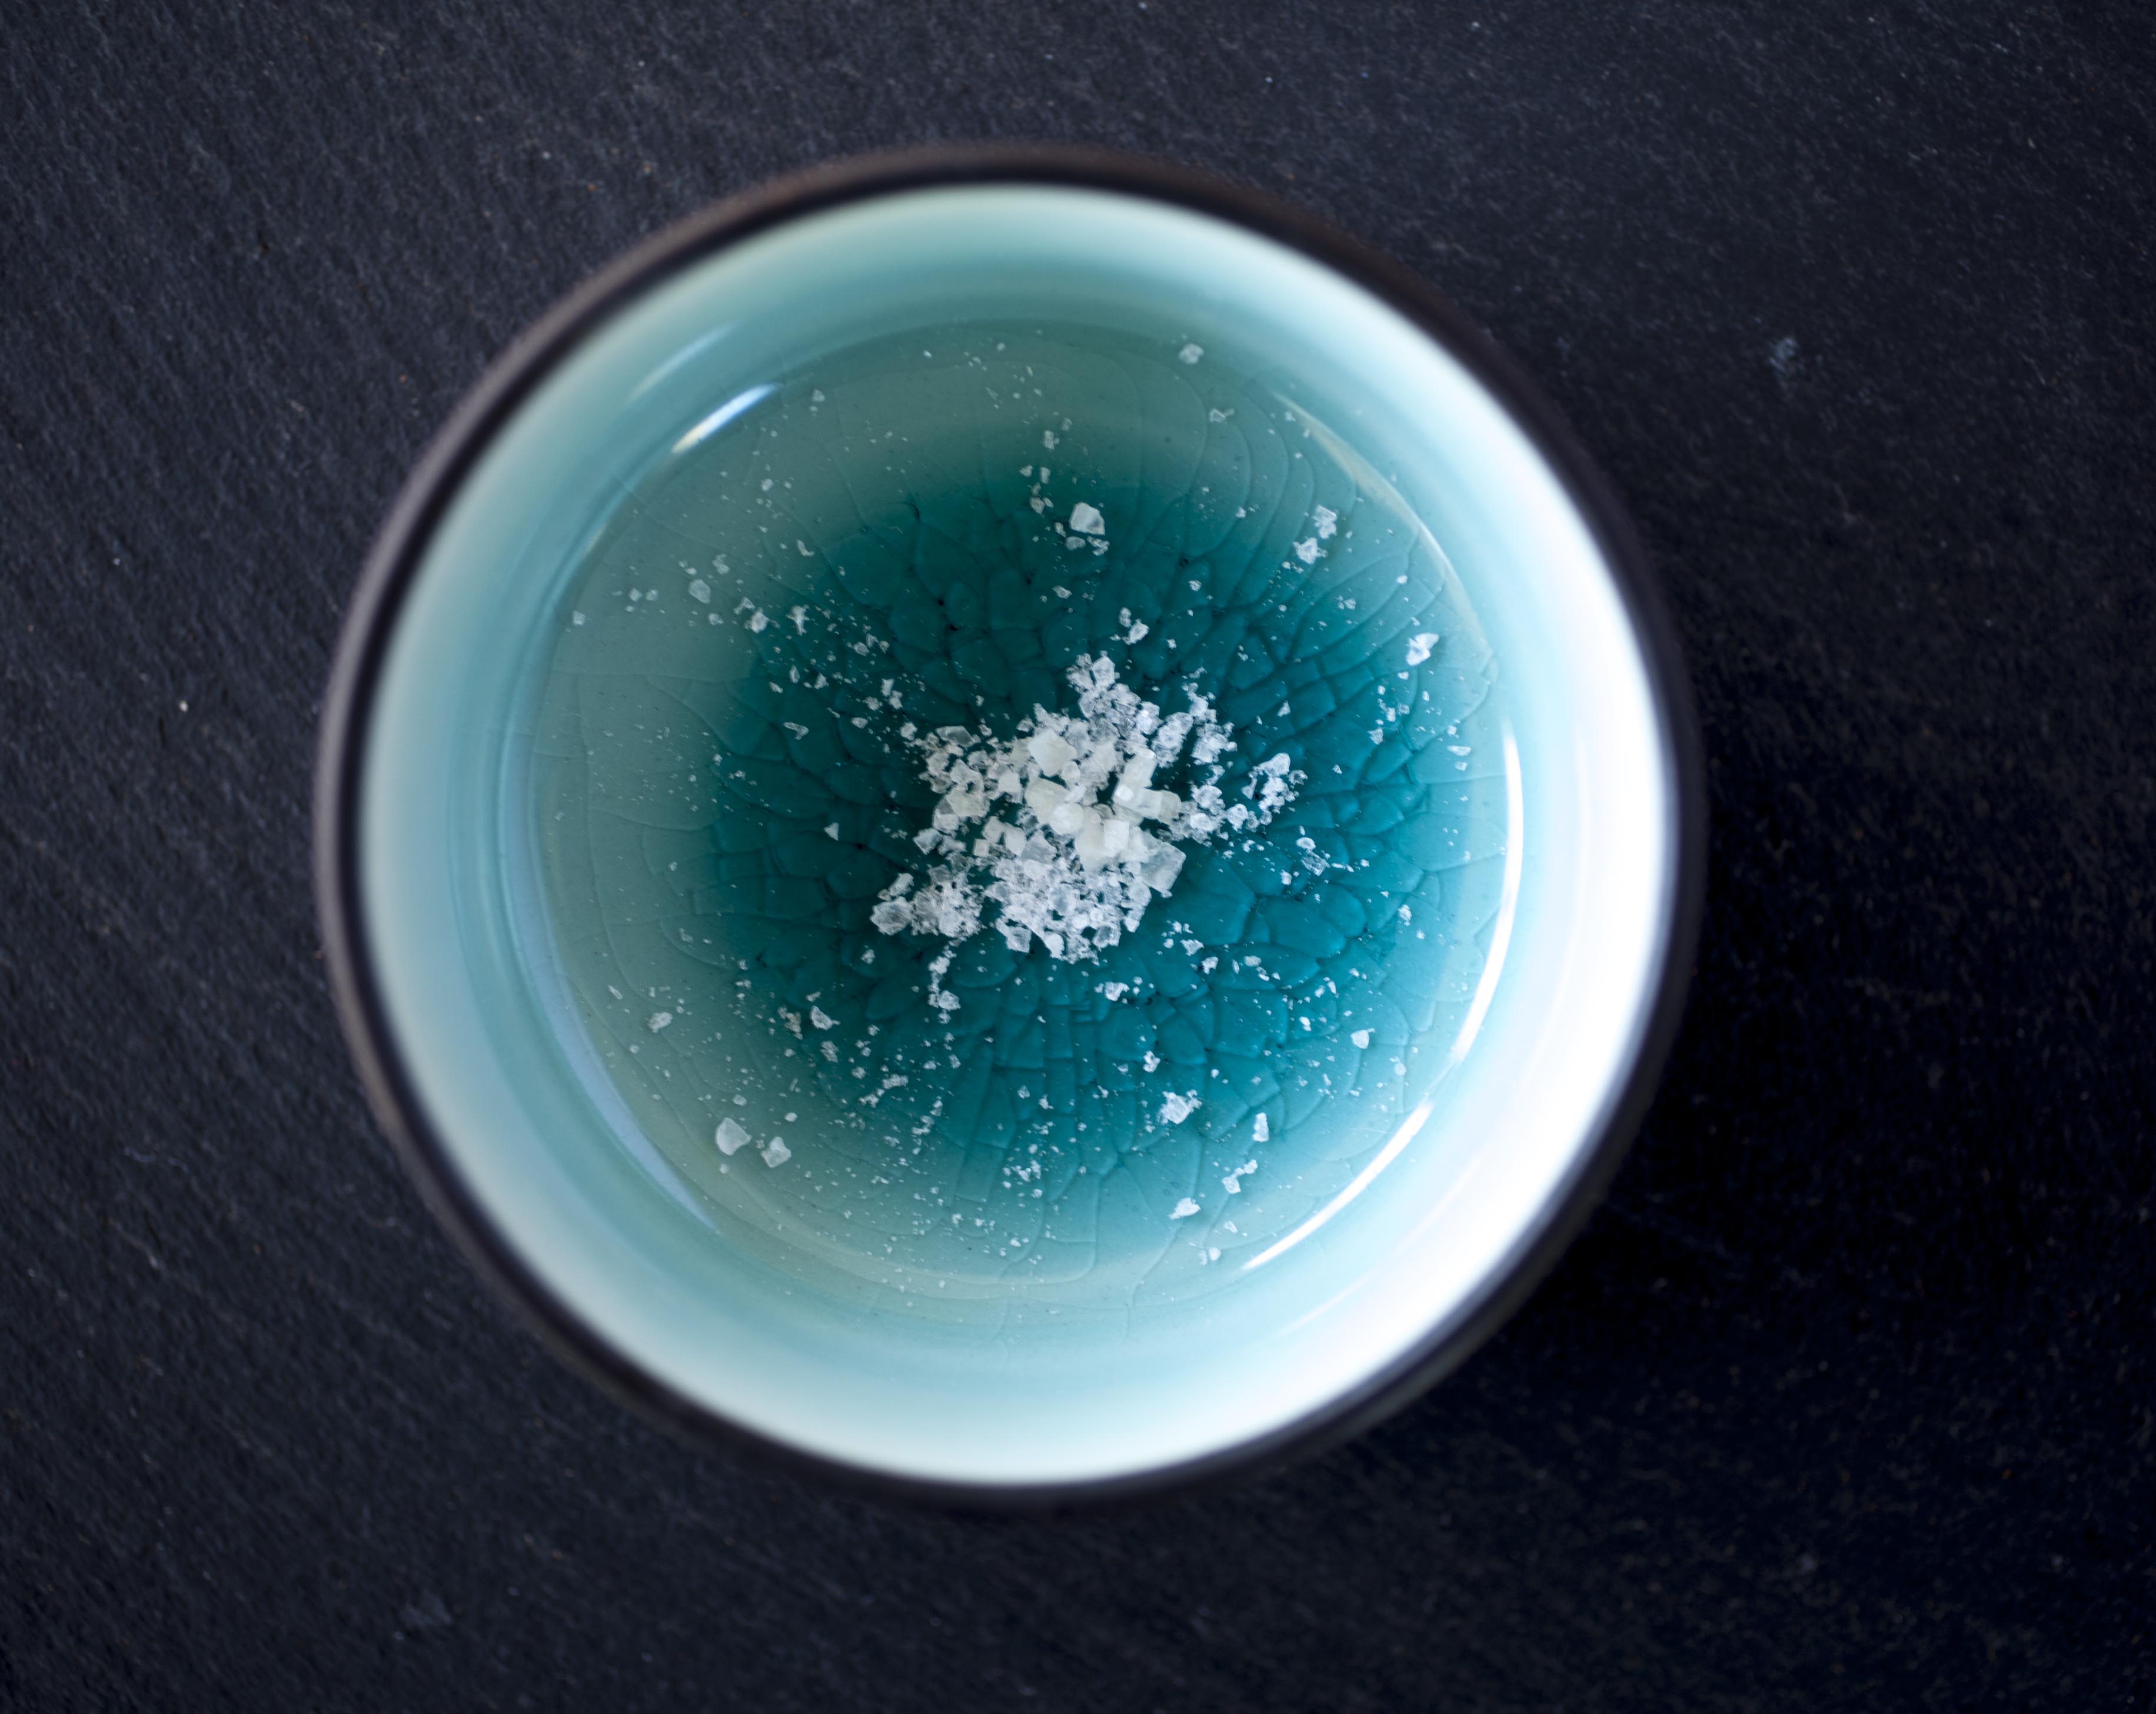
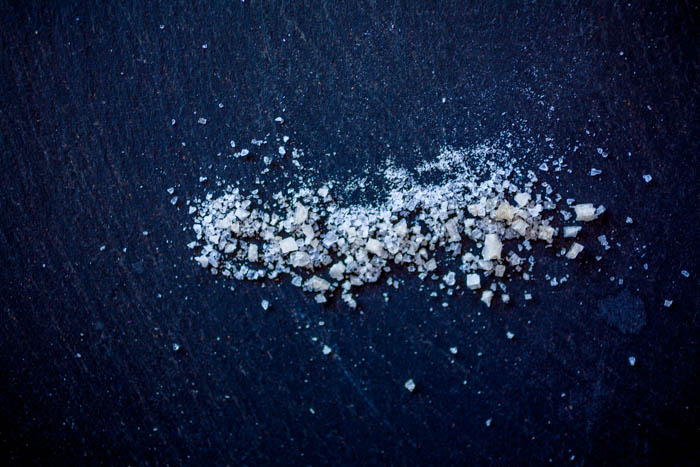
- Sprinkle Salt from Above
It’s the trick you’ll see professional chefs use. When you’re salting big slabs of meat or fish or anything, really, sprinkle the salt 10 to 12 inches above the food. You’ll get better salt coverage and spread.
- Remember the Salty Foods
If you’re adding bacon to a dish, chances are you’ll need less salt than a dish without bacon. Boxed or canned chicken brother also has sodium, which is why many recipes calls for reduced sodium chicken broth.
Keeping additional salt in mind when you’re cooking, especially when you’re not using a recipe, is important for achieving a perfectly seasoned dish.
- Flavors Intensify as they Cook
As soups cook, they lose moisture through evaporation, reducing the liquid, and the flavors become more intense. And if a dish was already salty, it will only become saltier.
And a last thought: if you have guests and they still add salt or believe the dish is a little too salty, don’t worry, especially if it was perfect for you. Everyone is different so just go with what you like. (That’s why you put salt and pepper on the table anyway).
Next Friday I’ll be talking about the most common kinds of cooking salt as well as how and when to use them (like, what exactly is a “finishing salt”?.
‘Till next time!
How To: Chocolate Ganache Two Ways

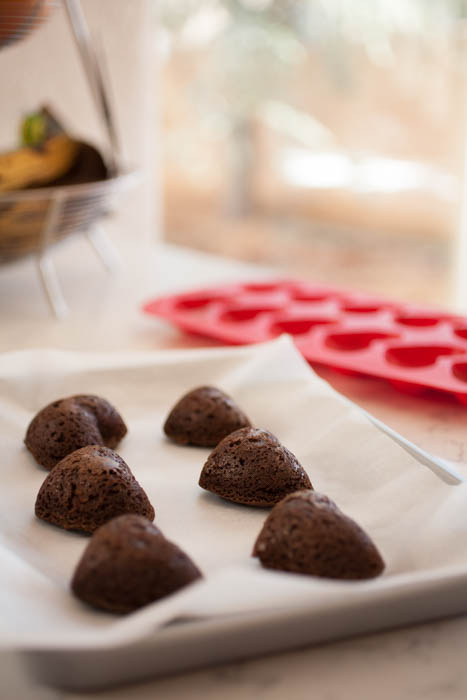
 Still looking at easy-to-make, basic recipes that are perfect for Valentine’s Day! Chocolate ganache is really a perfect addition to a Valentine’s dessert. Like the Valentine’s Day smoothie and the roasted strawberries, it’s chocolaty, it’s simple to make, and comes together quickly!
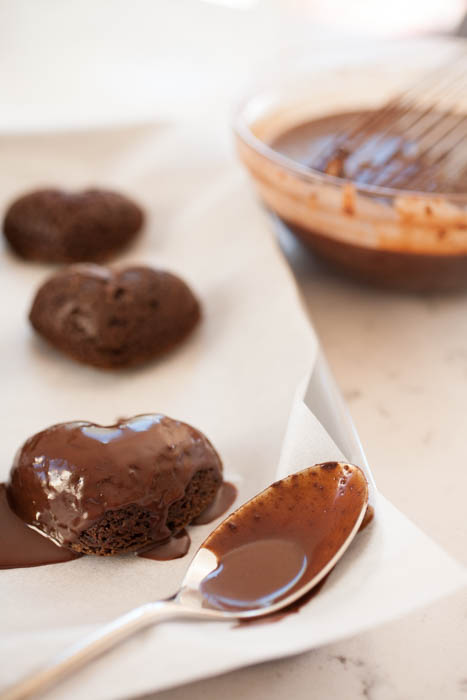
Chocolate Ganache
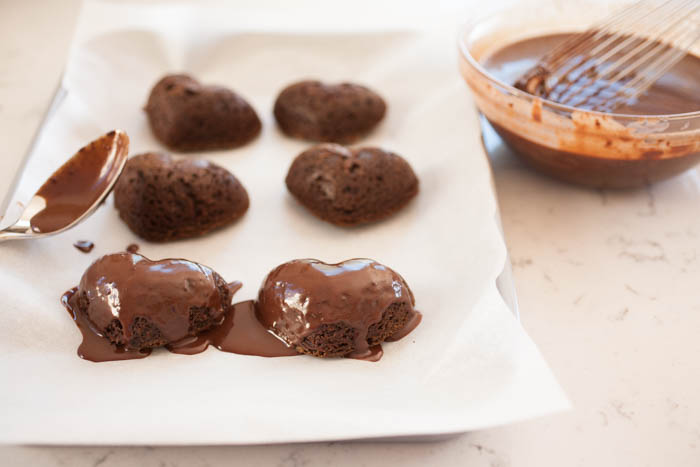
Outside of Valentine’s Day, chocolate ganache is a culinary basic that can be used for a large variety of desserts. It can be poured over cake as a type of frosting, combined with whipped cream to make an actual frosting, and as filling for cakes, pies, tartes, cupcakes, and pastries. And, in all honesty, it’s kind of wonderful just to take a big spoonful of it and eat it that way.
 Traditionally, chocolate ganache is made with semi-sweet chocolate, but you can use milk chocolate—it will make ganache that is less rich. I’ve even made bittersweet chocolate ganache, but it wasn’t a favorite of my guests or mine. If you love bittersweet chocolate, however, you may love bittersweet chocolate ganache too!
Two Ways to Make Ganache
 I’m including two ways to make ganache: the traditional ganache and a dairy-free version based on this recipe from the blog Flavour and Savour. Both follow similar techniques and aren’t really that different. For traditional ganache:
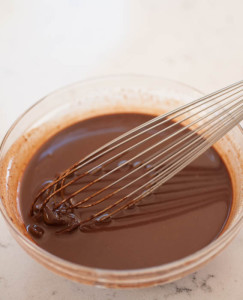
- Warm the liquid in a heat-safe bowl over a pot of about an inch or two of water simmering on very low heat (make sure the top bowl doesn’t touch the water).
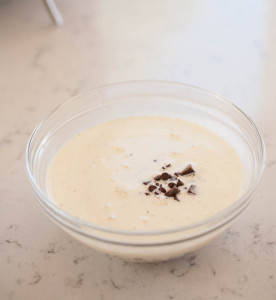
- Place the chocolate in a separate bowl.
- Once the liquid is simmering slightly (when small bubbles form around the edges), pour it over the chocolate.
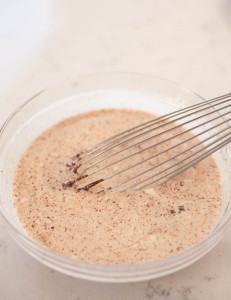
- Let the chocolate sit for a minute, then begin to slowly stir. It will come together into a beautiful silky, smooth mixture.
For dairy-free ganache:
- Place the coconut oil and chocolate in a heat-safe bowl over a pot of water, just as above. Again, make sure the bowl does not touch the water.
- Let the mixture sit for a minute or two as the chocolate begins to melt, then begin to stir, holding the bowl as you do.
- Stir just until the entire thing is smooth, then take off the heat. You can use it then or put it in the fridge to set for a bit before you use it.
 The ingredients:
Traditional Chocolate Ganache:
- 1 C. heavy cream
- 8 oz. semi-sweet chocolate chips
Dairy-Free Chocolate Ganache:
- 3 Tbsp. coconut oil
- 1 Tbsp. hazelnut chocolate almond creamer or other dairy-free milk (optional)
- ¾ C. semi-sweet non-dairy chocolate chips
I hope your Valentine’s Day is wonderful, no matter how you celebrate!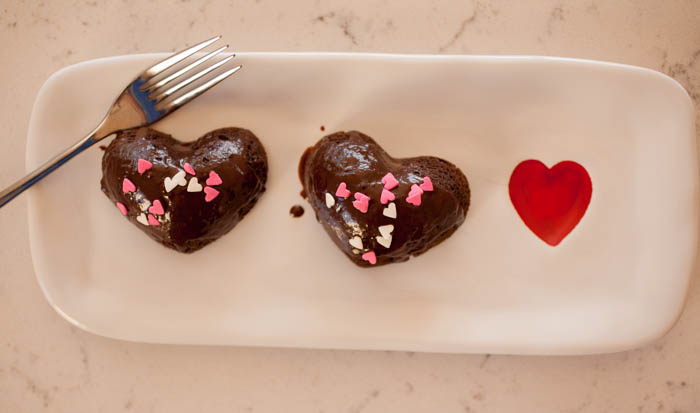
‘Till next time!
4 Essential Kitchen Tools for the Holidays

 The holidays are known for big feasts, from Thanksgiving to Hanukkah to Christmas, New Years, and even holiday dinner parties. These five kitchen tools are the tools I find most essential when I’m cooking a big dinner for a lot of people!
From tools that time to tools that ensure the food doesn’t stick to tools that monitor temperature and even just a good set of tongs, these guys help me stay organized and on top of all everything! That way, I can spend less time frustrated in the kitchen and more time mingling with friends and family! (You can also check out last year’s post about my favorite tools in the kitchen.)
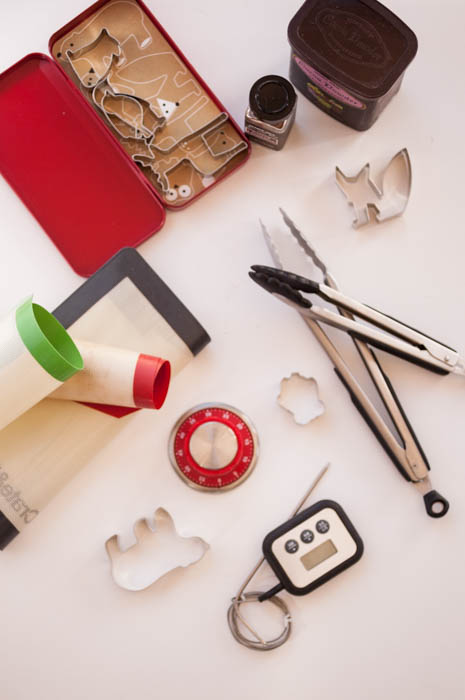
My 5 Essentials
I do use these tools year-round, but they definitely make the holidays easier! Also, you many notice that not everything I talk about is pictured. Some things don’t seem to have made our move and I haven’t found them yet… 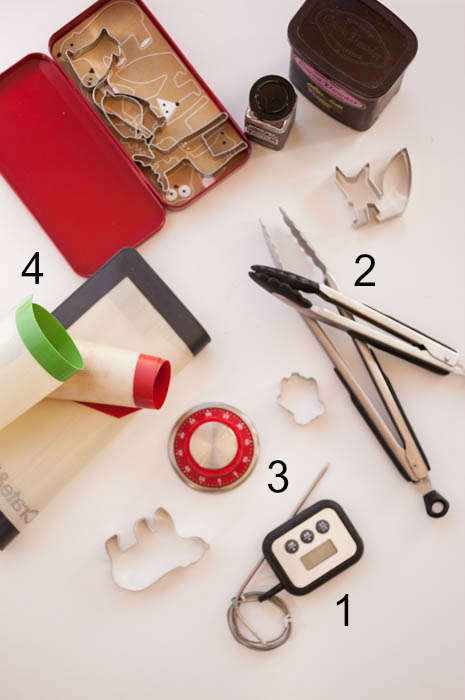
- Kitchen Thermometers
Kitchen thermometers I have include:
- Oven thermometer
- Candy thermometer
- Probe cooking thermometer
The oven thermometer and the probe cooking thermometer are essentials in my book. So many holiday treats are finicky when it comes to the temperature of your oven, and an oven thermometer can help you keep the temperature regulated. A probe thermometer is fantastic too—you can stick it into a turkey or ham, close the oven door, and monitor the internal temperature. Some will even beep when they reache the correct temperature so you don’t overcook anything. It saves me so much time when I don’t have to stop what I’m doing and open the oven to check the temperature every ten minutes.
I also use candy thermometers quite often for making candy, boiling milk, etc.—all things that seem to happen more often during the holidays when you’re baking holiday sweets. You can also use it as a frying thermometer to check the oil temperature.
- Kitchen Tongs
There’s nothing like having a good set of tongs in the kitchen, and I like having at least two. That way, you can be using tongs for everything you need and don’t to stop to wash it, then wash it again.
I have two pairs of tongs right now and that usually serves me just fine. One is a regular pair of tongs, the other a pair of tongs with rubber on the outside so it won’t scratch delicate cooking surfaces.
- Kitchen Timer
Yes, ovens and microwaves have timers, but you may be timing multiple things at once. Or, like my mom’s, your oven may inexplicably turn off when the timer goes off. You may need to use the microwave. I also don’t feel extremely comfortable keeping my phone in the kitchen, especially when I’m cooking multiple dishes. Thus, a kitchen timer is my solution.
I have two: one looks like the dial of a locker lock (it even make that wonderful clicking sound!) and the other is a cute replica of a macaron!
- Silpat
I mentioned it in my previous blog, but I absolutely adore Silpat. You just lay it onto the sheetpan and have an instant non-stick surface on which to bake.
Don’t get me wrong—I love parchment paper and use it quite often. But having to pause to measure, cut, spray, flour, and then deal with paper that will not. stay. down(!) can cause more frustration than I need at the moment. Thus, Silpat! (You do have to clean it afterwards, but in my book, worth it! Especially because my husband usually does the dishes…)
So what are your favorite kitchen tools, especially during the holiday rush? Let me know in the comments below!
‘Till next time!
Sweet and Spicy Maple Roasted Butternut Squash

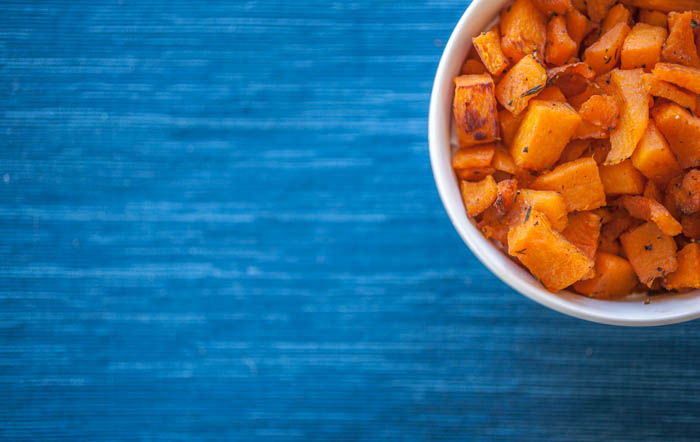 This sweet and spicy maple roasted butternut squash is a little bit sweet and a little bit salty with a pinch of heat. Roasting brings out the deep color and richness of the butternut squash, and the crispy edges from roasting add an extra layer of flavor. It’s a perfect fall side dish next to almost anything, even mixed in with a salad!
Autumn is definitely squash season, and this recipe is the perfect way to celebrate! Not only that, but I’ve included a tip that makes cubing butternut squash so much simpler!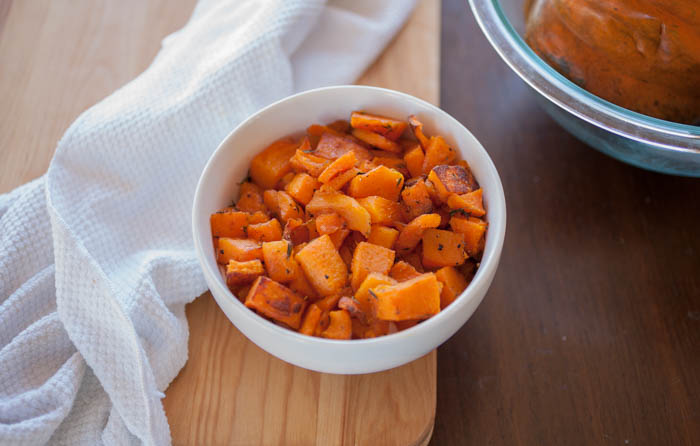 …
…
Friday Bits: How to Roast Squash
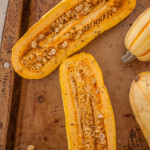
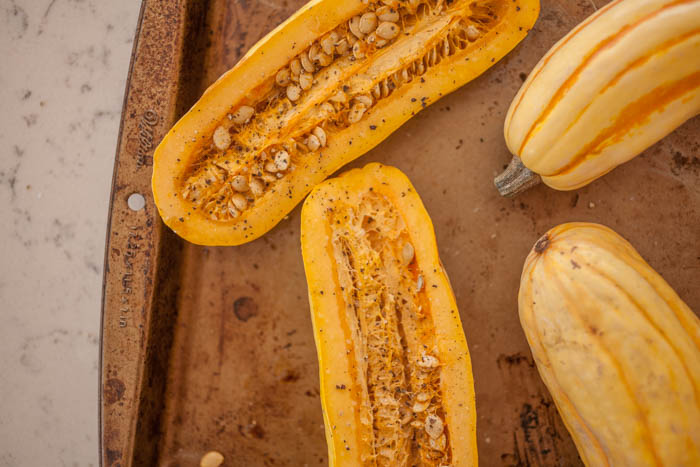 It’s definitely fall: besides changing trees and pumpkin spice lattes popping up everywhere, there are tumbling towers of squash in every grocery store. From sweet little delicatata to humongous spaghetti squash and even bright shiny pumpkins, you have your pick of kind and taste.
Roasting is one of my favorite ways to prepare squash. It brings out the rich flavor and sweetness of the flesh. Plus, there is so much you can do with roasted squash!…
Oh So Perfect Basic Granola Recipe
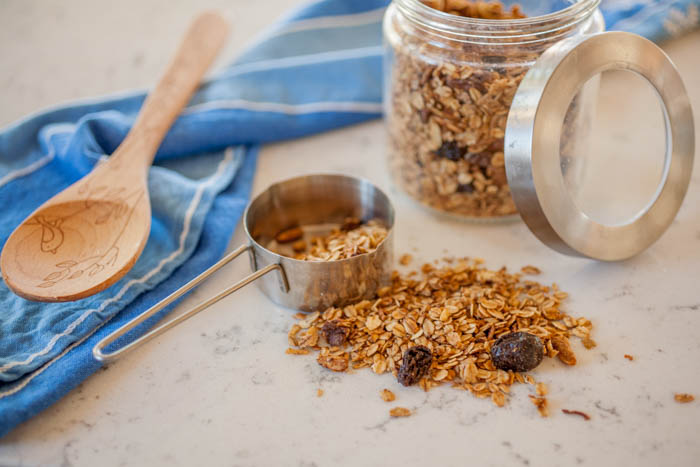 I love cereal of some sort in the morning. Lately, my husband and I have been eating oatmeal in the morning and one of our favorite things to add to the oatmeal is granola. We just sprinkle it on top to get an extra boost of flavor, sweetness, and crunch. And the best part is, it’s homemade granola!
Despite the long name of the blog, this recipe is simple and results in a sweet, crunchy, an oh-so-satisfying morning (or afternoon, or evening) treat! It’s so perfect by itself as a quick snack or with milk, mixed with yogurt, or even sprinkled over ice cream!
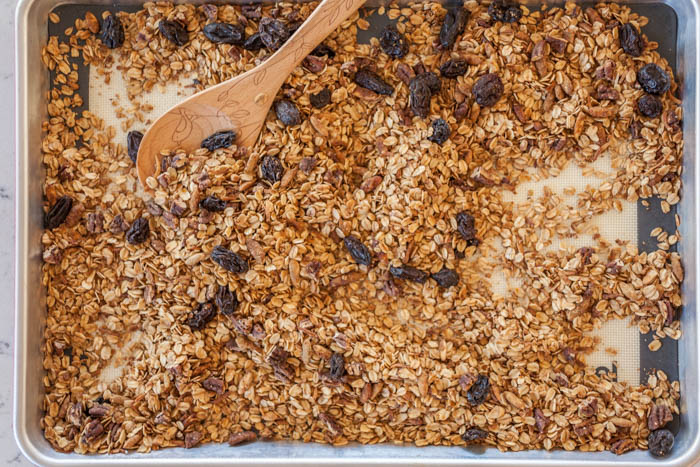
This recipe is the very basic building blocks of granola. From here, you can add almost anything you want to change up the flavor! You can choose how sweet your granola is, how toasted it gets, etc. More on that below.
…
Strange Measurements OR What Exactly is a “Pinch”?

Excuse the mess! As you may have noticed, Flurries of Flour is going through a bit of a fall cleaning. And as I’m one person who is definitely not a programmer, it’s taking a while. I’m very excited about the new theme, however. What do you all think? I’ll be adding (and probably subtracting) over the next week or so. Please let me know if you notice anything strange or any broken links that need attention-I would be grateful if you would let me know.
Anyway, on to the actual post!
When it comes to questions about cooking, I get this a lot: “what exactly is a pinch? How much of (insert ingredient here) should I use?”
You can easily measure a cup of whipped cream, a teaspoon of chocolate, or a liter of soup stock, but there are some strange measurements out there for which there usually aren’t measurements.
Why is it Called a “Pinch”
A pinch is called a pinch because it was exactly that: “an amount that can be taken between the thumb and forefinger”. Historically, there wasn’t anything more specific than that. More recently, the measuring spoons and cups measured above have specified that a pinch is equal to 1/16 of a teaspoon.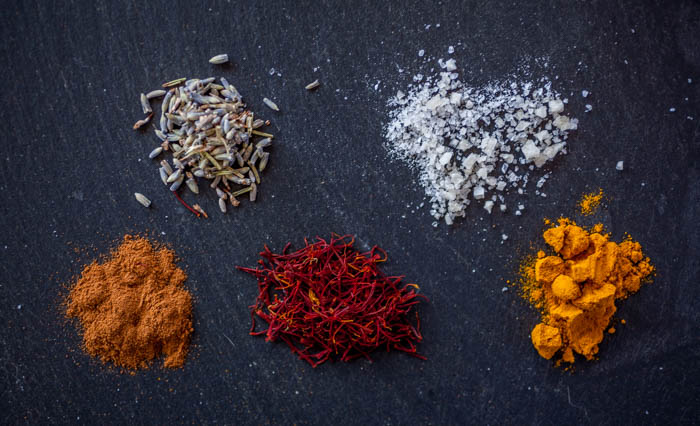
The Actual Measurements
I’ve put together a chart that shows strange measurements and their measurable counterparts:
| Pinch | 1/16 of a teaspoon |
| Dash | 1/8 of a teaspoon |
If you don’t have an 1/8 measurement, in a pinch (see what I did there?) you can make a cupping motion out of one hand and pour the ingredient into the very center of your palm. It’s a technique I was taught in culinary school, of all places.
You can also use your teaspoon and eyeball an 1/8th and a 1/16th. Just remember that it’s okay to be slightly off with your measurements. It’s a small enough measurement that it won’t affect the outcome of whatever you’re making. Plus, pinches have always been an inexact science if you think about their origin.
So I hope that answers your questions about “pinches” and “dashes”. Now you know what to do when they come up in recipes.
 ‘Till next time!