 When you think of the autumn harvest, you probably think squash and pumpkins and root vegetables like carrots. This creamy pasta sauce is full of squash and pumpkin and says comfort food and cozy evenings. It’s also simple to make, makes a beautiful base for further flavors and additions, and stores perfectly in the freezer for later use!…
Savory Baked Eggs

Guys, this is a special recipe! It is 1) quick and easy to make, 2) is healthy, and 3) tastes amazing! Silky, just-set eggs nestled in a savory tomato sauce (with a little spice, if you like), with some wilted greens and Parmesan melted and just beginning to brown on top—it’s heaven! And you can also have these savory baked eggs for breakfast, lunch, and dinner!
…
30-Minute Pumpkin Spice Rice Pudding

I know, I’m on a fall dessert kick, first with the last week’s warm Calvados apple galette, and now with a rice pudding! This rice pudding is special—it’s full of pumpkin spice goodness and it’s also ready in 30 minutes! Plus, it’s dairy-free and gluten-free, and doesn’t require the hours of stirring of traditional rice pudding methods. This pumpkin spice rice pudding is creamy, sweet, spiced, finished in a hurry, and absolutely delicious. It’s a dessert to enjoy warm on cold fall evenings!
…
Warm Calvados Apple Galette

I love pumpkin and pumpkin spice as much as the next person (just look at my recipes for pumpkin spice panna cotta and spiced pumpkin and carrot soup), but I also love the fact that fall is apple season! And there’s almost nothing as perfect to celebrate apple season with as this warm Calvados apple galette! It’s fall in a crust—seriously! Warm, spiced, and everything you think about when you think cozy!
…
Spiced Pumpkin and Carrot Soup

It’s still warmish during the mid-days around here, but the mornings and evenings are chilly! And what’s better for chilly evenings than soup? Especially this ultra-flavorful, velvety spiced pumpkin and carrot soup that uses the best of fall’s produce!
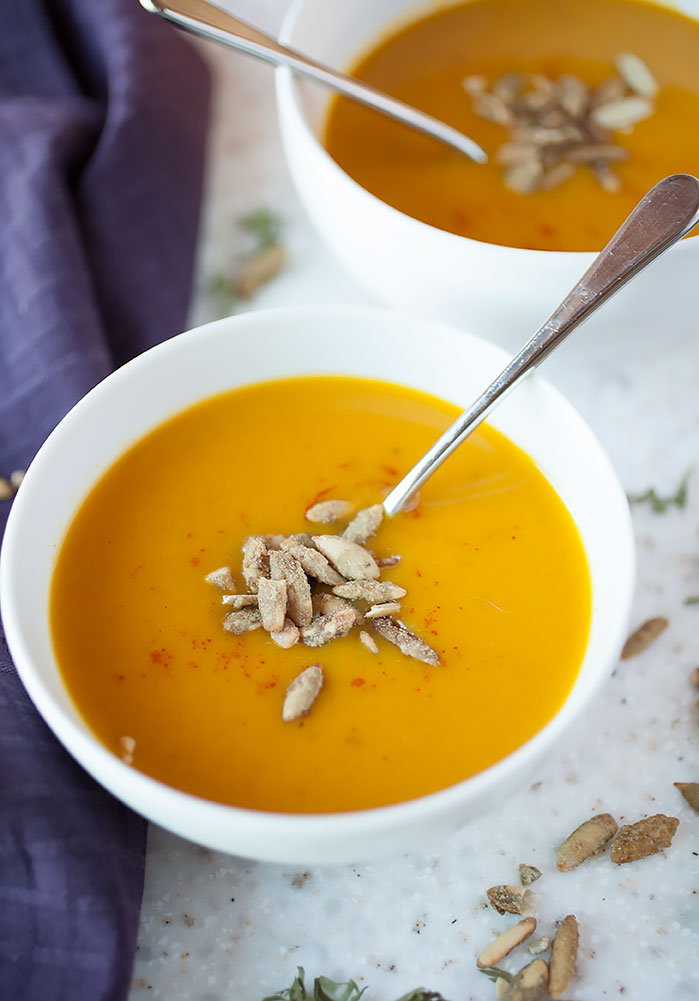
When we moved last month, I found the pumpkin puree I made last year from the little sugar pumpkins. I had to use it, but for what? I also had some carrots that needed to be used up, and then the idea popped into my head—soup!
Also, one of my favorite things during the cold months (besides soup) is something with spice in it—it just gives me that warm, cozy feeling, and this soup does just that! It’s absolutely packed full of bright, warm flavors and a little bit of spice to warm you up even on the coldest of days!…
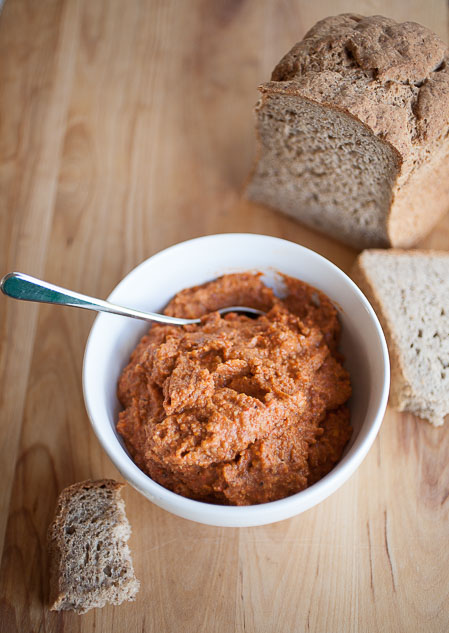
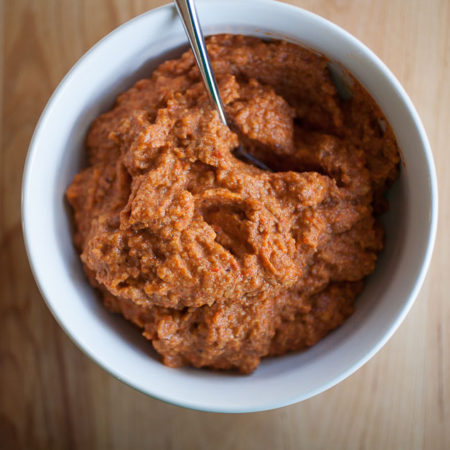
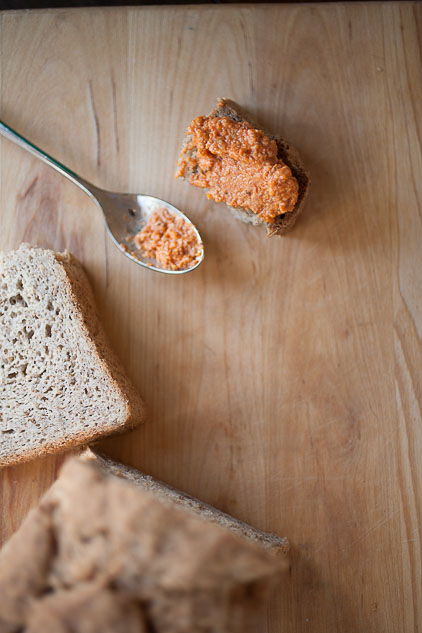
Farmers Market Romesco Sauce

 The first time I had romesco sauce was on a trip to San Francisco to visit old friends. We had lunch at Greens, a well-known vegetarian restaurant at the Presidio. I ordered their roasted veggie slab, an enormous freshly-made ciabatta sandwich piled high with roasted veggies. To this day I remember how amazingly delicious that sandwich was and how beautiful the view of the bay and the Golden Gate from our table next to the big picture window (no fog that day).
Besides the ciabatta and the perfectly grilled vegetables, what really made the sandwich so memorable was the romesco sauce. It was this perfectly sweet, yet savory, yet slightly spicy spread that added an entirely new dimension to the sandwich.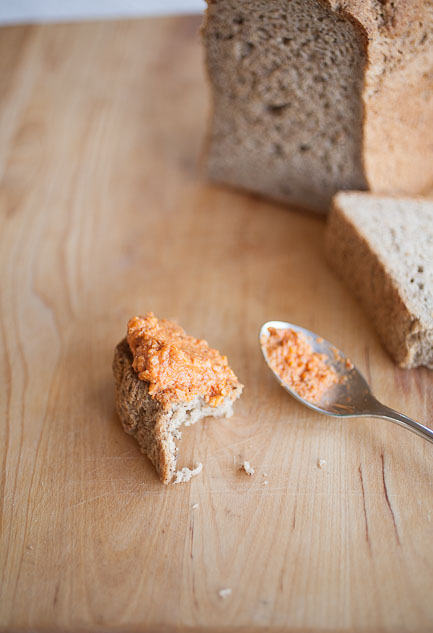
Thus began my love affair with romesco sauce.
Romesco sauce, or salsa romesco, is Spanish in origin, specifically the Catalonia area in North West Spain. Legend says that the fisherman of Tarragona (the specific town in the Catalonia region from which romesco is supposed to come) would make this sauce with a mortar and pestle to eat with the fresh catch of the day.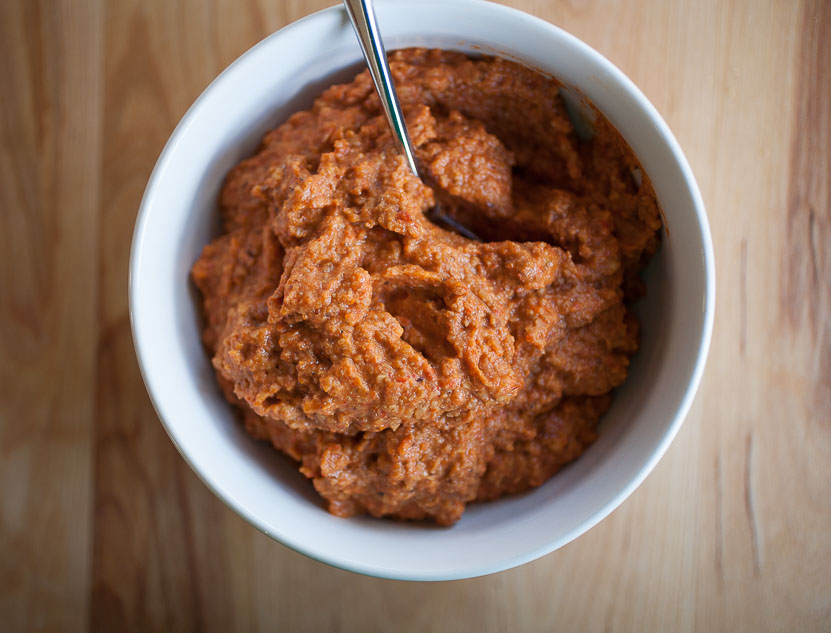
It’s rich, creamy, and absolutely full of bright, sweet-roasted-savory flavor. It’s such an amazing addition to any meal you can roast on the grill, like vegetables, chicken, beef, corn on the cob, broccoli, in a salad, on a roasted veggie sandwich… (I should probably create a recipe, come to think of it…). Also, of course, it goes well with fish. One word of caution: because it’s such a strongly flavorful sauce, I wouldn’t use it with anything too delicate, like a mild-flavored white fish. The romesco would just end up being overwhelming and the only thing you could taste.
It also lends itself perfectly to the inclusion of farmers market produce, especially tomatoes and peppers. It’s what I used to make the romesco in these pictures. It just adds that special addition of sweet (and sweet pepper) flavor. Thus, this farmers market romesco.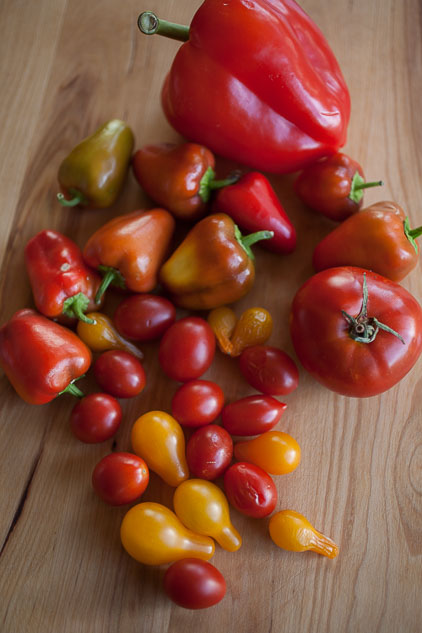
I admit, this recipe isn’t as simple as most of the recipes I post here—definitely not a set-it and forget-it type of sauce. You have to prep and roast many of the ingredients. It’s absolutely worth it, though, and if you’re already grilling, why not add a few more ingredients?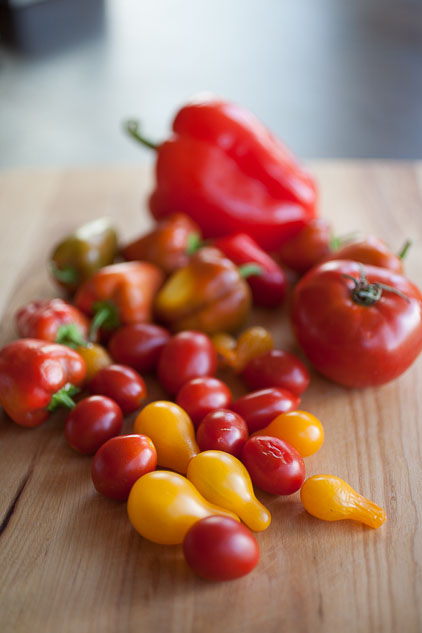
There are also two ingredients you may not have but are pretty essential to give this recipe its taste—smoked Spanish paprika and sherry vinegar. The smoked paprika gives the sauce a deeper, smoky flavor and the sherry vinegar gives a slightly acidic but mildly sweet addition. A vinegar like balsamic would be too strong, in my opinion.
Also, you’ll need to roast peppers and peel them. If you need more information, you can look at the blog on roasting green chile and follow the instructions there—the result will be the same no matter what pepper you use.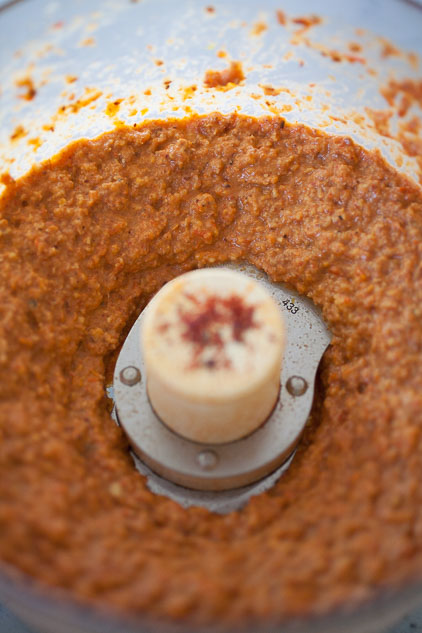
Farmers Market Romesco Sauce
Prep time
Cook time
Total time
Author: Samantha Gallegos
Recipe type: Sauce
Cuisine: Spanish
Serves: 12
Ingredients
- 1 slice of day-old crusty bread (gluten free works very well if you so desire)
- ¼ C of almonds
- 3 to 5 cloves of garlic
- 2 large bell peppers
- 1 tomato (or a cup of little ones)
- ¼ C. olive oil
- 2 Tbsp. sherry vinegar
- 1 Tbsp. smoked Spanish paprika
- Salt and Pepper
Instructions
- Toast the almonds in a pan over medium heat, stirring often, until just golden.
- Toast the piece of bread until golden.
- Roast the peppers and tomatoes on the grill or under the broiler until soft or, in the case of the peppers, charred all over, about 20 minutes (but check often).
- Put the peppers into a plastic bag or into a bowl covered with plastic wrap and let sit for 15 to 20 minutes. Remove the skin from the peppers along with the core and seeds.
- Place all ingredients into a food processor and puree until smooth. You can add any seasoning to taste.
- Romesco sauce can be kept in an air-tight container for up to 5 days.
It takes a bit of prep, but I promise it’s completely worth it–we’ve been eating the batch I made last week on pretty much everything–no joke!
‘Till next time!
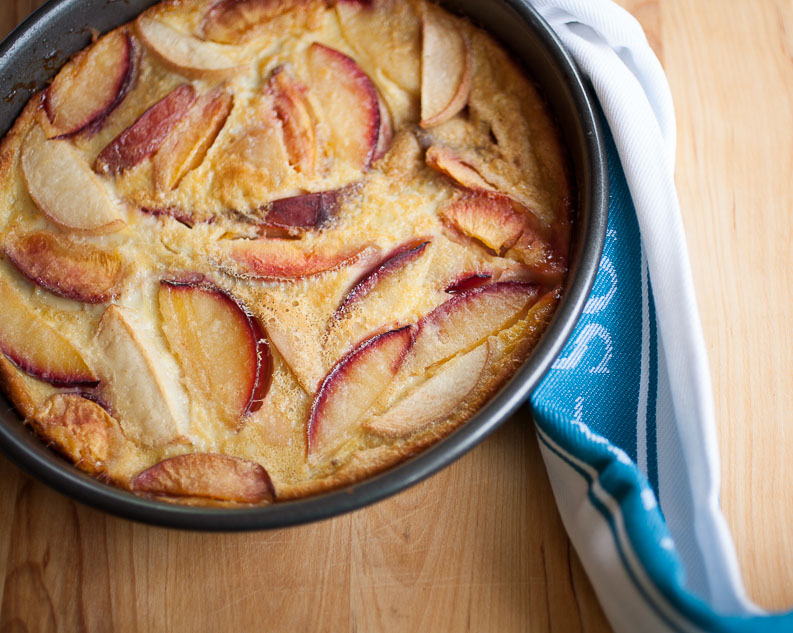
Honey and Stone Fruit Clafouti

 Late summer is the season for stone fruit—peaches, plums, nectarines, apricots, and cherries. (They’re called stone fruit because of the large, dense seed you find in the middle.) I’ve see baskets and baskets of peaches at the farmers market last weekend and this weekend and there are mountains tumbling off displays at the grocery store.
Late summer. Can you believe it?
I feel like we’re rushing to get as much out of summer as possible because it’s barely before it’s begun. So, to squeeze in as much summer as possible, we’ve been taking weekly trips to the farmers markets and eating up every last ounce of the tastes of summer, and this honey and stone fruit clafouti fits the bill perfectly!
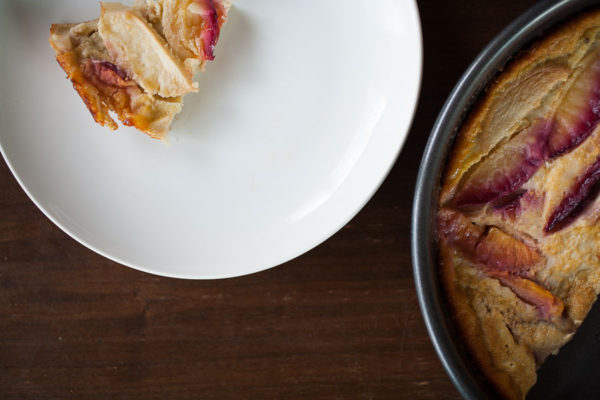
You do have to turn on the oven, but the result is full of flavor and completely worth it: sweet plums and cherries, tart apricots, mellowly sweet peaches together with honey in a slightly cakey, slightly custardy clafouti.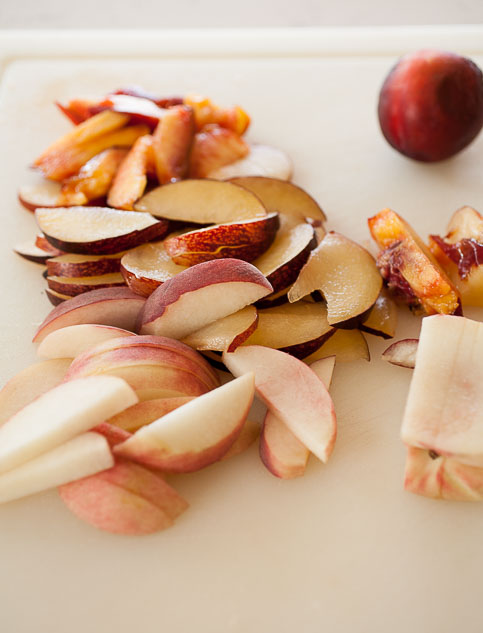
A clafouti (or as my husband calls is a “kerfuffle”, not to be confused with a “kerfluffle”, which is what we call a group of huskies…) is a beautifully simple French dessert—it takes minutes to put together and has a minimal number of ingredients.
Besides the fact that it’s delicious and simple, why did I choose it for this particular blog post? Because the simplicity of the ingredients allows the fruit—whatever fruit you’re using—to shine. It’s the perfect way to savor the summer.
A few notes: the recipe usually calls for a ceramic dish, but I don’t have one as of yet, so I used a nine-inch cake pan with low sides.
You also need to make sure you really beat the eggs until they’re foaming—it will help whip air into the mixture and ensure the custard inflates.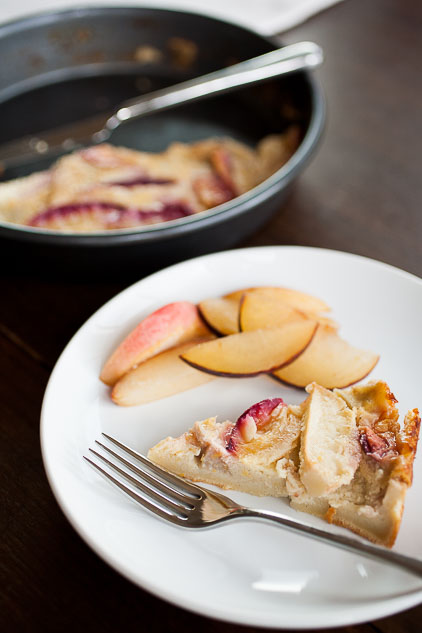
Allergy-Friendly Options: this recipe is perfectly good with gluten-free flour! In fact, the cake I used for these photos was made with gluten-free flour. I used the Trader Joe’s brand, which is pretty good and cheaper than most, but you can use your favorite brand of gluten-free flour.
You can also make this dairy free by using almond milk, or another type of non-dairy milk. While I haven’t tested this recipe with all non-dairy milks, it certainly works just as well with almond milk as with dairy milk (husband tested, husband approved. And he’s not a fan of almond milk. “You can’t milk an almond,” as he says).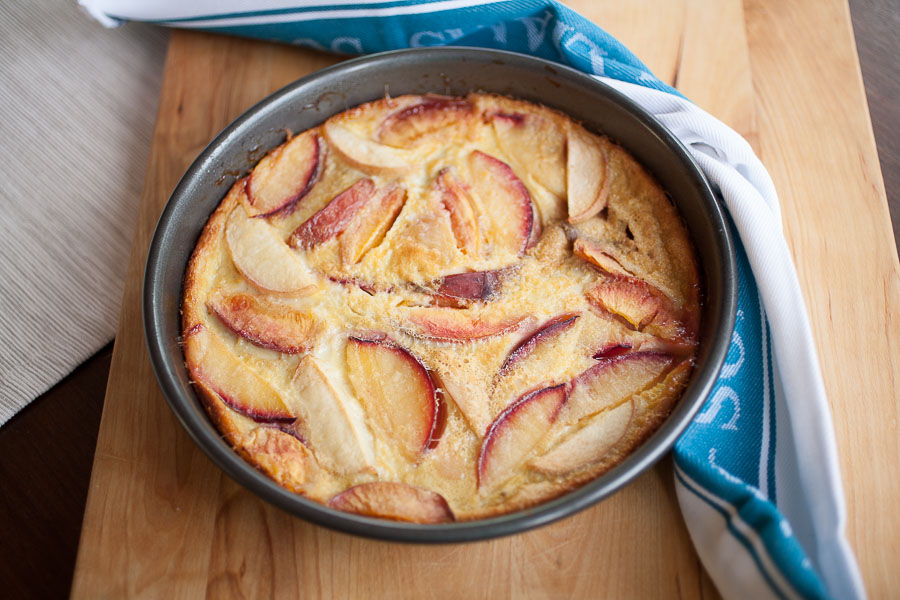
Honey and Stone Fruit Clafouti

Prep time
Cook time
Total time
The best of summer's stone fruit is the star in this simple, delicious, custardy honey and stone fruit clafouti!
Author: Samantha Gallegos
Recipe type: Adapted from Julia Child's Pear Clafouti Recipe
Serves: 8
Ingredients
- 2 to 3 pieces of stone fruit cut into ⅛ inch slices and/or a handful of pitted cherries cut in half
- 1 C. whole milk or almond milk
- ½ C. all-purpose flour or gluten free flour
- ¼ to ½ C. honey, plus more for drizzling
- 3 eggs
- 2 Tbsp. butter
- 1 Tbs. vanilla extract
- 2 tsp. cinnamon
- ⅛ tsp. salt
Instructions
- Butter a nine-inch cake pan or ceramic dish and preheat the oven to 350°.
- Slice all the stone fruit into ⅛ inch slices, or, if using cherries, in half.
- Crack the eggs into a bowl and whisk until light in color and frothy. Stir in the vanilla, milk, salt, and cinnamon and whisk until combined.
- Melt the butter and pour it into the pan, then drizzle honey over the butter.
- Arrange the stone fruit pieces in the bottom of the pan in a single layer, then pour the batter over the stone fruit.
- Place the clafouti into the oven for 50 to 60 minutes until set, puffed, and browned.
- Allow to cool for a few minutes and enjoy!
This dessert pairs beautifully right out of the oven with vanilla ice cream or even a crème anglaise, but it’s also perfectly good just the way it is.
‘Till next time!

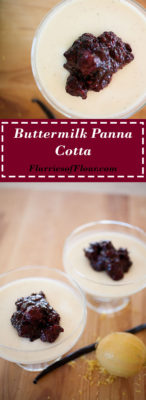
Buttermilk Panna Cotta with Warm Berry Compote

 As I promised in last week’s warm summer berry compote blog, I’m posting a recipe for a dessert over which the compote goes absolutely perfectly: buttermilk panna cotta.
In Italian, panna cotta means “cooked cream”, and that’s really what this recipe is. I believe I extolled upon the virtues of, and my love for, panna cotta in the pumpkin spice panna cotta recipe I posted last fall. It’s one of my favorite desserts to make and to eat: soft, creamy, cool, sweet but not too sweet, and with a little tang and fresh tartness from the buttermilk and lemon zest. It’s also a perfect low-heat dessert for these, the hottest days of summer (and wow has this summer been hot…). You don’t need an oven, there’s not a lot of work, you barely need to turn the stove on, and it comes out of the fridge nice and cold. There are also very few ingredients. 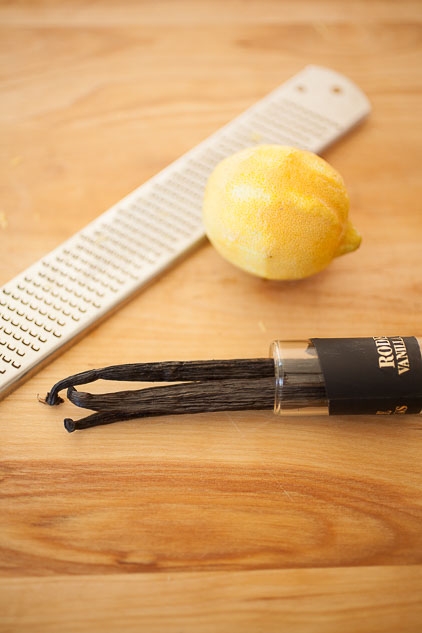
So let’s say you’re having friends over for a summer dinner on the patio. Spend twenty minutes that morning (at the most) in the kitchen, put the panna cotta in the fridge, and it will be ready to pull out and serve whenever you and your guests are ready. Just spoon the berry compote (warm or not) on top and you have a delicious and very pretty dessert!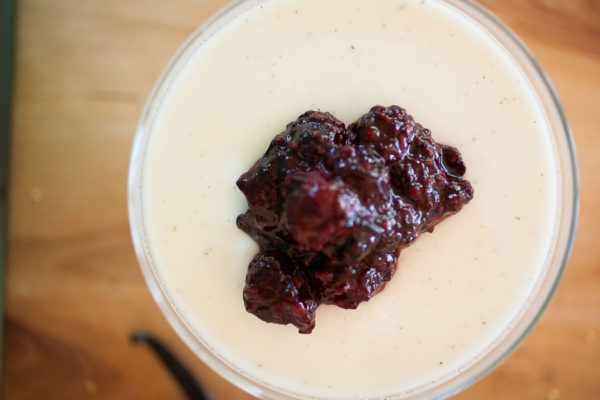
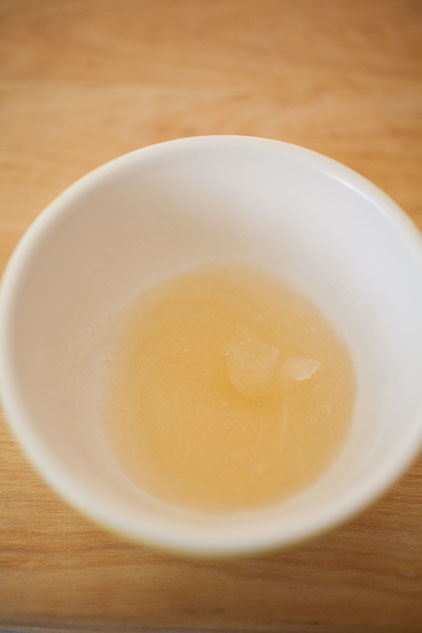
A quick note: The recipe states that the gelatin needs to “bloom”. It will look a little odd and look like it’s already hardened, but no need to worry. It will melt when combined with the warmed milk and set beautifully. Blooming gelatin looks a little bit like this:
Buttermilk Panna Cotta with Warm Berry Compote
Prep time
Cook time
Total time
This is one of my favorite desserts to make and to eat: soft, creamy, cool, sweet but not too sweet, and with a little tang and fresh tartness from the buttermilk and lemon zest. It’s also a perfect low-heat dessert for these, the hottest days of summer!
Author: Samantha Gallegos
Recipe type: Dessert
Cuisine: Italian
Serves: 6
Ingredients
- 2 cups buttermilk
- 1 cup milk
- 1 packet of gelatin
- ¼ - ½ cup sugar or honey
- 2 Tbsp. water
- 1 vanilla bean and seeds or 2 tsp. vanilla extract
- ½ tsp. lemon zest
- 1 recipe of warm berry compote
Instructions
- Stir together the gelatin and 2 Tbsp. water until combined and set aside to let “bloom”.
- Heat the milk, sugar or honey, and vanilla bean and seeds (or the extract over medium-low heat). Stir until the sugar has fully dissolved and the milk is just barely simmering. There will be tiny bubbles around the sides and just a few bubbles under the surface.
- Take the milk off the heat (remove the vanilla bean, if using) and stir in the gelatin and lemon zest.
- Pour into dessert dishes, ramekins, or molds and place in the fridge. Allow to set for at least two hours or until the panna cotta is fully set.
- Serve topped with warm (or cooled) berry compote and enjoy!
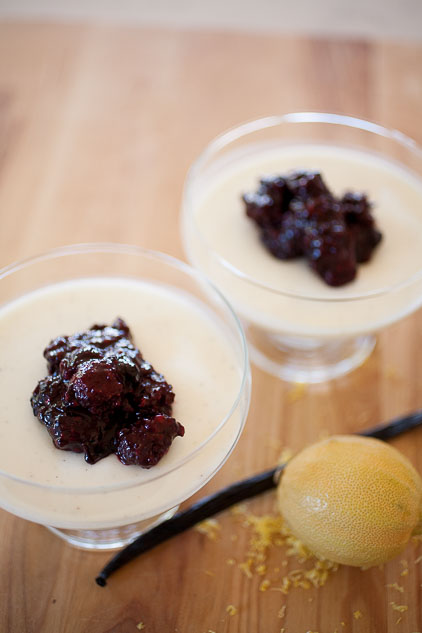
Simple and so good! It even looks pretty in whatever you serve it, especially with the deep reds and purples of the berry compote.
‘Till next time! (There’s one more dessert coming in this summer’s dessert series!)
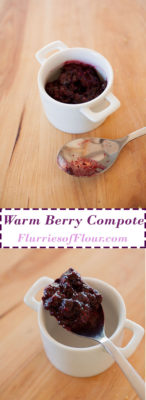
Warm Summer Berry Compote
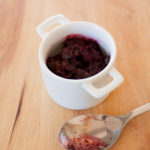
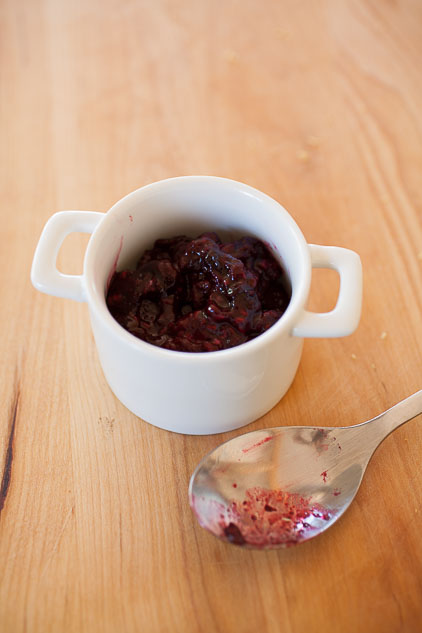
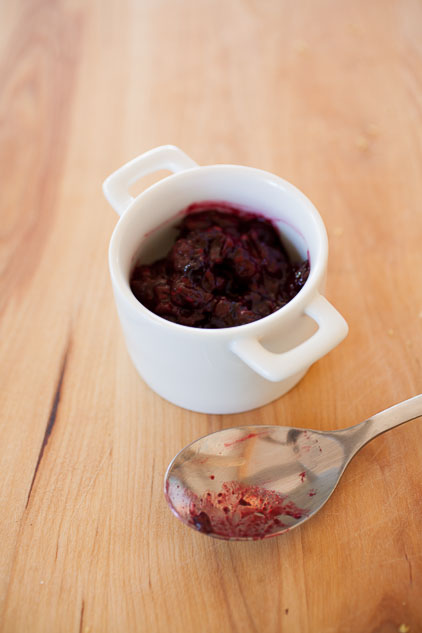 This summer on the blog is, apparently, all about berries. I made a berry compote to top a sweet cornbread for Fourth of July a few weeks ago and let me tell you, it was a miracle any of it made it to the top of the cornbread. It took a lot of self-control not to eat the entire pot with a spoon. It’s like eating the filling of a berry pie, which is really my favorite part.
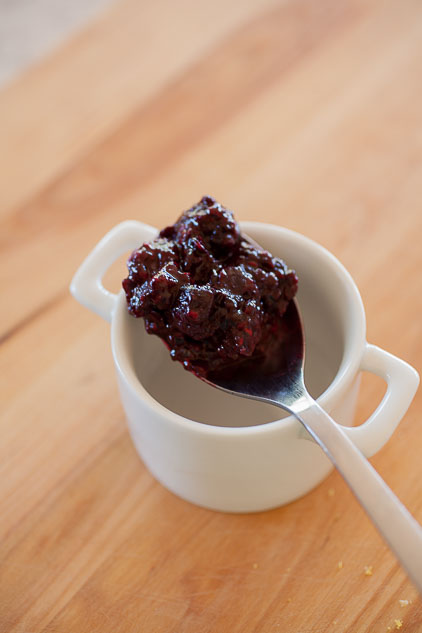
This compote is also super, super simple to make. I know, I always say that. But, really, all you do it pour whole berries into a pot, squeeze honey over them, turn on the heat and let them simmer down to sweet, sweet goodness. It’s sweet and slightly tart and bursting with berry flavor.
So good!
 You can use this berry compote:
- In pie
- In a hand pie or turnover
- Spooned over ice cream
- Mixed into a milkshake or smoothie
- Frozen in a homemade Popsicle
- Over grilled angel food cake or pound cake
And, really, this compote is just as good on its own, served warm in a bowl with just a spoon.
And although I’m making this with fresh summer berries, frozen berries are also a perfectly good option! (You can get more information on choosing summer berries at the store in last week’s blog, by the way.) Also, I’m adding a few ideas for add-ins that aren’t needed, but add some extra layers of flavor.
Warm Summer Berry Compote
Prep time
Cook time
Total time
Warm, sweet, and tart, this simple summer berry compote is perfect over summer desserts like ice cream or grilled pound cake!
Author: Samantha Gallegos
Recipe type: Dessert
Serves: 6
Ingredients
- 2 cups of fresh or frozen mixed berries (like blueberries, blackberries, raspberries, strawberries, and cherries)
- 3 Tbsp. honey
- 1 tsp. cinnamon (optional)
- ½ tsp. vanilla (optional)
- 1 tsp. lemon zest (optional)
Instructions
- Pour the berries in to a heavy-bottomed pan and squeeze 3 tablespoons of honey over top. Stir to combine.
- Turn the heat to medium-low and let the berries simmer, stirring frequently, for about twenty minutes, or until the berries are melting and the liquid is reduced and thickened. Don’t let it go too long or you will burn the berries.
- Serve.
 Tada! That’s it. My mouth is watering just thinking about it. I think I’ll go make some more, actually.
‘Till next time! (Sneak peek: next week I’ll be posting a recipe for you to serve these berries over…)
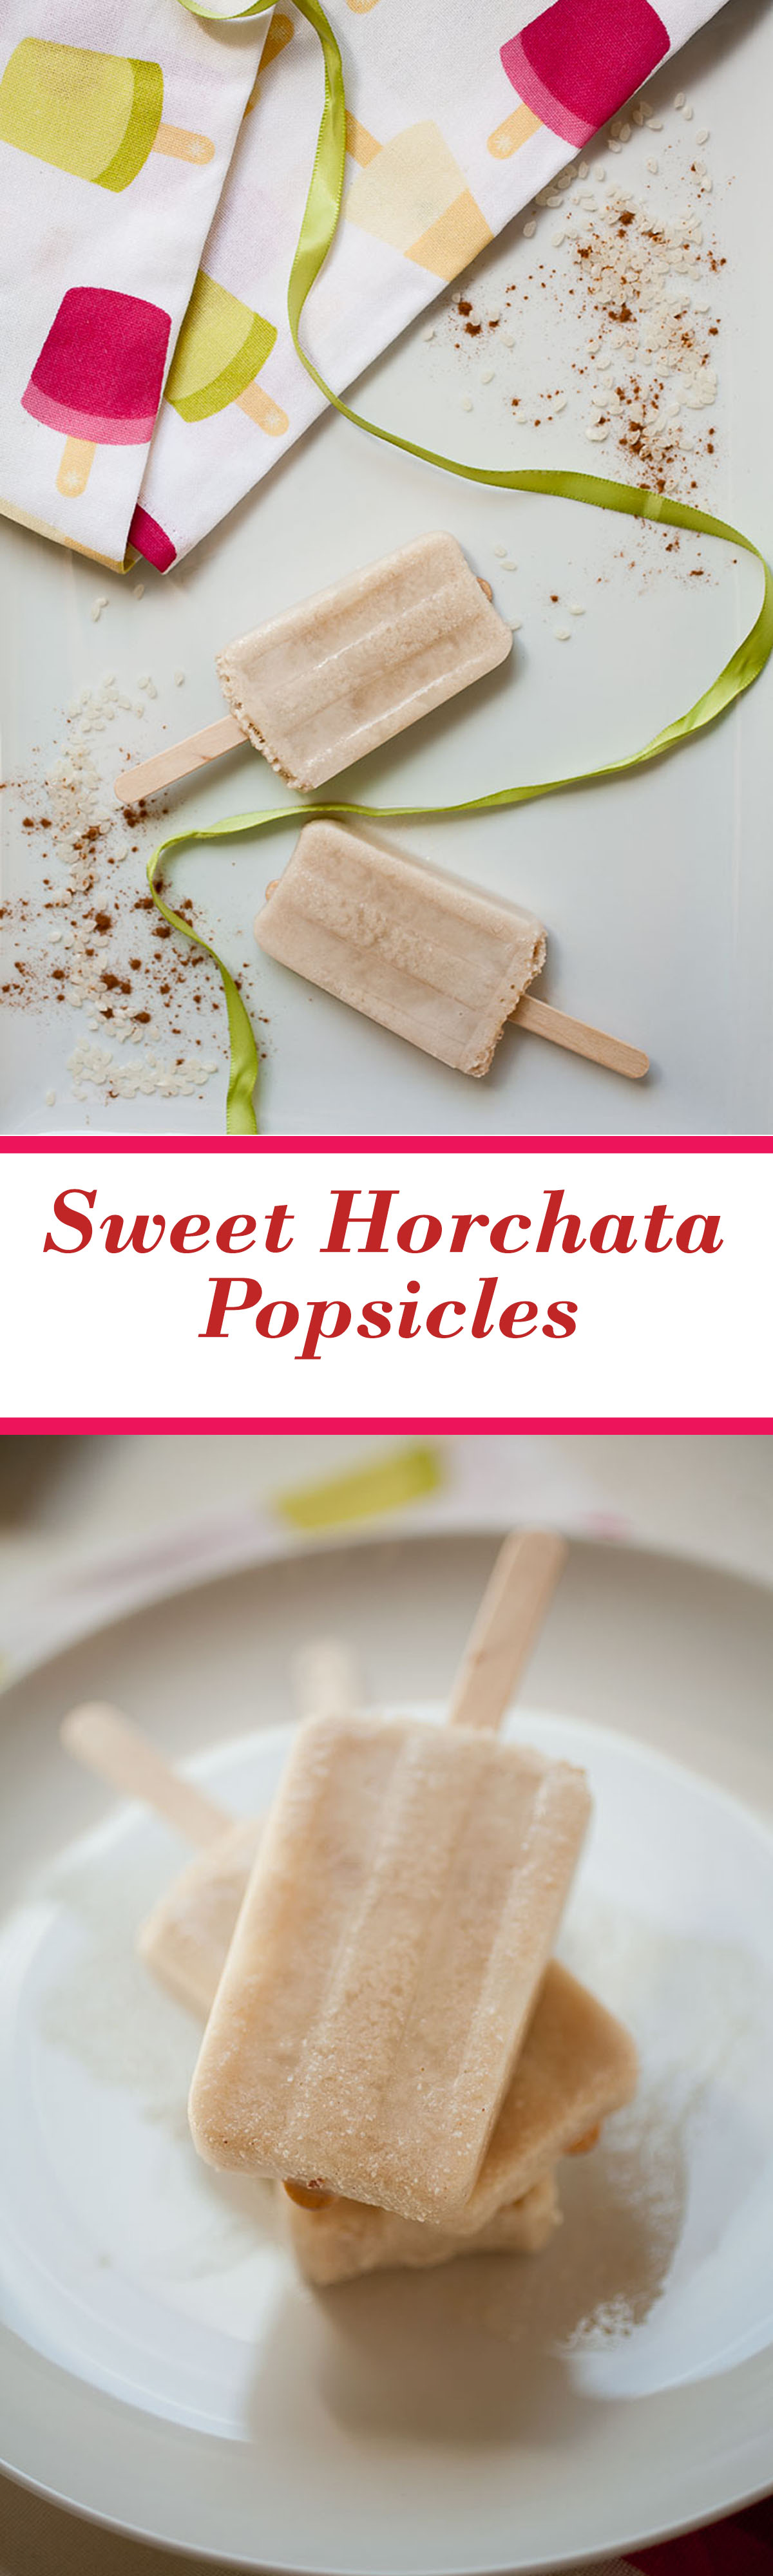
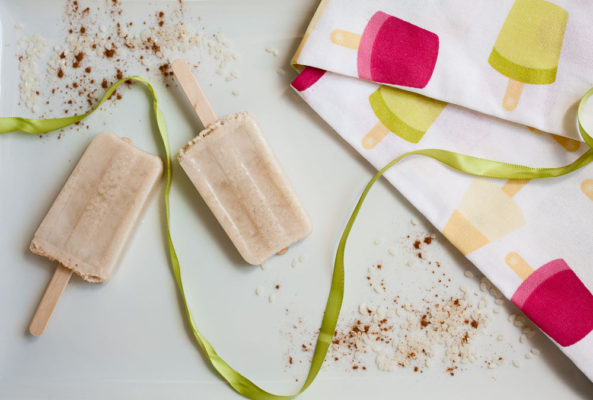
Homemade Horchata Popsicles

 It’s (just about) officially summer, and I don’t know about you, but I definitely love my Popsicles when it’s so stinking hot outside. Heat and me? We don’t get along well, so anything that will cool me down is great in my book, but if it’s sweet? Just a bonus!
So, continuing on the New Mexican theme, these horchata Popsicles are absolutely perfect for really hot summer afternoons and evenings. The only issue is that there is a bit of a wait, first for the horchata (it needs to sit overnight if you’re making it from scratch) and then another wait for the Popsicles to freeze. It’s completely worth the wait, though!
If you’ve never had horchata, it’s a sweet, creamy Mexican (and New Mexican) treat made with rice milk, almonds, cinnamon, and some kind of sweetener. My husband grew up drinking it and it’s really so refreshing served ice cold. Which is why as a Popsicle it’s a creamy, dreamy summertime treat with a nice touch of cinnamon!
As far as molds go, you can really use anything. I bought the mold for these Popsicles at Williams Sonoma last year, but your manner of Popsicle is completely up to you! (By the way, did you know that Popsicle is actually supposed to be capitalized? It’s not a generic word—it’s actually trademarked word. Even as a writer, I had no idea…).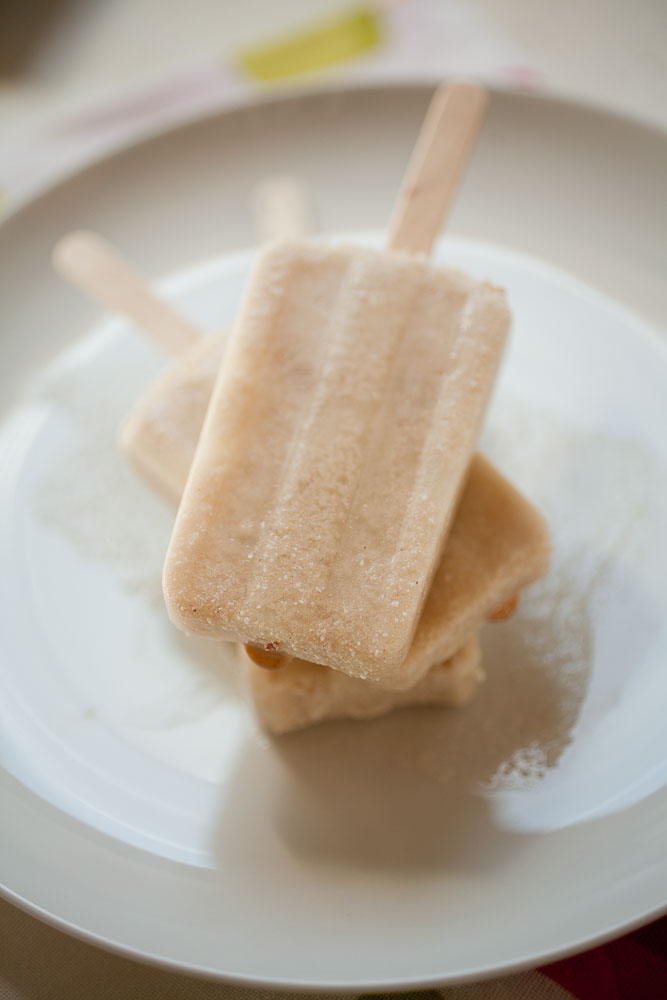
As for the recipe, I based it off of this recipe from Nosh On.It because I didn’t have one of my own. Also, full disclosure, I did not make the recipe completely from scratch. My spice grinder is broken and I just don’t have money to get another one. My solution was to buy rice milk. I also added some almond/coconut milk creamer to make the recipe thicker to help ensure the Popsicles wouldn’t be too watery. I also made the sweetener optional because, as I tested one batch, I realized I had completely forgotten to add the honey and yet, they were sweet enough without! However, I don’t like anything super sweet, so I’m not a great judge. Thus, honey is optional.
Finally, the recipe calls for straining the recipe through cheese cloth. I would really go for cheesecloth versus straining it through another type of strainer or even a fine-meshed tea strainer. I tried it both ways and the cheesecloth was the only way to get the really fine particles out of the mixture.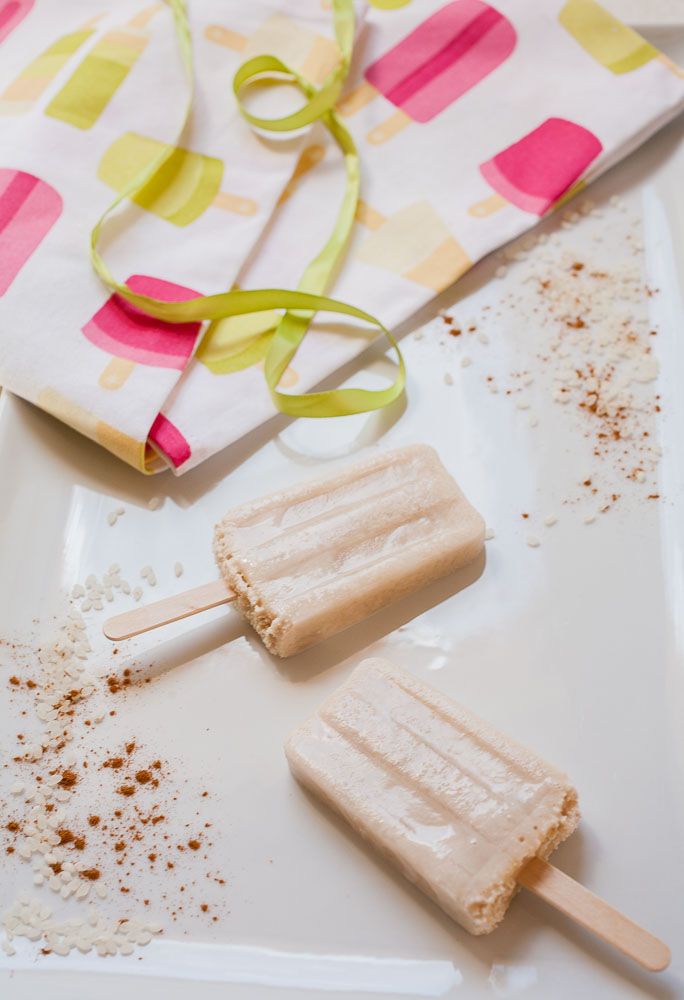
Homemade Horchata Popsicles
Prep time
Cook time
Total time
These homemade horchata Popsicles are a creamy, dreamy summertime treat, perfect for cooling you down on hot summer days!
Author: Samantha Gallegos
Recipe type: Dessert
Cuisine: Mexican
Serves: 8
Ingredients
- 1 cup almonds, skin removed
- 1 cinnamon stick or 3 Tbsp. cinnamon
- 2 cups rice milk
- 1 cup of warm water
- ¼ C. almond milk/coconut milk creamer (or creamer of choice)
- 3 Tbsp. runny honey (optional)
- Blender
- Cheese Cloth
Instructions
- Blanch the almonds by blanching them in boiling water for a minute, then rinsing them immediately under cold water (you can also dump them into a bowl of prepared ice water). Pinch each almond between two fingers and they should slip right out of their skin (fun, huh?).
- Cook the almonds in a dry skillet over medium heat, moving them continuously, until they’re lightly toasted.
- Pour the almonds, the rice milk, the cinnamon, creamer, and 1 cup of hot water into a large jar or bowl. Let cool to room temperature and then put into the refrigerator to soak overnight (at least 10 hours).
- Pour all of the contents of the bowl into a blender and blend on high speed until it’s completely blended and smooth.
- Drape cheesecloth over a pitcher or large measuring cup and strain the mixture.
- Pour into Popsicle molds and freeze for at least 4 hours, or overnight.
- Enjoy!
‘Till next time!