
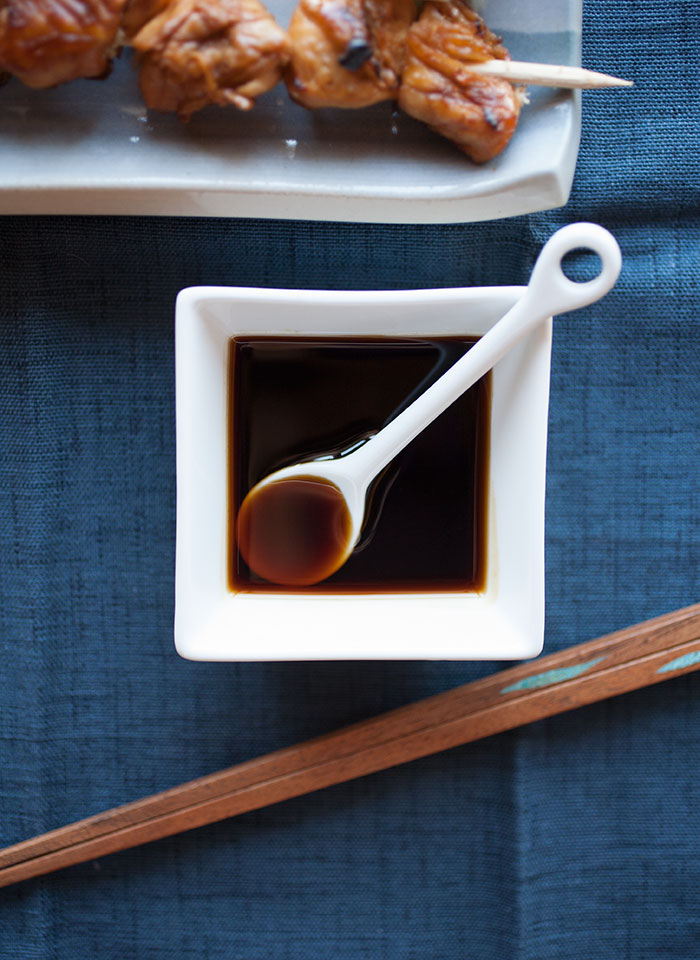
 Thick, rich, sweet and salty—it’s everything you’ll find in a teriyaki sauce. But it may not be the syrupy bottled sauce you’re used to. I’m using a traditional Japanese recipe for the sauce used to baste some type of meat, like chicken, as it is cooked over high heat to create a succulent, flavorful dish. This sauce, whether you use it for basting or as a sauce for a rice bowl, only uses four ingredients and requires very little prep, but produces a rich, deeply flavorful sauce full of both bright and salty notes. It’s really unlike anything you’ve tried from a bottle!…
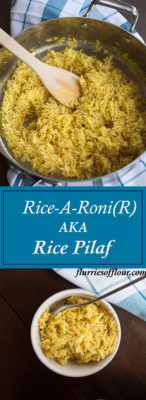
Rice-a-Roni® (AKA Rice Pilaf)
The first time I had Rice-A-Roni® was in high school when I was over a friend’s house for dinner. I didn’t even know what it was, to be honest, but darn it, it was good, especially for a kid who only got “treats” like these when I was over at someone else’s house (I didn’t get to taste Texas toast garlic bread until I was in elementary school and, again, over at a friend’s house). The food at home was wonderful and healthy, but it was fun to eat these types of treats when I was at someone else’s house.

Fast forward to today, and Rice-A-Roni is one of my husband’s comfort foods we buy every once in a while. We’d get it more often, but it has a long list of not-so-healthy ingredients and the salt content is kind of ridiculous. So, loving him as I do, I set out to make a copycat recipe.
I learned something really interesting while I was browsing through recipes—the original Rice-A-Roni recipe is based on a recipe for rice pilaf! I was intrigued. According to this NPR article, the creators of Rice-A-Roni, the DiDemenicos, lived next to an Armenian immigrant in San Francisco in the 1940s. Lois DiDemenico, a young immigrant herself, didn’t really know how to cook. Her next door neighbor, Pailadzo Captanian, took her under her wing and taught her several dishes, including a recipe for rice pilaf. The DiDemenico family took the recipe and created the product we know today.
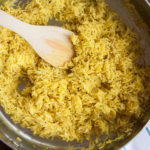
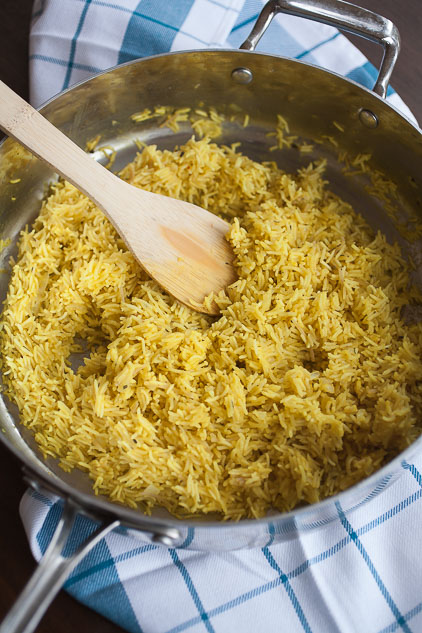
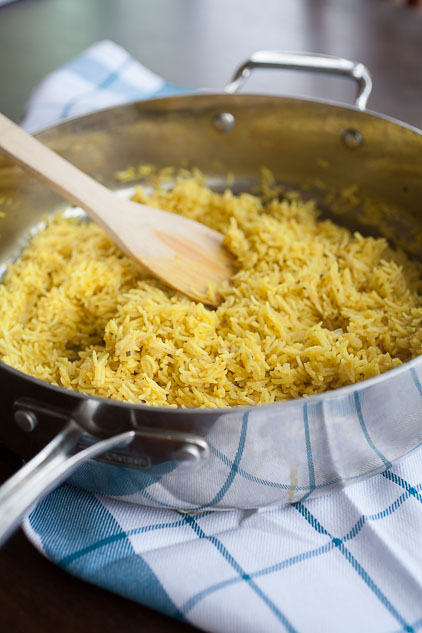
Rice pilaf is an ubiquitous Middle Eastern rice dish—each family, each country, each region has its own variation and there’s no one way to make it. It generally starts with a base of aromatics and results in a deliciously fluffy dish full of savory flavor. The secret to the fluffiness is to dry-cook the rice until it’s lost its translucency and looses some of its starch. This will help the rice absorb more liquid and make it fluffy instead of gummy.
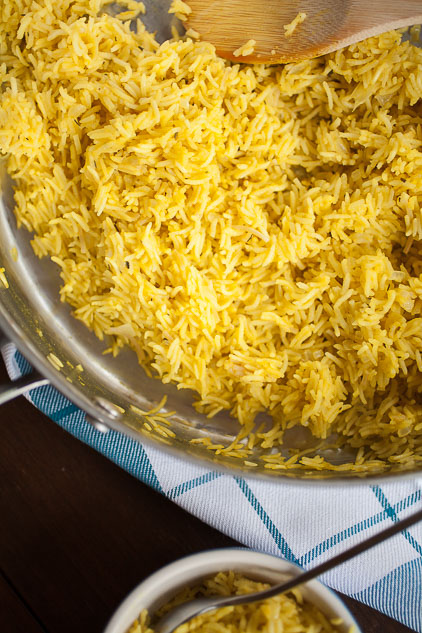
This recipe also include turmeric, just like the original recipe , which is what gives it that brilliant yellow color—plus, turmeric is really good for you.
Armed with that knowledge, and stealing some ingredients from the Rice-A-Roni box, I set out to make a replacement for the boxed version. It’s not as easy as pouring the content of the box into a pan, but it’s still a quick dish to make (on the table in just about half an hour), and I promise it’s completely worth it—it’s husband approved!
Rice-a-Roni® (AKA Rice Pilaf)

Prep time
Cook time
Total time
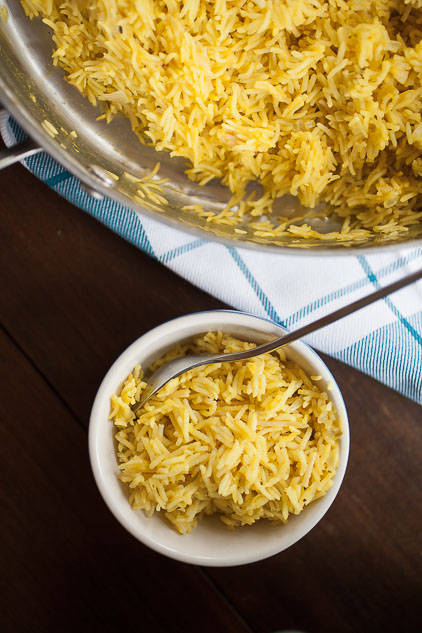
This fluffy, flavorful recipe for rice pilaf is a healthy Rice-a-Roni® copycat your family will love just as much as the boxed version and it's on the table in about 30 minutes!
Author: Samantha Gallegos
Recipe type: Side Dish
Cuisine: Middle Eastern
Serves: 6
Ingredients
- 2 ½ cups of low sodium chicken stock (has to be low sodium!)
- 1 ¼ cup of basmati rice
- 1 serving of vermicelli or other pasta broken in to small bits (I used GF rice pasta)
- 1 onion, finely chopped
- 1 clove of garlic, finely chopped
- 1 Tbsp. olive oil
- 1 Tbsp. butter
- ½ chicken bouillon cube or ¾ tsp. of Better Than Bullion (you can use less if you want less sodium)
- Italian flat-leaf parsley or 2 Tsp. Italian seasoning
- ½ tsp. turmeric
Instructions
- Heat olive oil in a sauce pan or pot over medium to medium-low heat until the surface is rippling, then sauté the onion and garlic until fragrant and translucent.
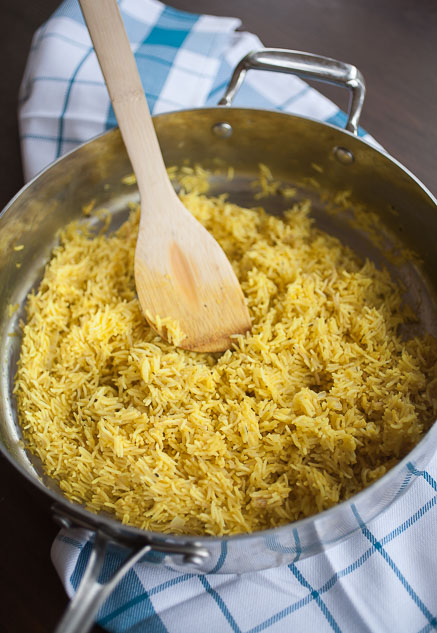
- Melted the butter, then add the dry rice, stirring it around until the rice has become less translucent (not quite so white), but not brown.
- Add in the bullion, turmeric, chicken broth, parsley or Italian seasoning and pasta and stir until fully combined.
- Let the rice cook 15 to 18 minutes, stirring infrequently (you don’t want to agitate the rice and cause it to release too much starch), until all the liquid has been absorbed but before the rice starts to stick to the bottom of the pan or pot.
- Take the pan or pot off the heat, cover, and let sit for five minutes.
- Serve and enjoy!
There you have a delicious copycat side dish, but this time, it’s pretty healthy and comes without all those strange ingredients or the same level of sodium.
‘Till next time!
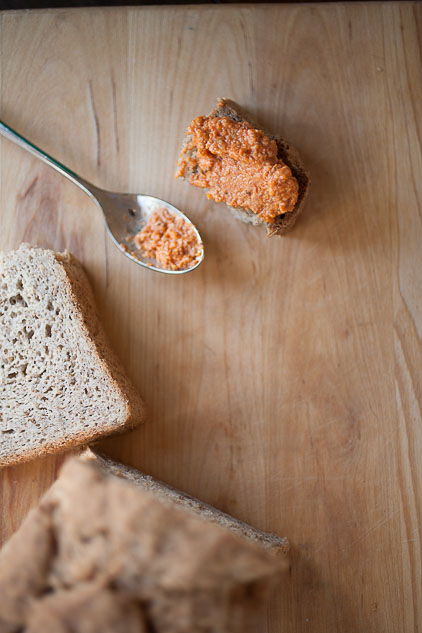
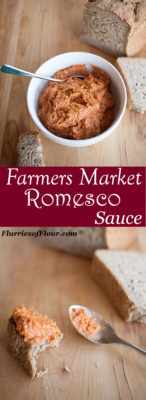
Farmers Market Romesco Sauce
 The first time I had romesco sauce was on a trip to San Francisco to visit old friends. We had lunch at Greens, a well-known vegetarian restaurant at the Presidio. I ordered their roasted veggie slab, an enormous freshly-made ciabatta sandwich piled high with roasted veggies. To this day I remember how amazingly delicious that sandwich was and how beautiful the view of the bay and the Golden Gate from our table next to the big picture window (no fog that day).
Besides the ciabatta and the perfectly grilled vegetables, what really made the sandwich so memorable was the romesco sauce. It was this perfectly sweet, yet savory, yet slightly spicy spread that added an entirely new dimension to the sandwich.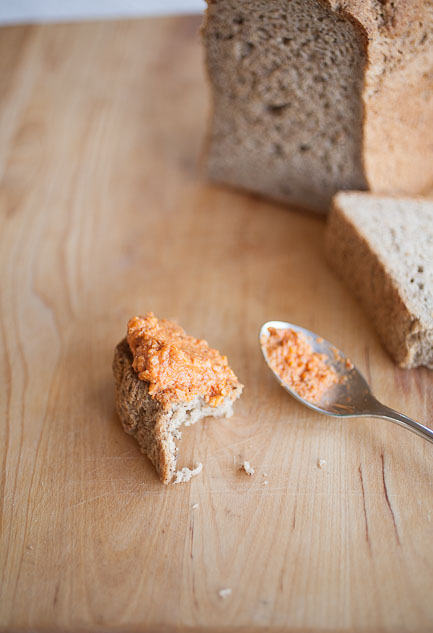
Thus began my love affair with romesco sauce.
Romesco sauce, or salsa romesco, is Spanish in origin, specifically the Catalonia area in North West Spain. Legend says that the fisherman of Tarragona (the specific town in the Catalonia region from which romesco is supposed to come) would make this sauce with a mortar and pestle to eat with the fresh catch of the day.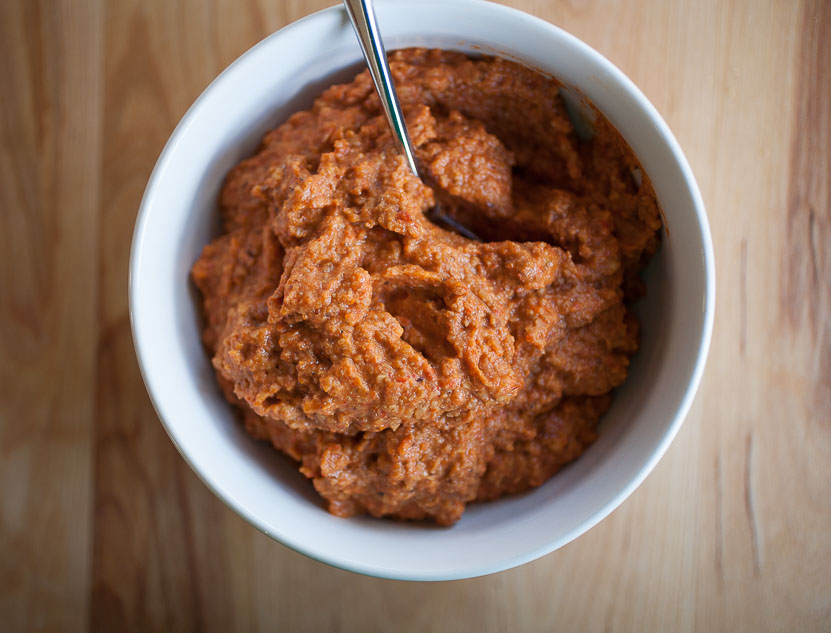
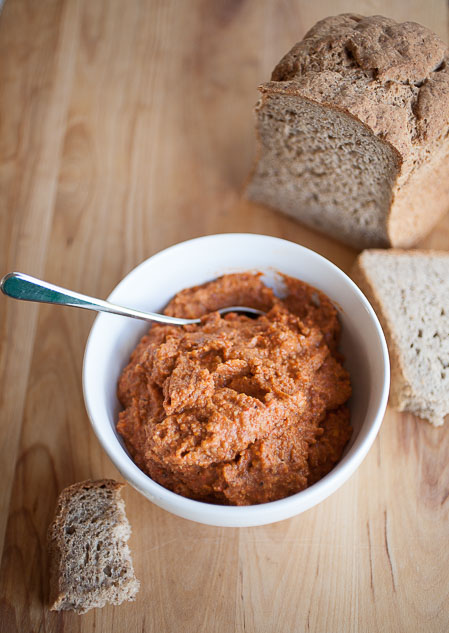
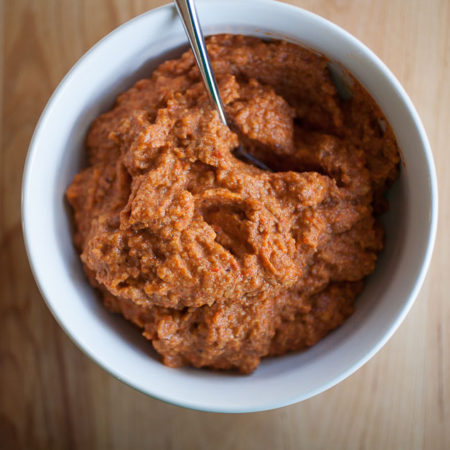
It’s rich, creamy, and absolutely full of bright, sweet-roasted-savory flavor. It’s such an amazing addition to any meal you can roast on the grill, like vegetables, chicken, beef, corn on the cob, broccoli, in a salad, on a roasted veggie sandwich… (I should probably create a recipe, come to think of it…). Also, of course, it goes well with fish. One word of caution: because it’s such a strongly flavorful sauce, I wouldn’t use it with anything too delicate, like a mild-flavored white fish. The romesco would just end up being overwhelming and the only thing you could taste.
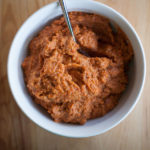
It also lends itself perfectly to the inclusion of farmers market produce, especially tomatoes and peppers. It’s what I used to make the romesco in these pictures. It just adds that special addition of sweet (and sweet pepper) flavor. Thus, this farmers market romesco.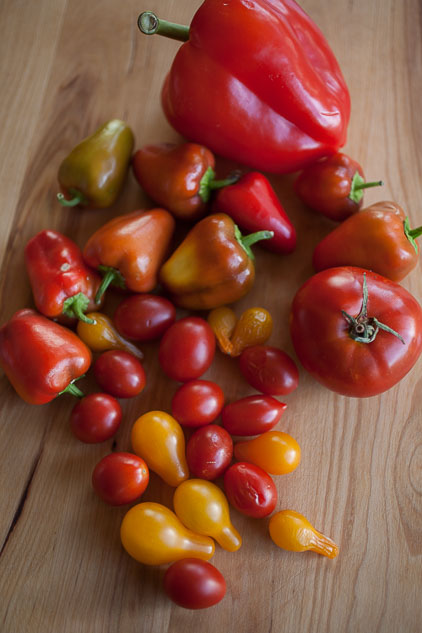
I admit, this recipe isn’t as simple as most of the recipes I post here—definitely not a set-it and forget-it type of sauce. You have to prep and roast many of the ingredients. It’s absolutely worth it, though, and if you’re already grilling, why not add a few more ingredients?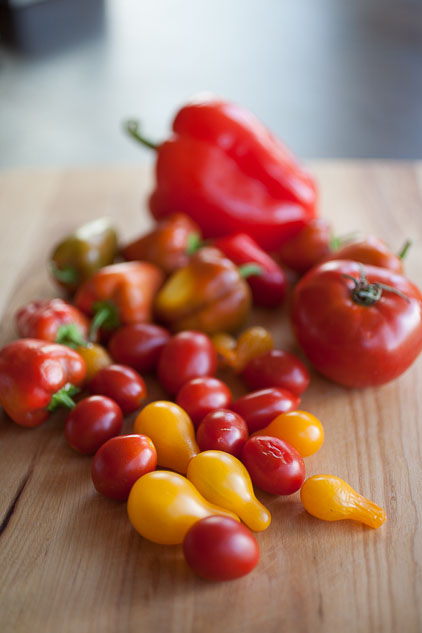
There are also two ingredients you may not have but are pretty essential to give this recipe its taste—smoked Spanish paprika and sherry vinegar. The smoked paprika gives the sauce a deeper, smoky flavor and the sherry vinegar gives a slightly acidic but mildly sweet addition. A vinegar like balsamic would be too strong, in my opinion.
Also, you’ll need to roast peppers and peel them. If you need more information, you can look at the blog on roasting green chile and follow the instructions there—the result will be the same no matter what pepper you use.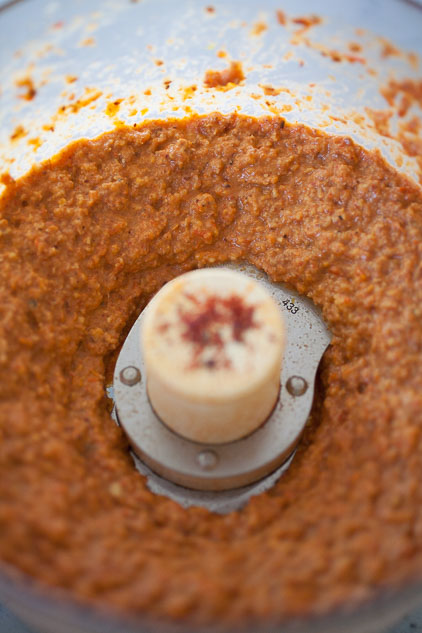
Farmers Market Romesco Sauce
Prep time
Cook time
Total time
Author: Samantha Gallegos
Recipe type: Sauce
Cuisine: Spanish
Serves: 12
Ingredients
- 1 slice of day-old crusty bread (gluten free works very well if you so desire)
- ¼ C of almonds
- 3 to 5 cloves of garlic
- 2 large bell peppers
- 1 tomato (or a cup of little ones)
- ¼ C. olive oil
- 2 Tbsp. sherry vinegar
- 1 Tbsp. smoked Spanish paprika
- Salt and Pepper
Instructions
- Toast the almonds in a pan over medium heat, stirring often, until just golden.
- Toast the piece of bread until golden.
- Roast the peppers and tomatoes on the grill or under the broiler until soft or, in the case of the peppers, charred all over, about 20 minutes (but check often).
- Put the peppers into a plastic bag or into a bowl covered with plastic wrap and let sit for 15 to 20 minutes. Remove the skin from the peppers along with the core and seeds.
- Place all ingredients into a food processor and puree until smooth. You can add any seasoning to taste.
- Romesco sauce can be kept in an air-tight container for up to 5 days.
It takes a bit of prep, but I promise it’s completely worth it–we’ve been eating the batch I made last week on pretty much everything–no joke!
‘Till next time!
Simple Fall Dessert: Pumpkin Spice Panna Cotta

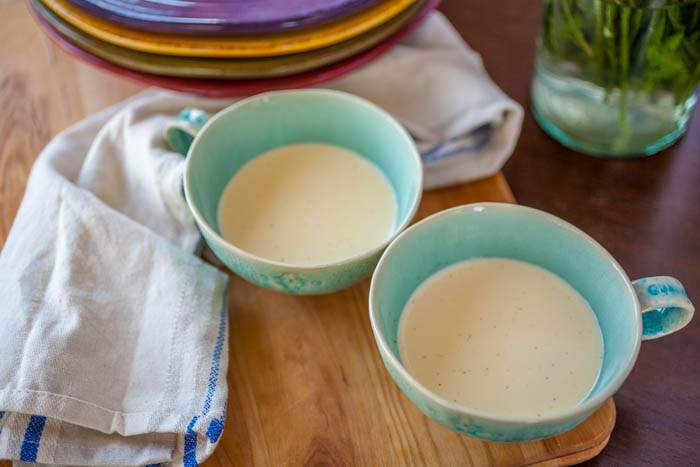 When we have people over for a dinner party, I love creating a show-stopping dessert. If I’m cooking the entire meal, however, I don’t always have the time it takes to create something that will make people go “wow”. This pumpkin spice panna cotta is the indulgent but simple answer to this challenge—it’s quick to make and this silky, creamy, but light dessert has just enough pumpkin spice flavor to please anyone!
This is definitely a decadent dessert with cream and sugar, but it’s so incredibly delicious and simple! Panna cotta has to be one of my favorite desserts, and I always get compliments and then silent eating (which is the real compliment). And because it’s pumpkin and squash season, I thought, what could be better than putting two of my favorite things together? And pumpkin spice panna cotta was born!…
International Food: London Markets

 When I was in college, as a student of International Studies, I was very lucky to get to go study in London for a month. It was an amazing experience and I have so many wonderful memories.
So what does that have to do with food?
I’ve had an idea for a while now to begin talking about international food every so often—basics, of course—and we’ll see if it’s a good thing.
Today, instead of a specific type of food, I’ll be talking about the markets in London. London has a number of open-air markets. I was able to go to three: Camden Market, Borough Market, and Greenwich Market. You wouldn’t believe the number of stalls full of cheeses, produce, meats, pastries and sweets, and food from all over the world. I wish I could have tasted everything.
You’ll have to forgive the pictures. They were taken on a little point-and-shoot back when resolution wasn’t so high.
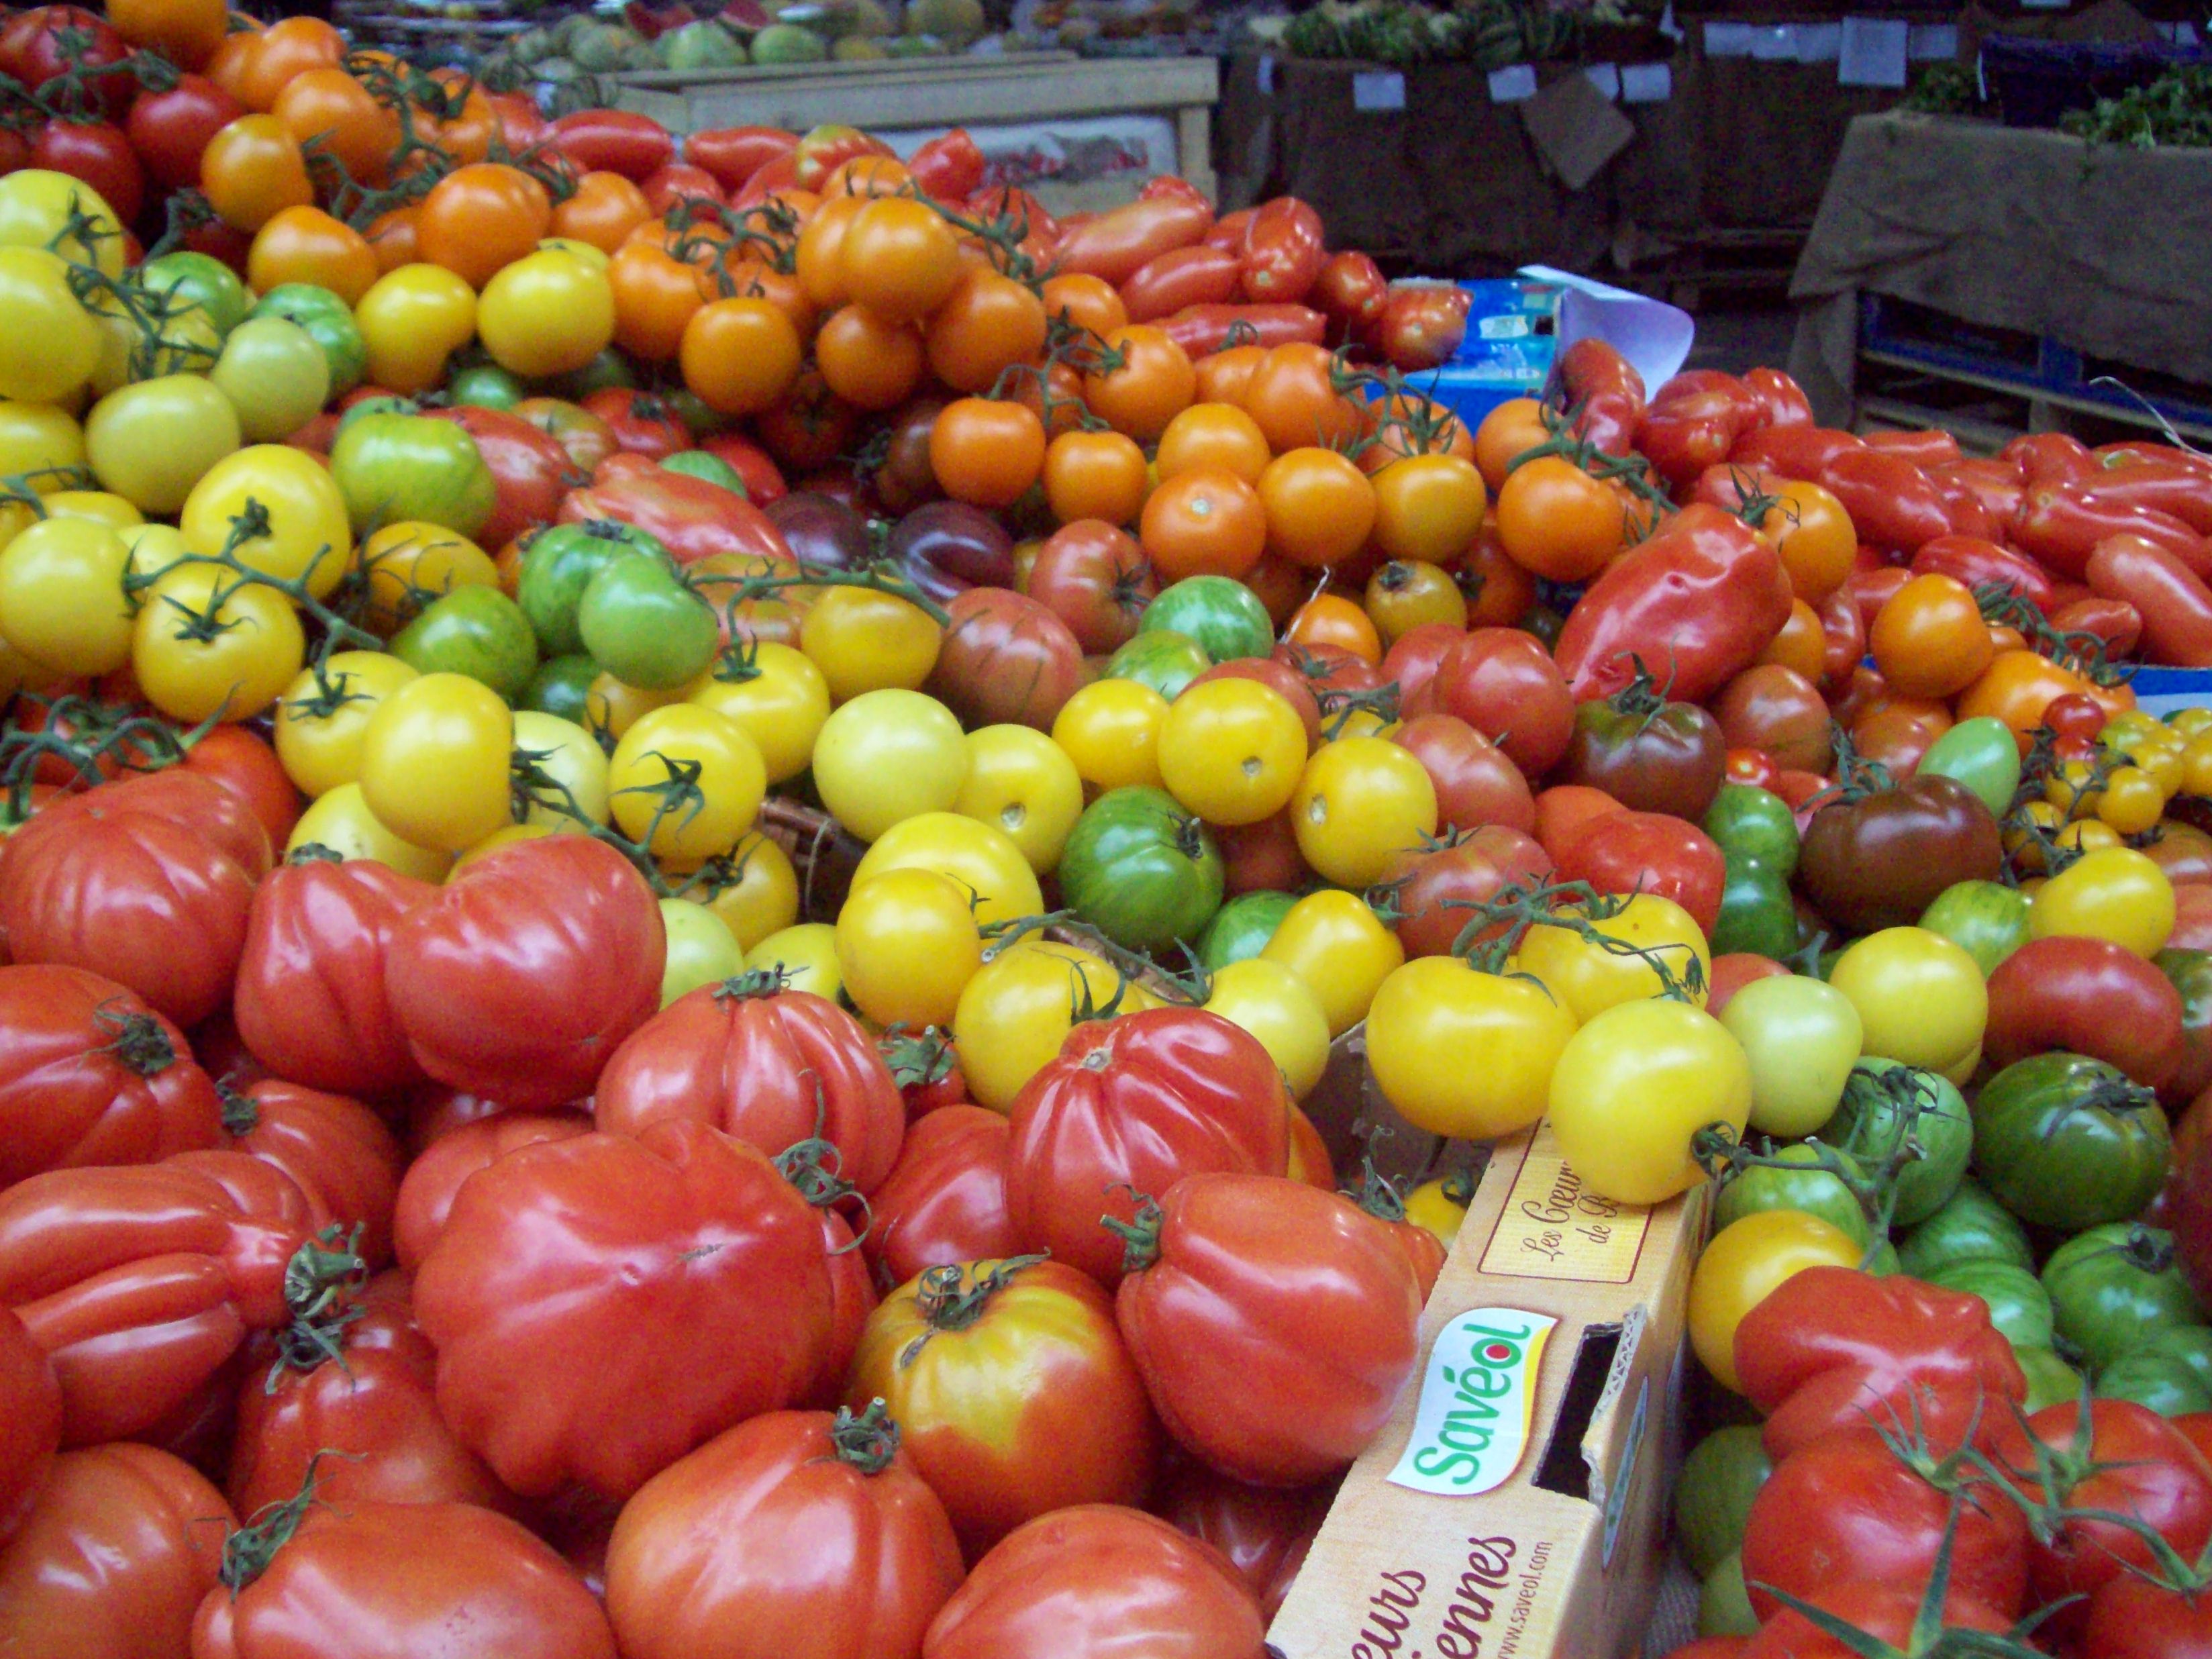
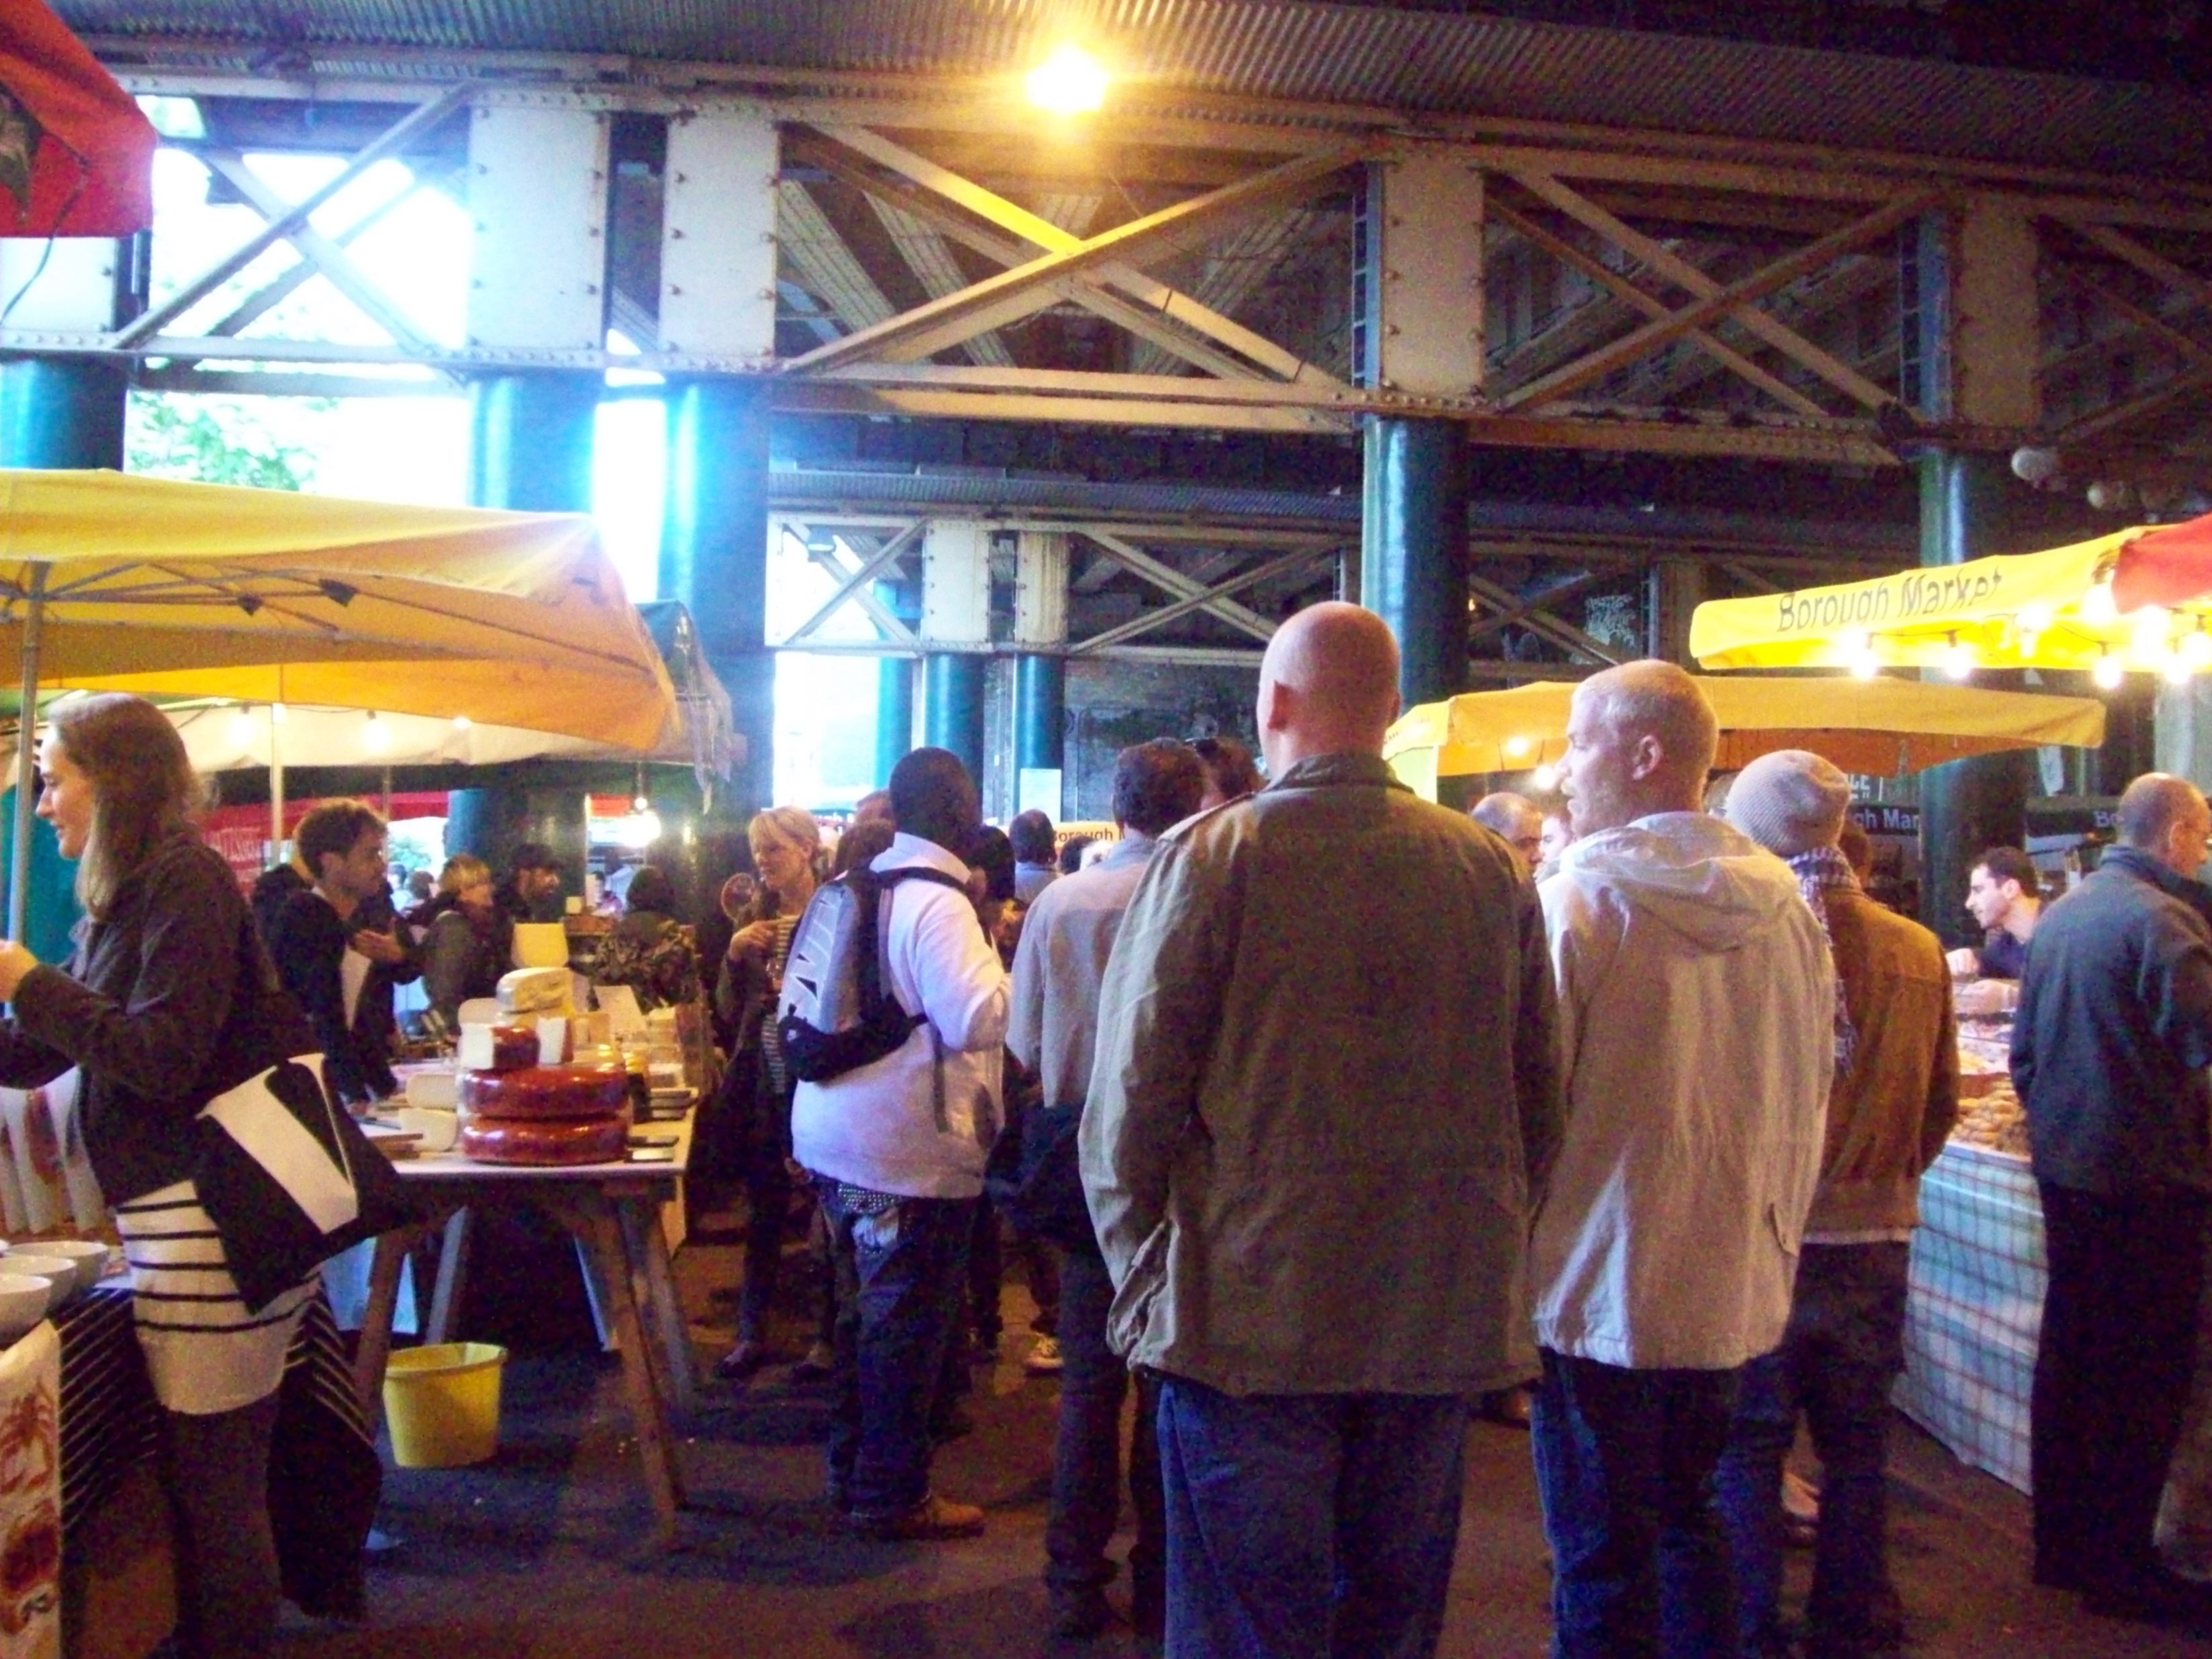
Borough Market
Borough Market is an open air market in Southwark, London, just a few steps away from the London Bridge (yes, that London Bridge), nestled up against the Southwark Cathedral. According to their website, the original Southwark Market is said to date back to the 11th century. Relocated in the 13th century, and after a brief closure in the 1700s, the market has stood at the same place on Borough High Street.
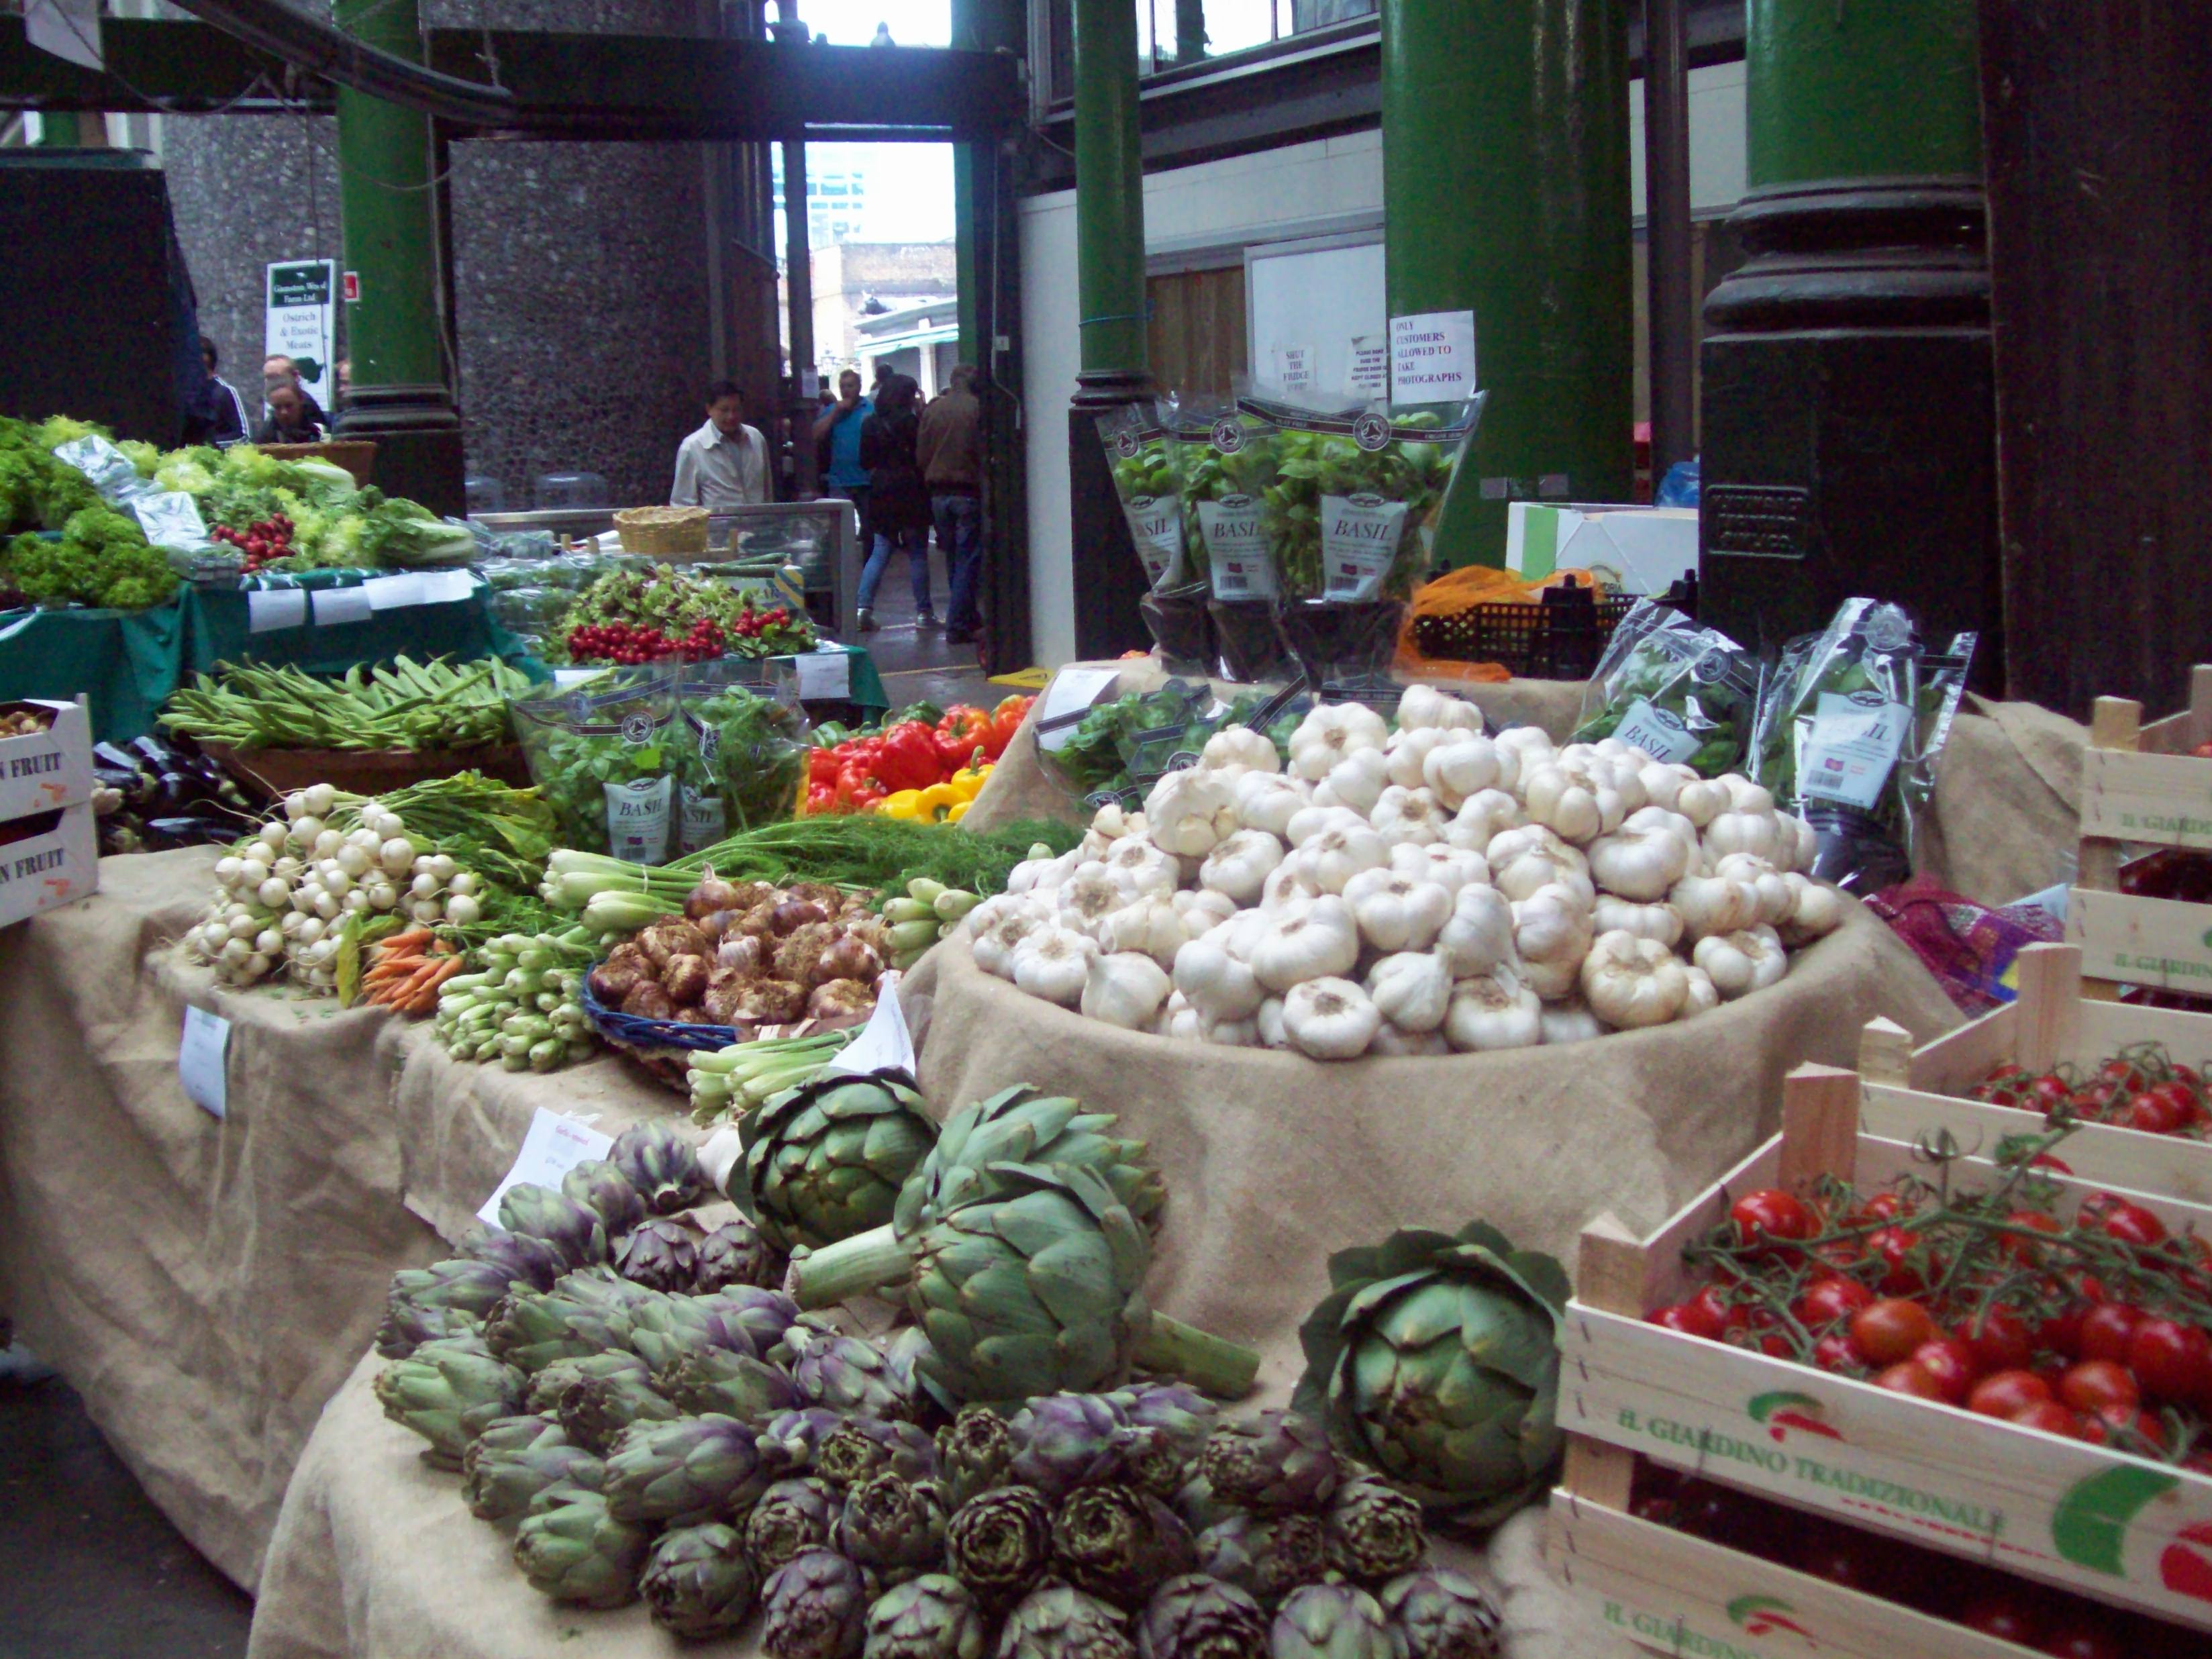


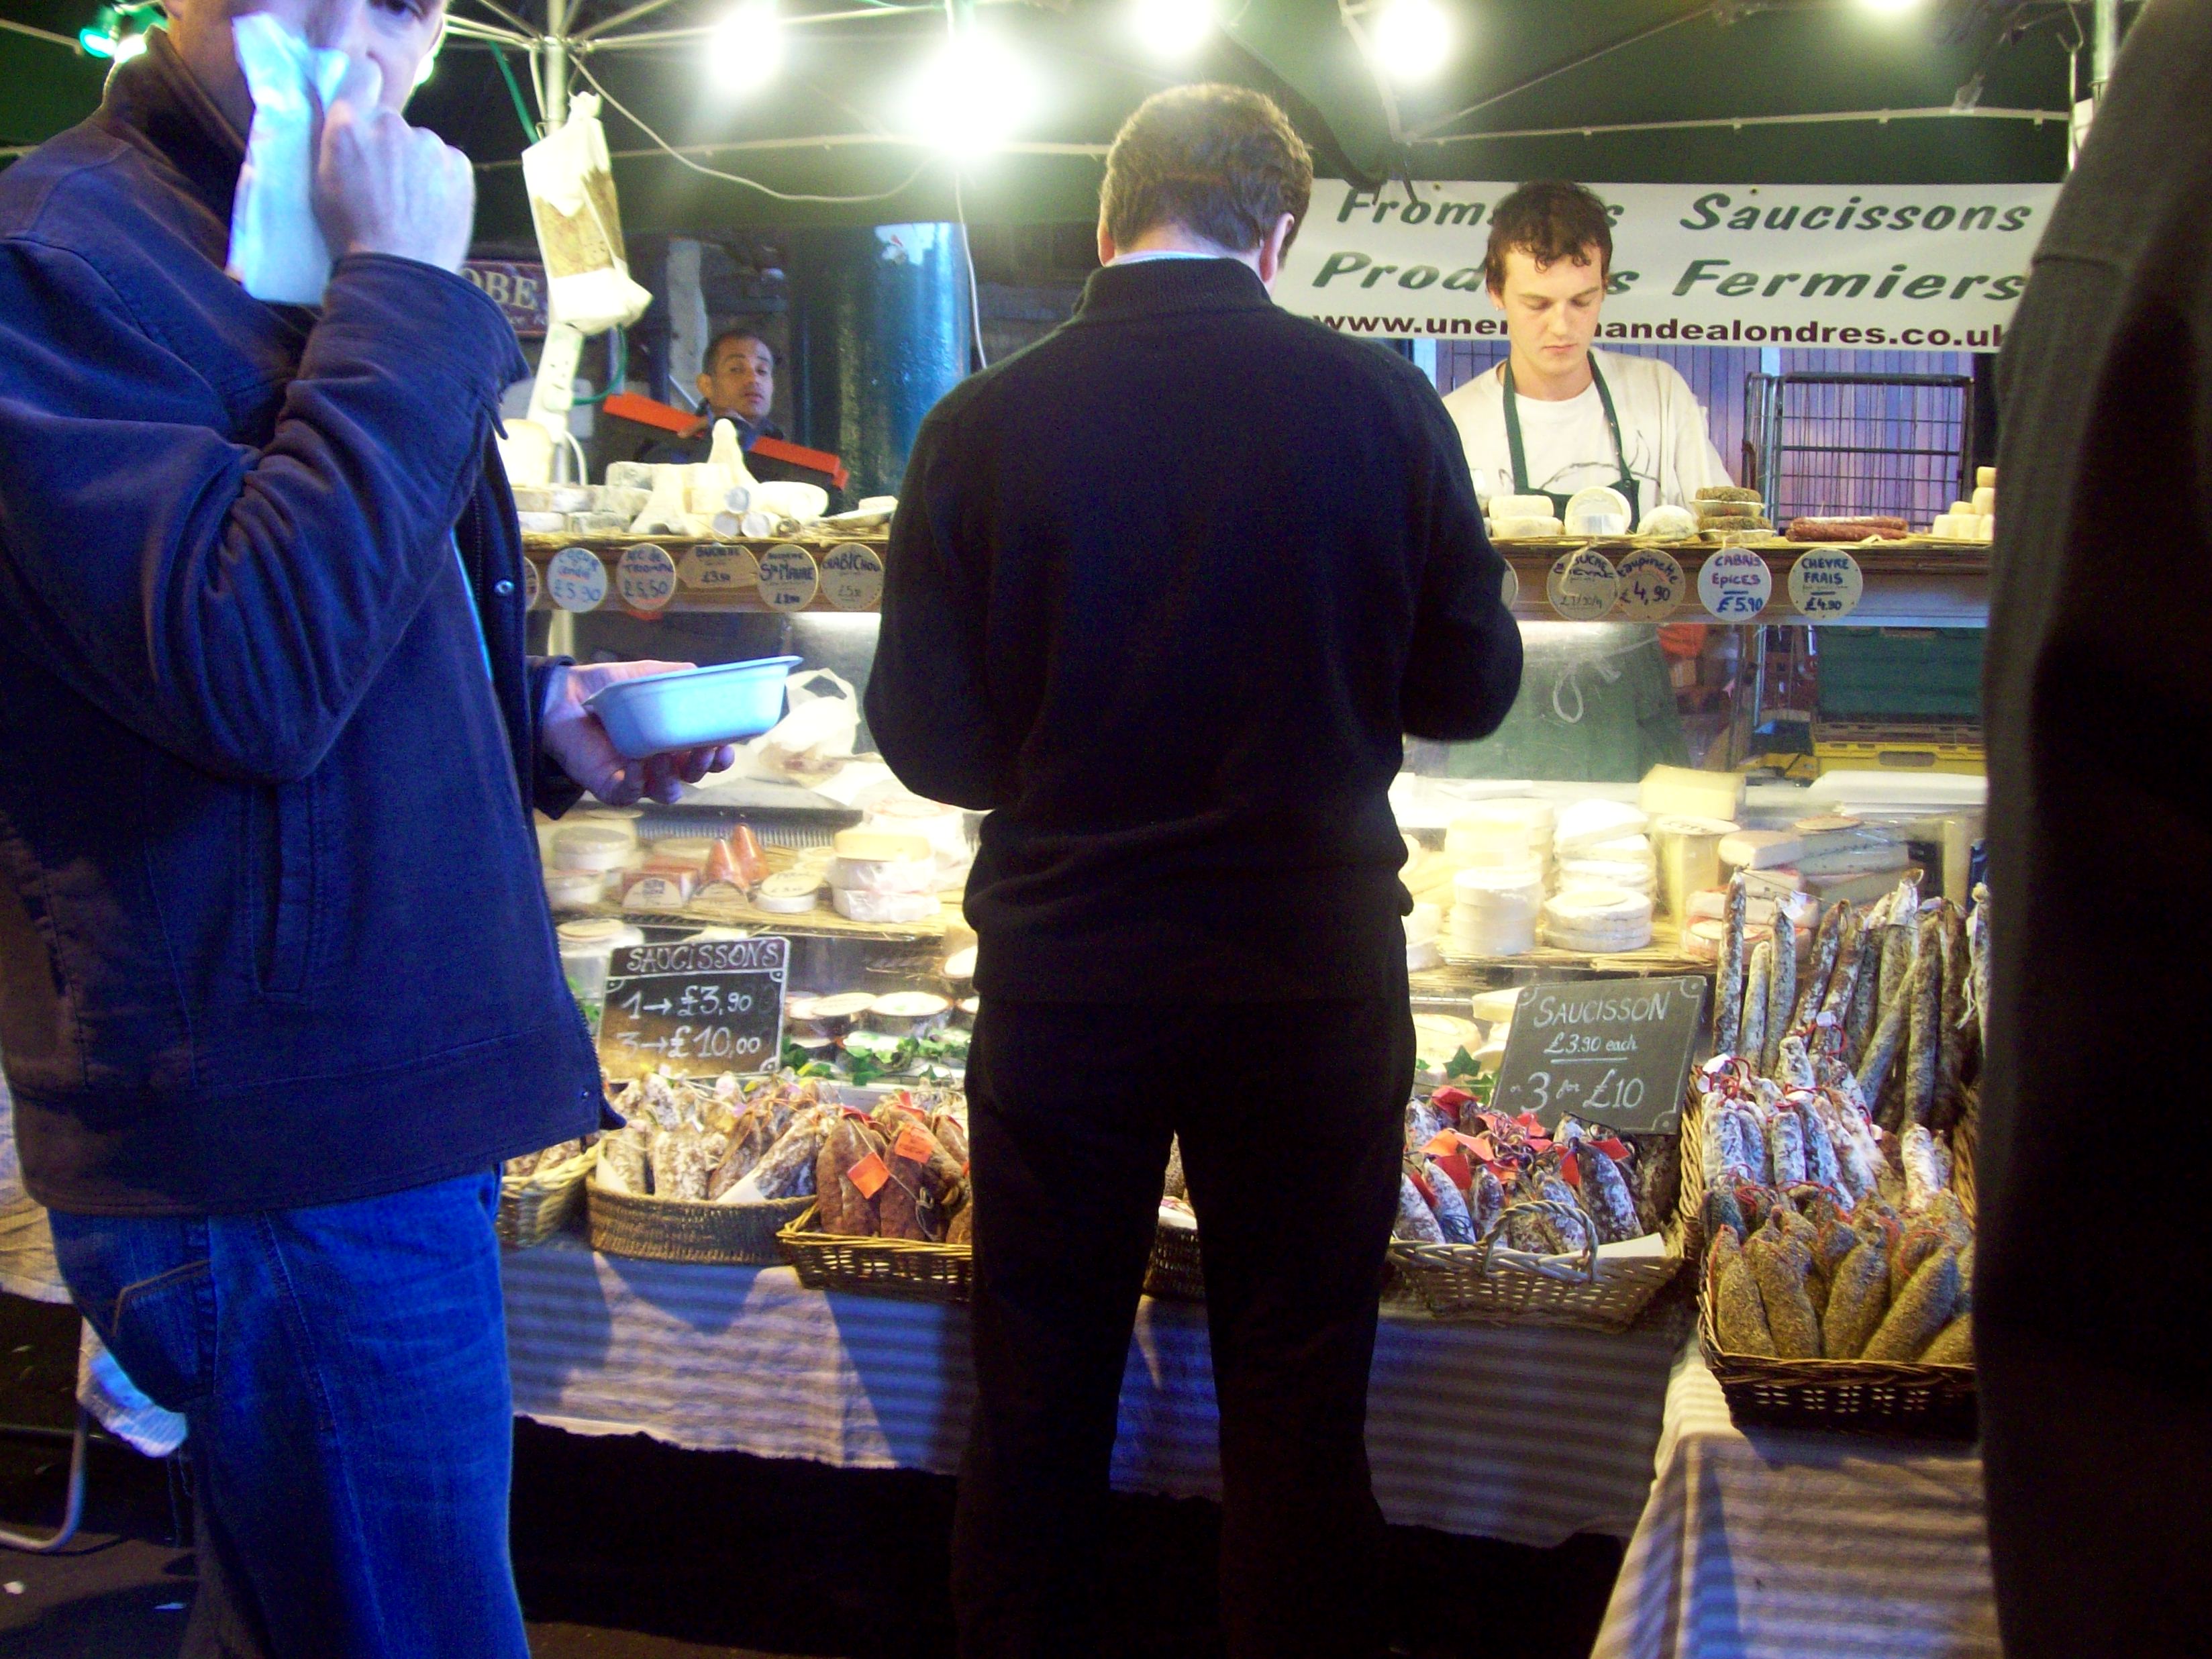
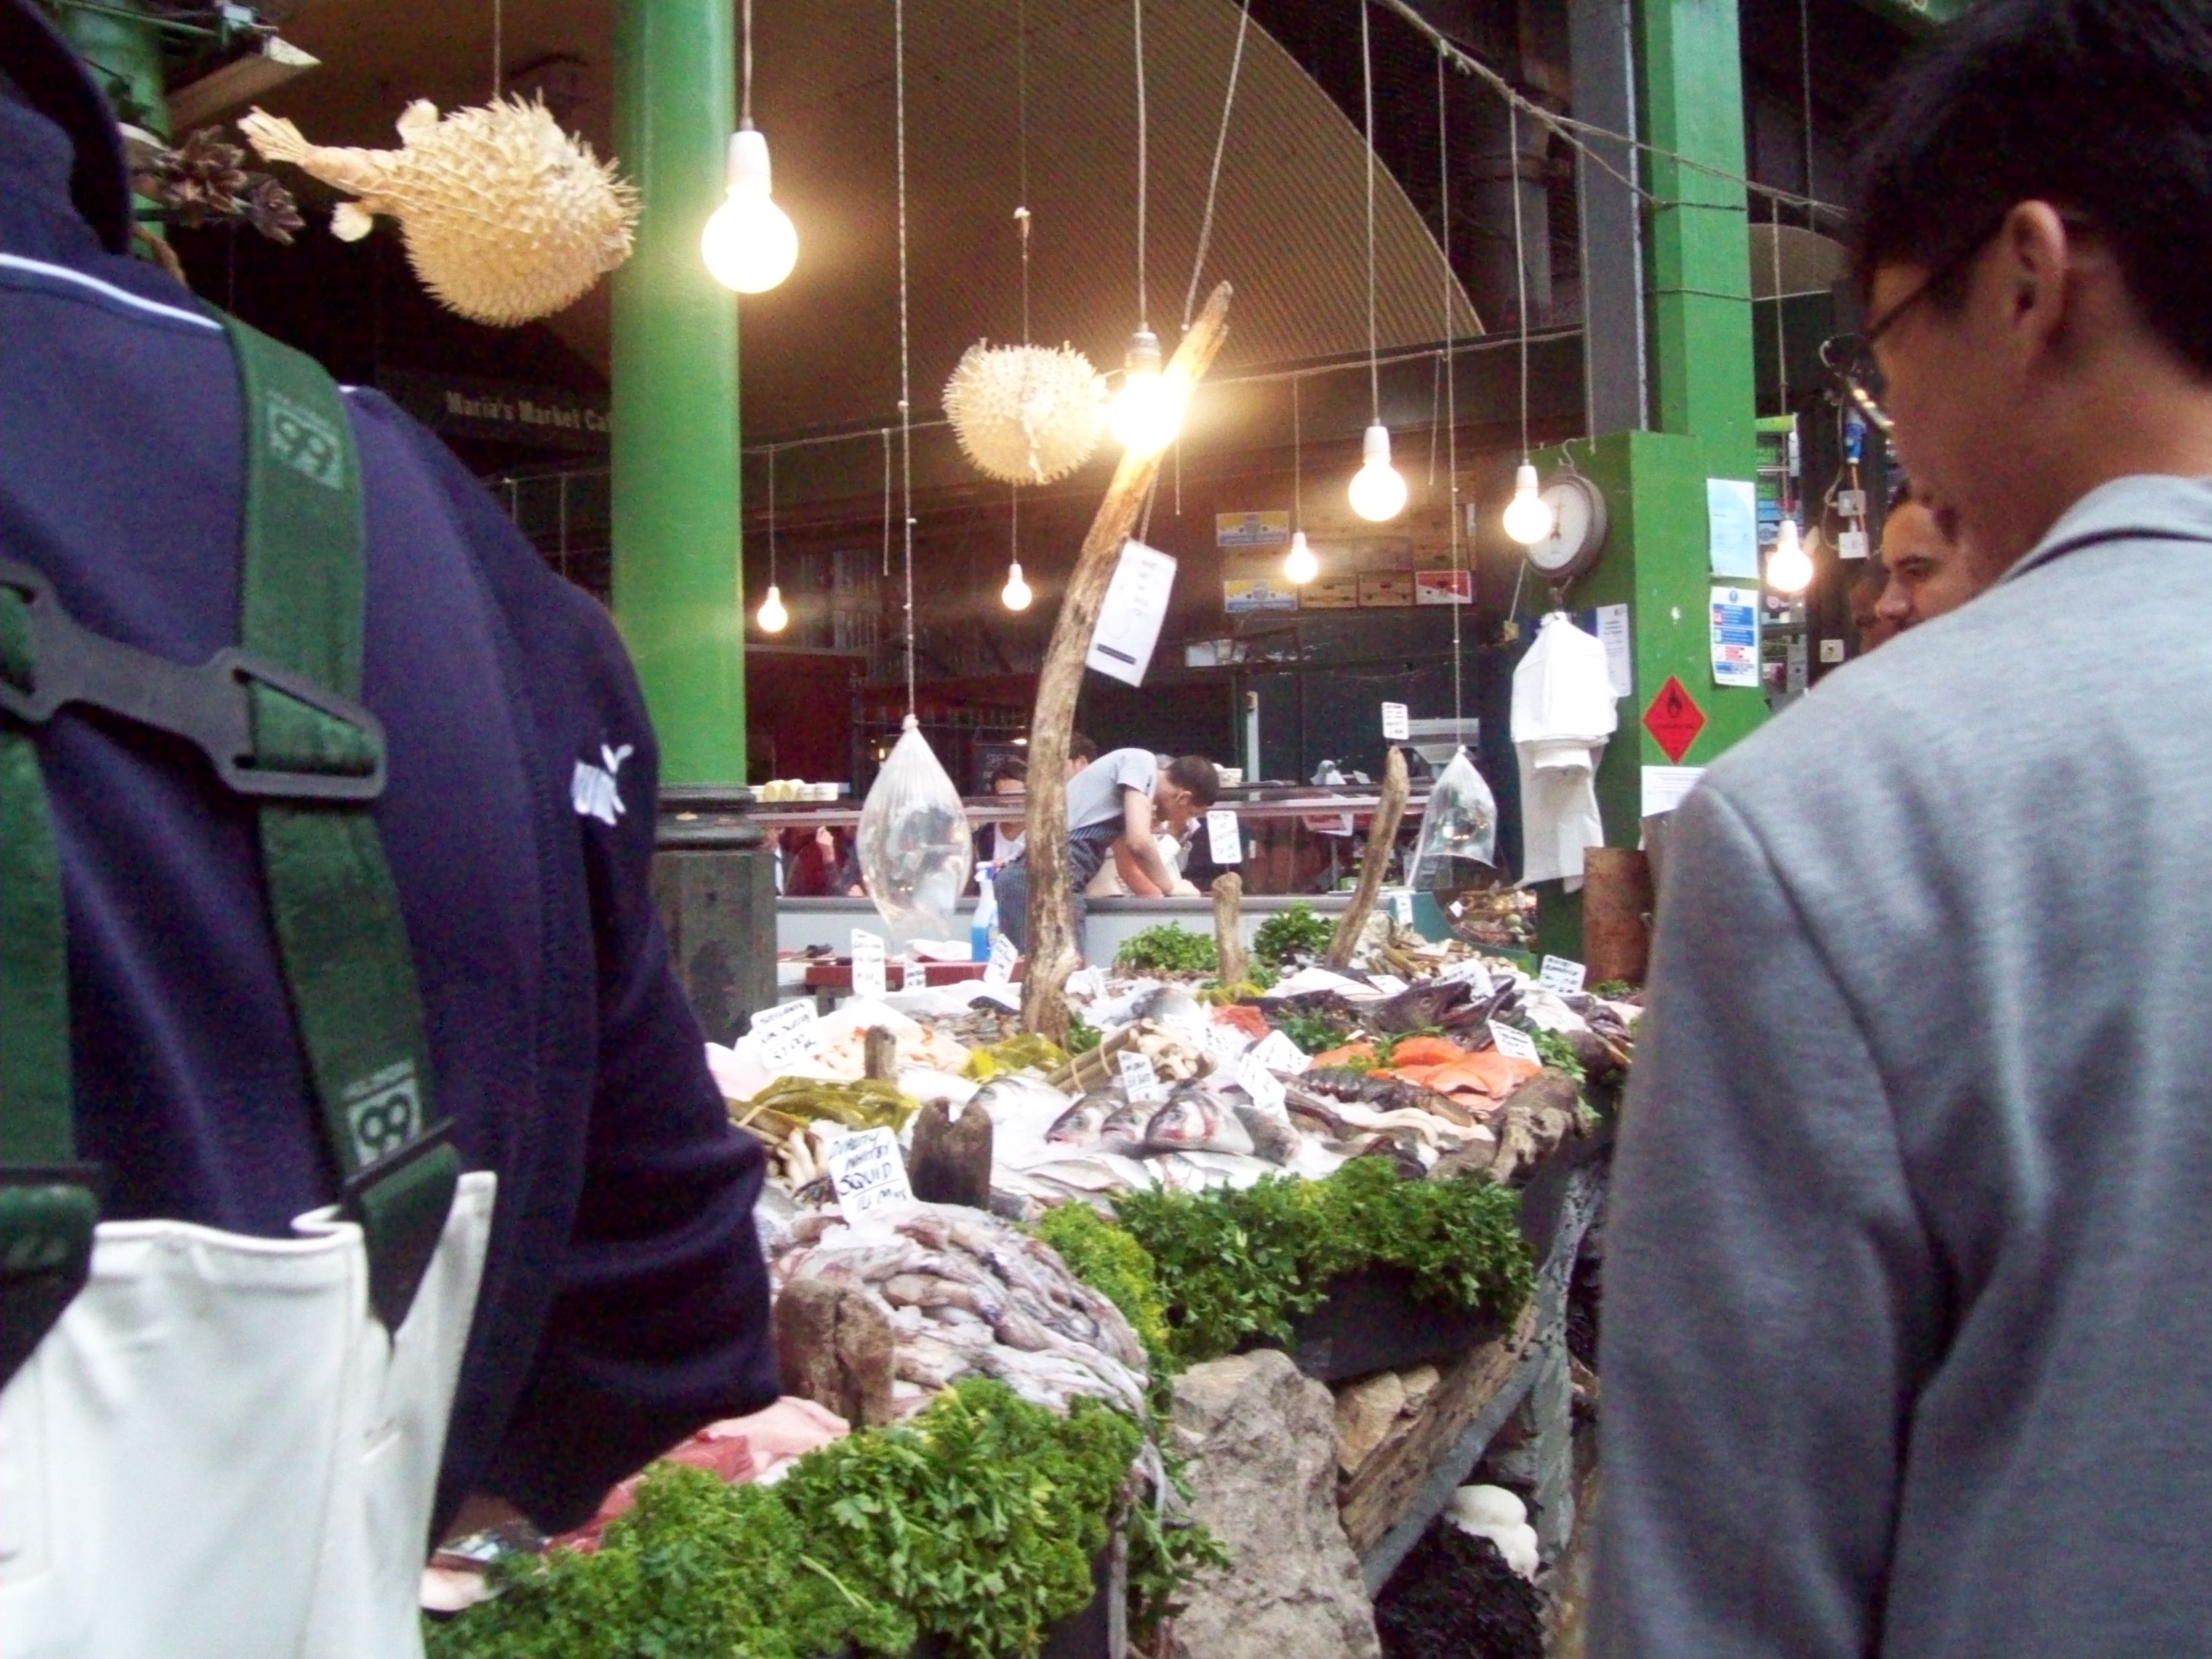 There is so much food! Just tables piled with numerous types of cheeses, hard, soft, round, and square, tumbling piles of ripe tomatoes, fresh mushrooms, cases full of flaky pastries from around the world, roasted meats, and enormous elevated pans full of saffron-colored paella.
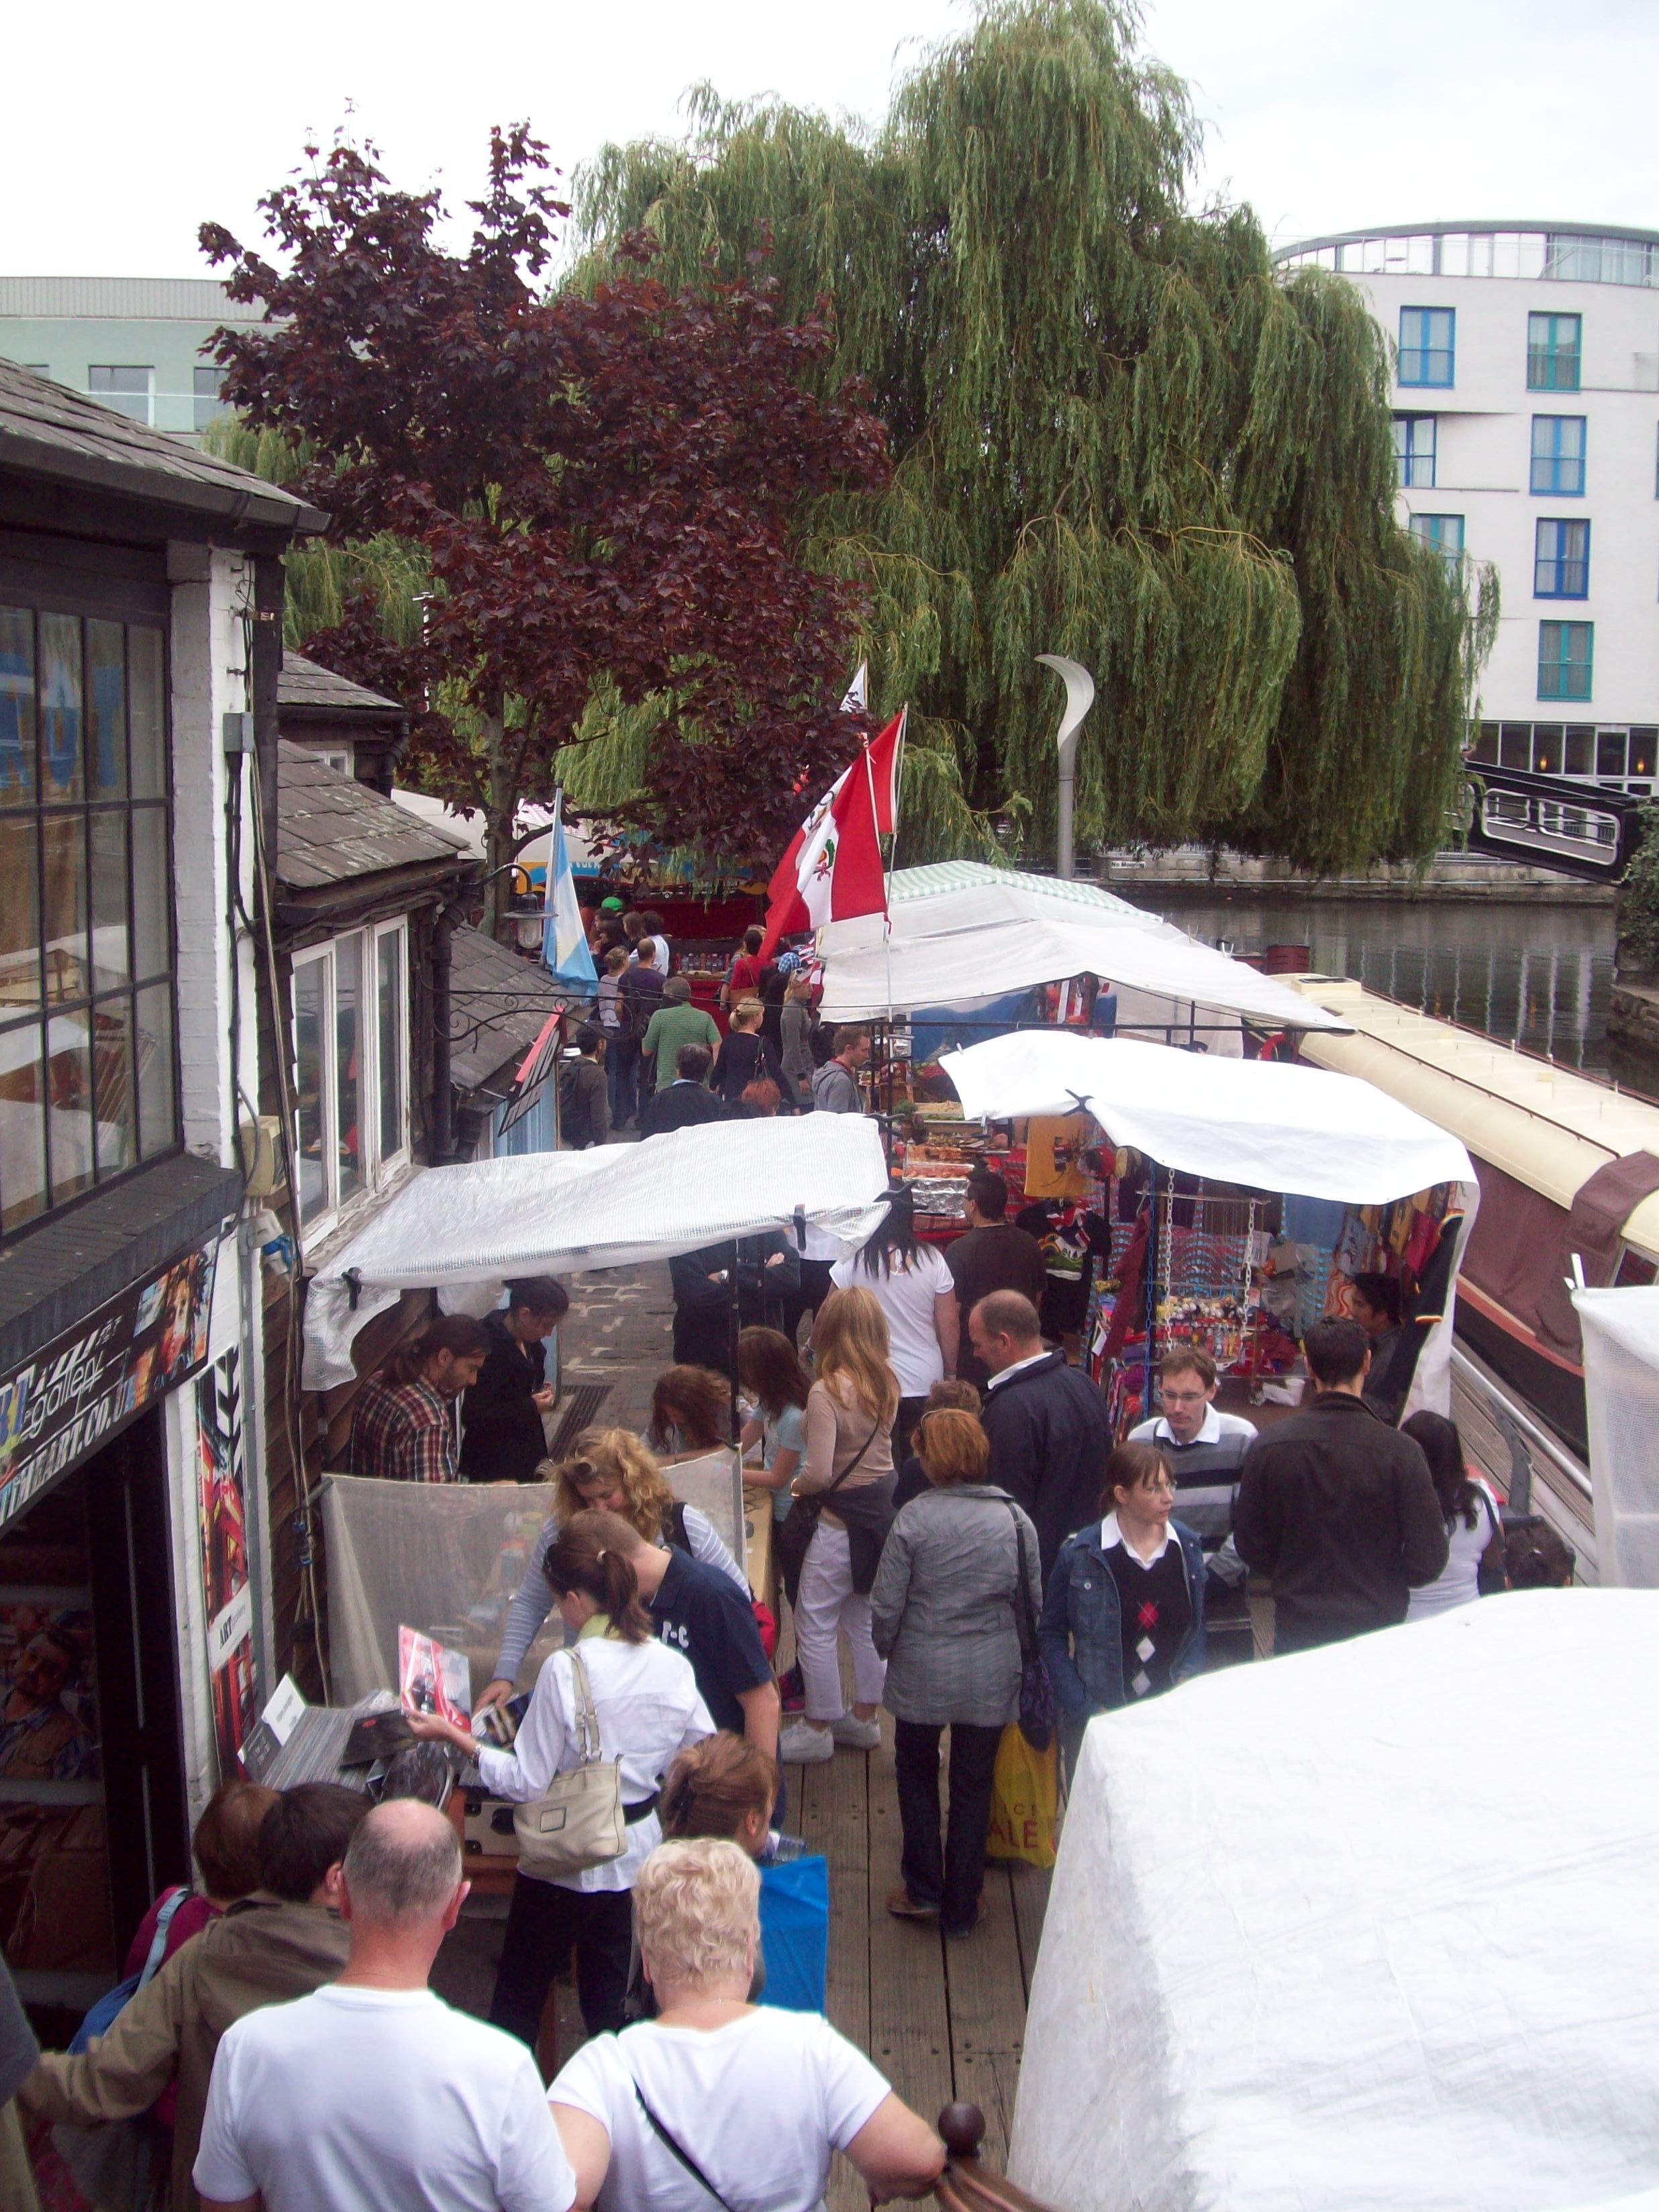
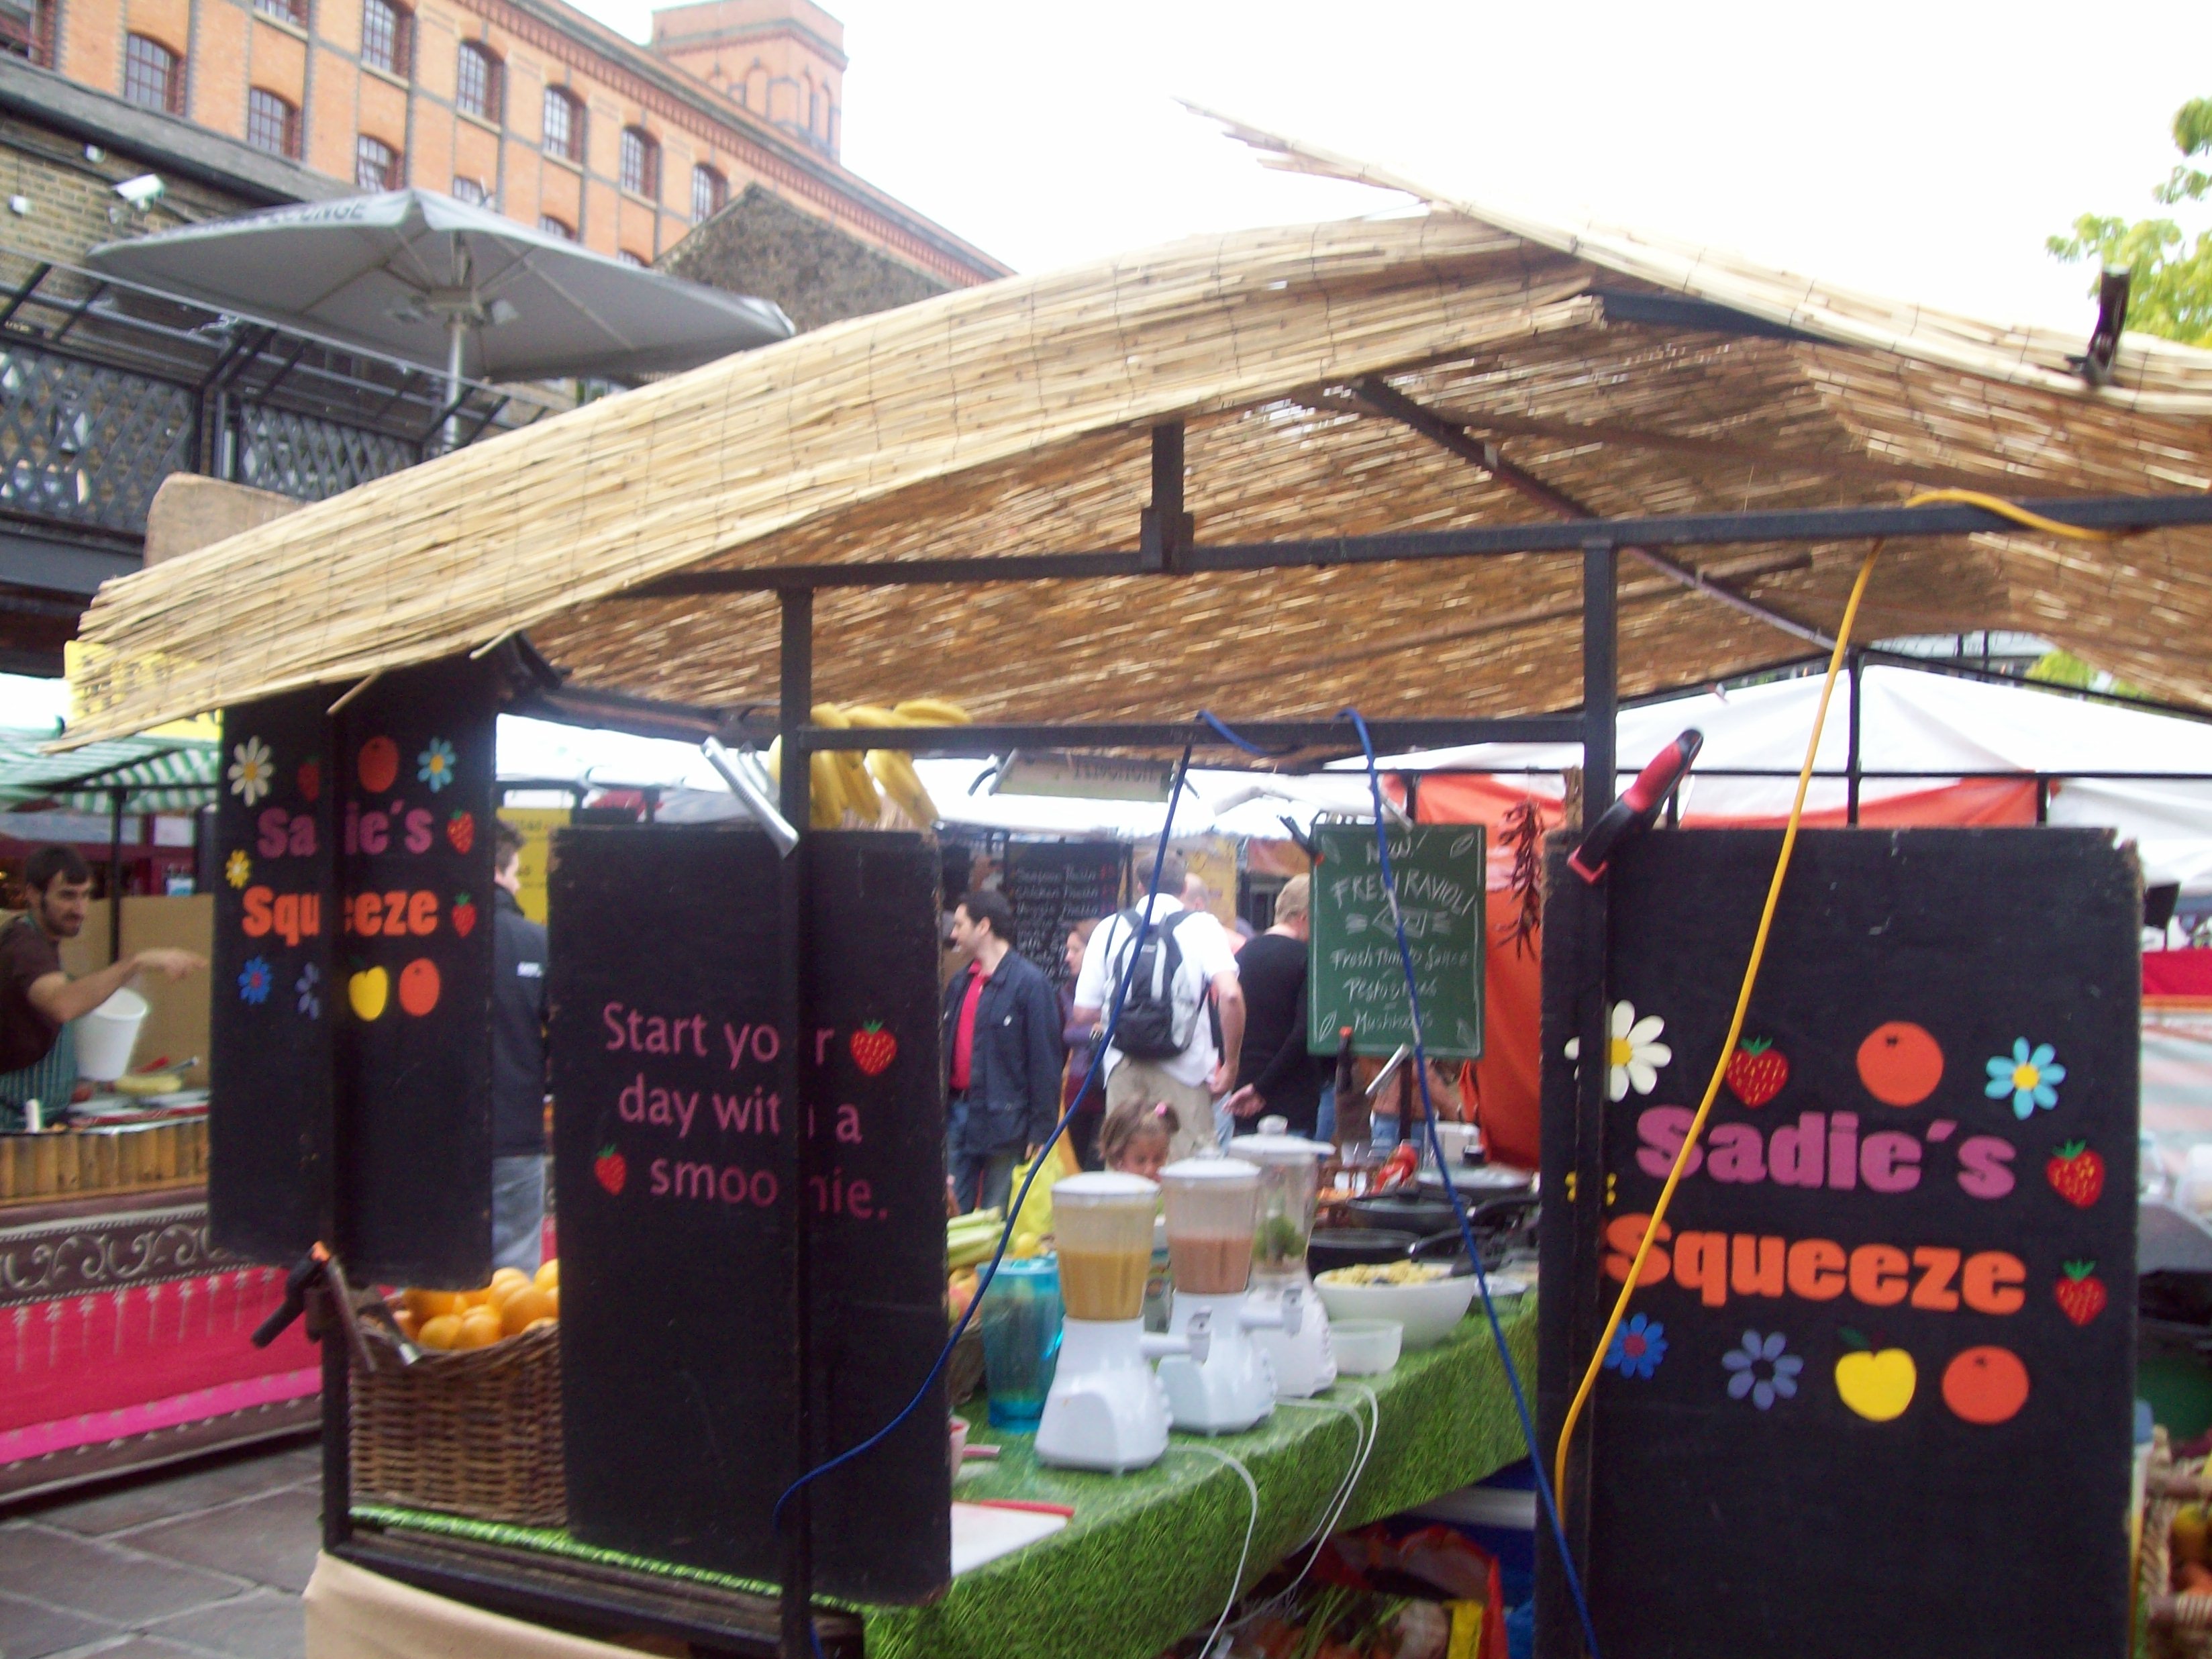
Camden Market
Camden Market is located at the Camden Locks, working boat locks, in the London borough of Camden. It’s not primarily a food market, but does have a food market component with some of the best international food! The fragrance of the exotic spices, heady aromas of thick stews, frying meat, and crispy pastry—it was a good day!

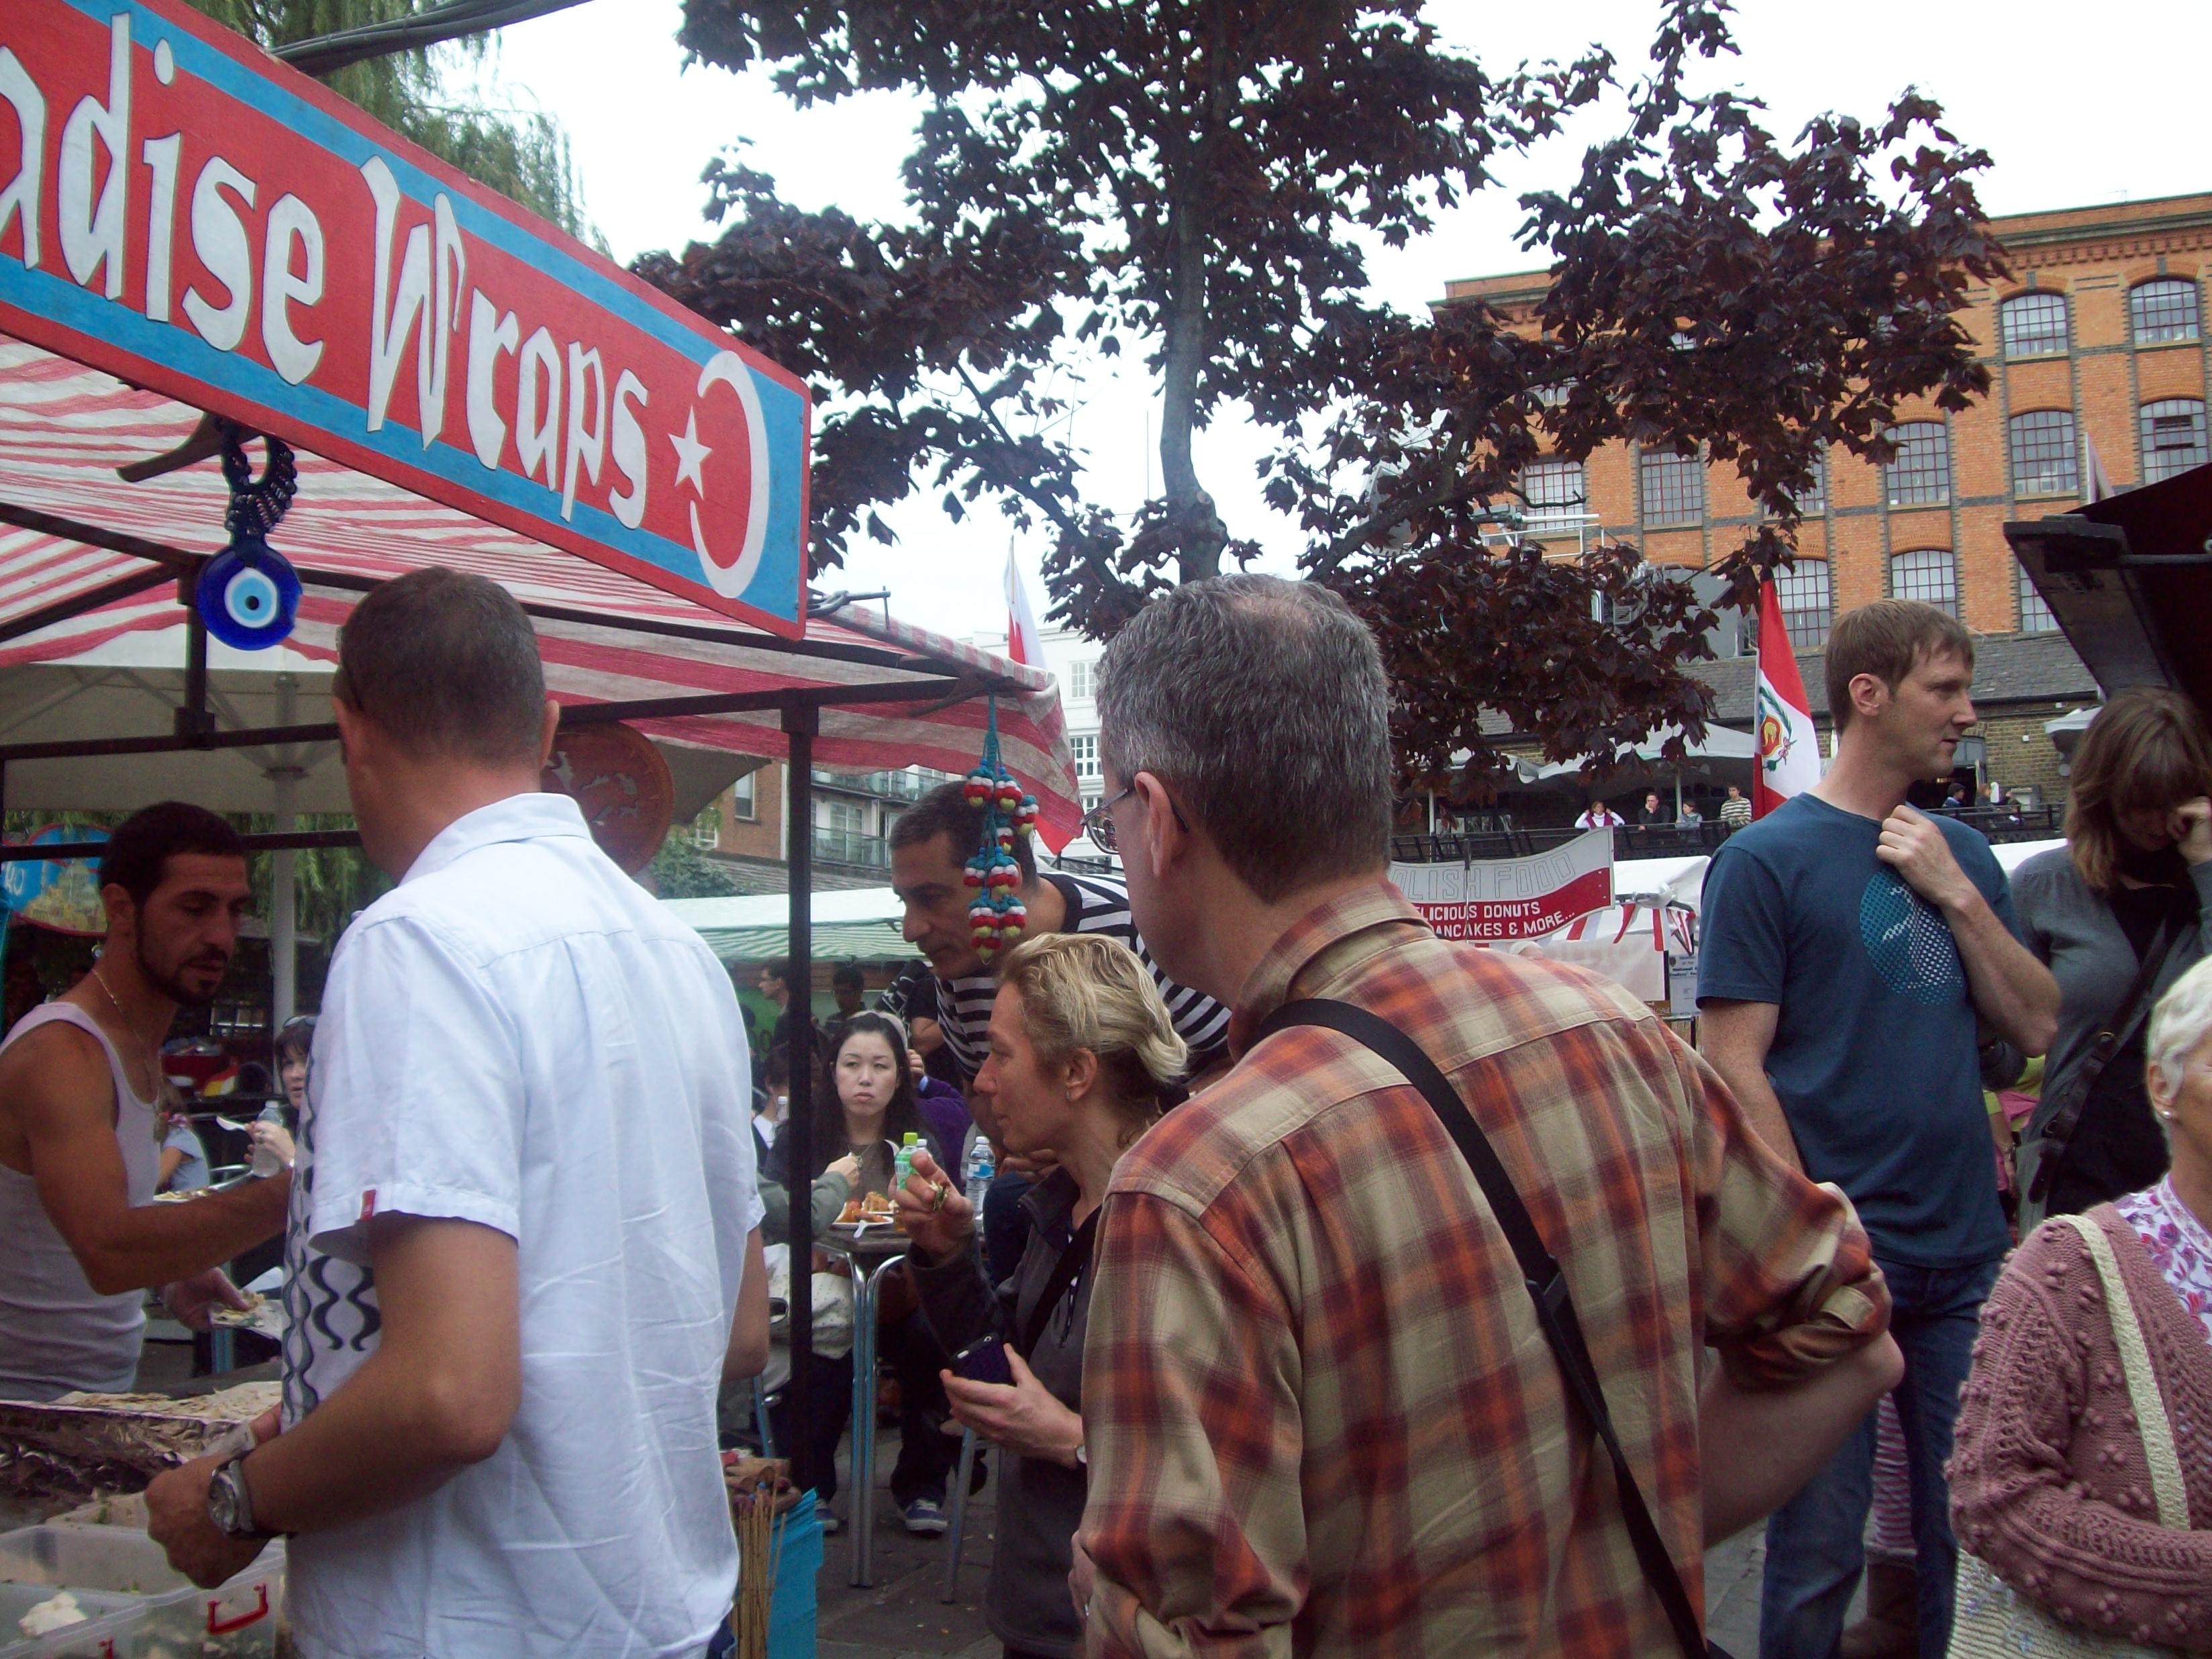 I had one of my best meals at Paradise Wraps, pictured above. Flaky, soft, yet slightly crispy, a pastry-like sheet wrapped a savory filling with crispy Turkish sausage, spinach, and a salty feta-like cheese. I can still remember how amazing that wrap tasted.
Greenwich Market
I did not get a chance to take pictures at Greenwich Market, mostly because I caught the tremendous cold that had been moving around the group and was not thinking very clearly. It’s a wonderful market, however, full of food and other trinkets, bits, and bobs. I bought a beautiful set of small Israeli dishes that I’m sure will show up in many pictures on this site.
One of the few things I regret about the entire experience is that I should have tried the fragrant, bubbling African goat stew I’d seen in several placed. I bought some crepes that really weren’t very good. I blame the cold.
I hope you’ve enjoyed this blog. Please let me know what you think!
‘Till next time!