
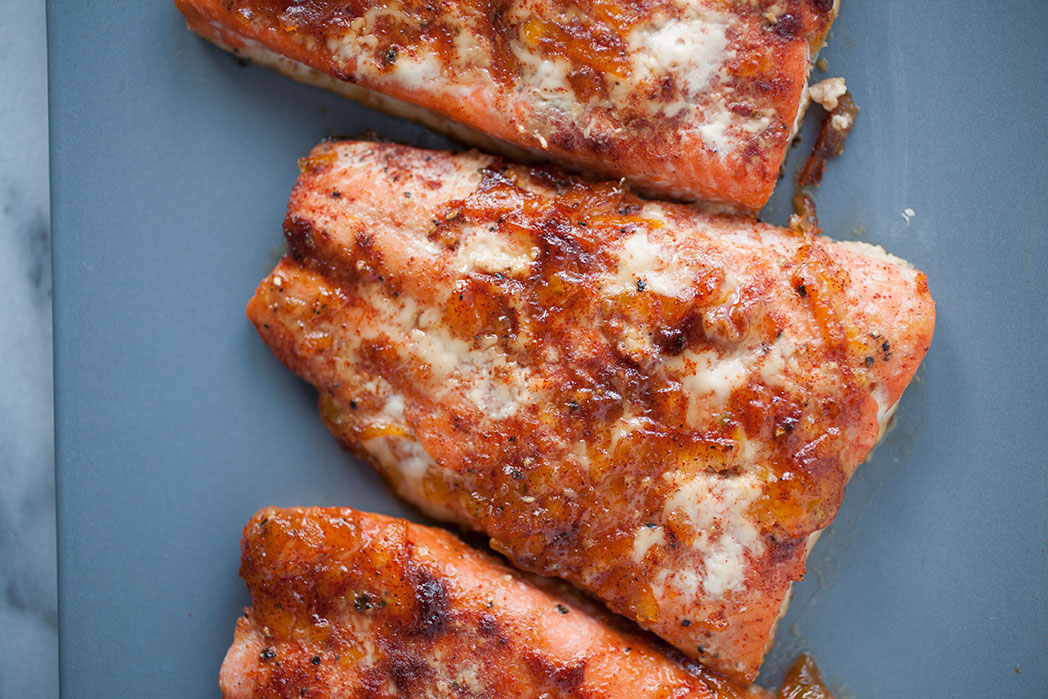
 There are few things that say “healthy” more than salmon. It’s full of good fats, lots of protein, and it’s delicious. It can be difficult, however, to find something beyond baked, broiled, and pan fried. Enter this orange salmon with red chile! The orange adds a beautiful flavor to the salmon while the red chile adds a spicy bite that plays off the citrus nicely. Healthy and delicious—what more could you want for a healthy January meal?…
Caramelized Onion and Goat Cheese Tarts

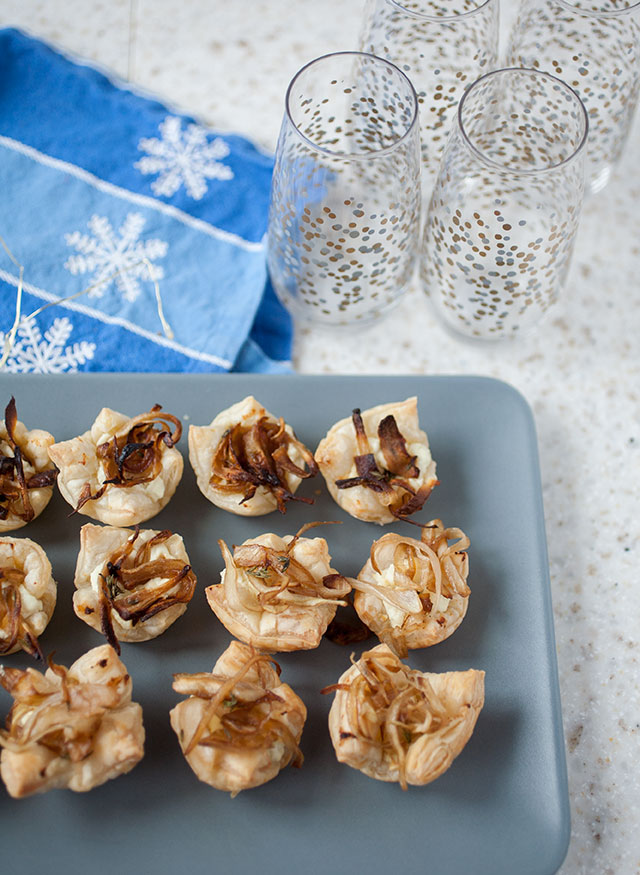 Here is a new series just for December: party appetizers! No matter which holiday party you’re celebrating (Hanukkah party, Christmas party, New Year’s party, etc.…), these appetizers are perfect small bites to delight your guests! And I’m starting off with one of my all-time favorite appetizers, caramelized onion and goat cheese tarts! They only require a handful of ingredients, aren’t very labor intensive, and the sweet-savory flavors meld perfectly in the flaky pastry crust! These holiday appetizers will fly off the plate!…
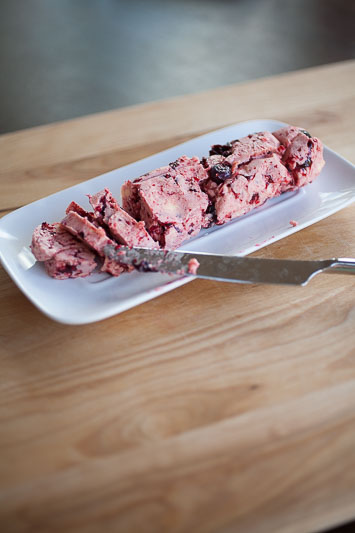
Compound Butter Two Ways

 So, butter. I admit it, I love good butter. I love it on toast, I love it on buttered noodles, I love it in potatoes and sweet potatoes and over roasted veggies. I love a little bit in my oatmeal or my cream of wheat or on a piece of fresh-out-of-the-oven cornbread or melted over waffles and pancakes. It’s even great over a grilled steak. I also just adore European butter over a piece of really good crusty bread with a little bit of salt sprinkled on top—heaven!
What can make butter even better? If you add to it in the form of compound butter.
Compound butters are simple to make, but the results are so delicious! And you can make them either sweet or savory.
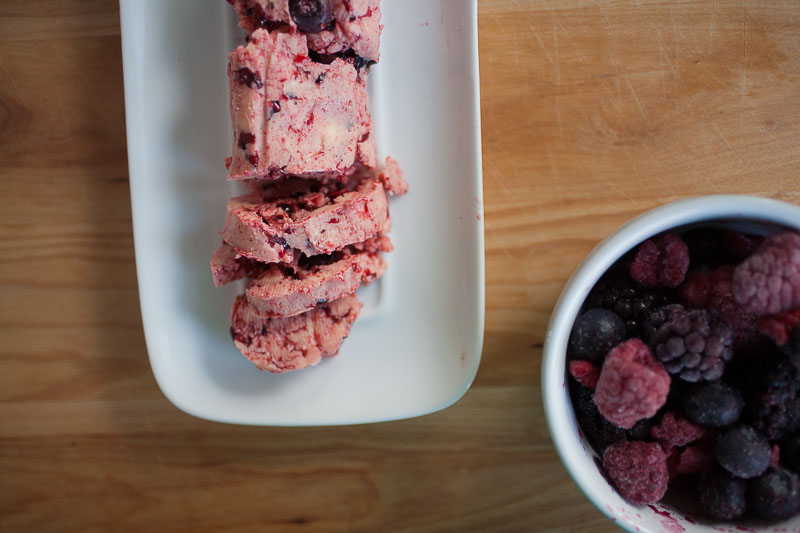
The two recipes I have today are for a berry-cinnamon-honey compound butter and a roasted garlic compound butter.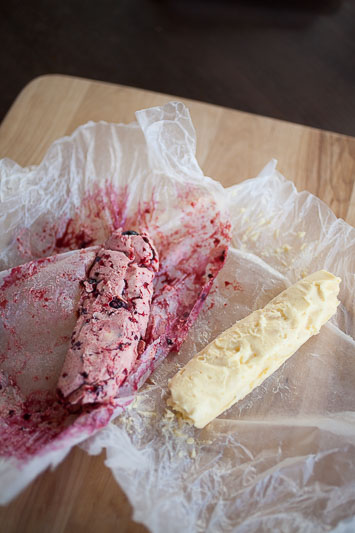
So what, you’re probably (not) asking, does this have to do with the summer ’16 dessert series? Imagine this: berry-cinnamon-honey butter melting into every little nook and cranny of a pound cake or angel food cake that’s been grilled (for more on grilling cake you can check out my recipe for grilled peaches and angel food cake). There may possibly be ice cream and berries involved. There you have a fusion of warm, cool, sweet, and tart with a touch of salt that is absolutely heavenly.
And because it’s summer, I’m including the roasted garlic compound butter recipe because it really is perfect over grilled meats, grilled veggies, and melted over rice.
Whether it’s dinner or dessert, these two recipes are the perfect addition to dining al fresco this summer!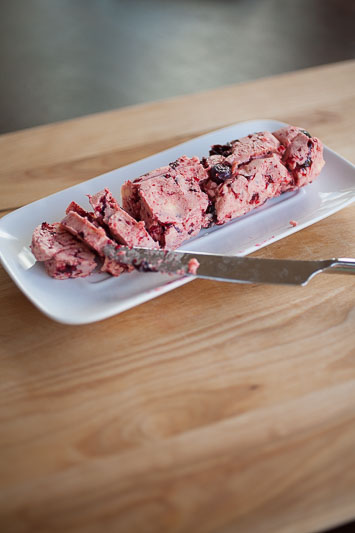
Quick Note: I use salted butter for my compound butters, including the sweet butters, because I love the flavor dimensions a small bit of salt creates without overpowering any other flavor. Salt can really bring out the best in other ingredients. If you don’t want salt or can’t eat the salt, however, buy unsalted butter.
Compound Butter Two Ways

Prep time
Cook time
Total time
Sweet and savory, these homemade compound butters are simple to make and perfect for summer dishes, from roasted meats to grilled cake!
Author: Samantha Gallegos
Recipe type: Homemade
Serves: 8
Ingredients
- Berry, Honey, and Cinnamon Compound Butter Recipe:
- 8 Tbsp. butter, softened
- ¼ cup fresh or frozen berries (thawed, if frozen)
- 1 to 2 tsps. honey
- 1 tsp. cinnamon
- ½ tsp. vanilla
- For the Roasted Garlic Compound Butter:
- 8 Tbsp. butter, softened
- 4 to 6 cloves of roasted garlic (to your taste preference), mashed
- 1/16 tsp. delicate finishing salt, like Himalayan pink salt, Maldon’s, or grey salt
Instructions
- Combine all ingredients for your particular butter in a bowl or the bowl of a stand mixer.
- If mixing by hand, use a spatula to stir and mix all ingredients together until thoroughly combined. If using a stand mixer, use the paddle attachment at medium-high speed for a two until everything is well combined.
- At this point, you can taste the butter to see if it needs additional ingredients or seasoning.
- Scrape the butter onto the far end of a piece of wax paper and start rolling the wax paper tightly, shaping the butter into a roll as you go and pressing the ends in.
- Twist the ends of the wax paper tightly, giving the butter one last shaping, and place into the fridge for at least two hours.
- Slice into the butter and serve over whatever you wish!
 Compound butters can be stored in the fridge for two weeks.
So there you have two recipes for compound butters, but you don’t have to stop here! There are so many different combinations you can try, such as dried or fresh herbs, roasted garlic with fresh or dried herbs, cinnamon and honey, maple butter, cilantro lime, pumpkin spice—it’s up to your imagination!
‘Till next time!
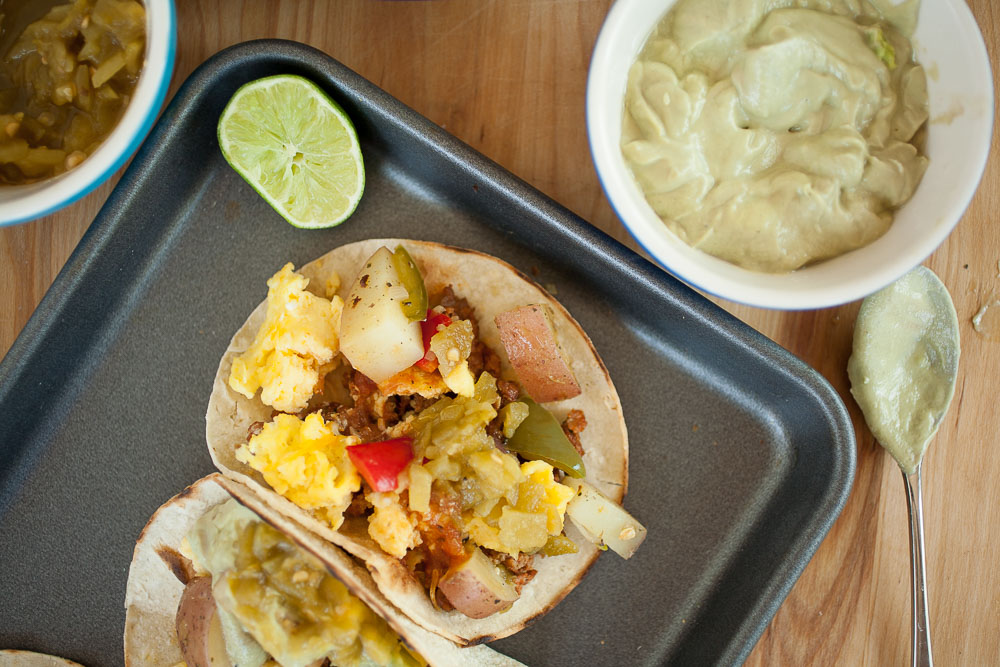
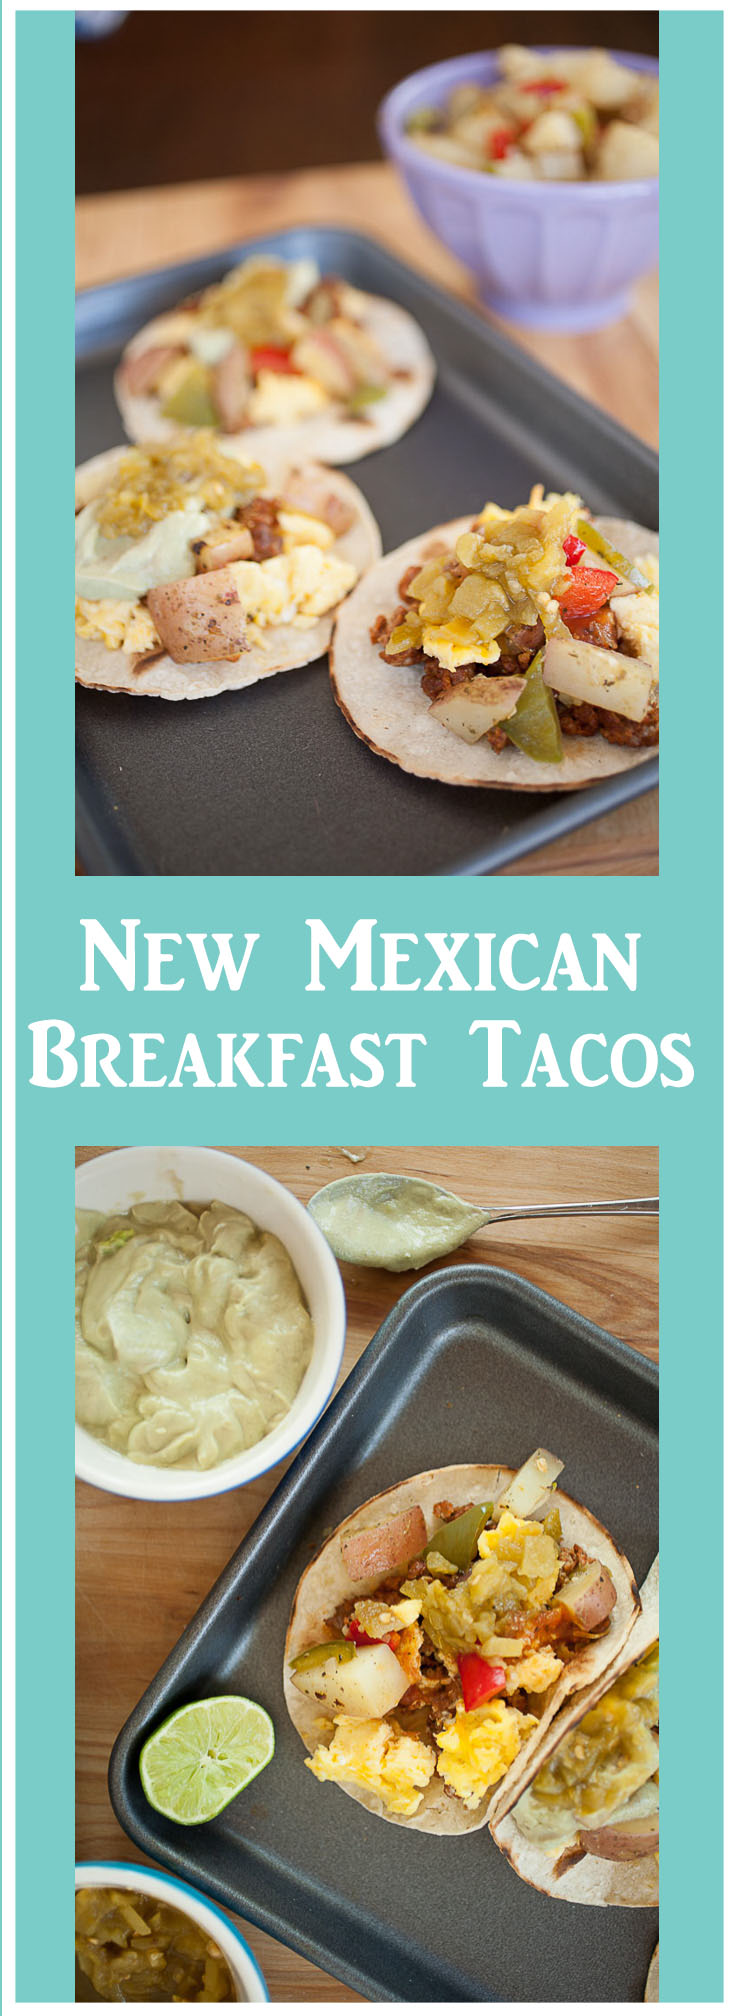
Green Chile Breakfast Tacos

 If you follow me on the Flurries of Flour Pinterest, you may have noticed that I love breakfast. I may even have mentioned it before, possibly in my baked oatmeal recipe, but I can have breakfast for breakfast, lunch, dinner, and in-between. I’m always up for pancakes, waffles, egg-and-cheese muffins, toast, scrambled eggs, potatoes and peppers, pastries—it’s all good to me.
When I married my husband, he introduced me to a whole new variety of breakfasts: New Mexican! Not that I didn’t love my breakfast burritos, but even though I mostly grew up in New Mexico, coming from an East Coast family, I didn’t really have much experience in the way of New Mexican breakfasts.
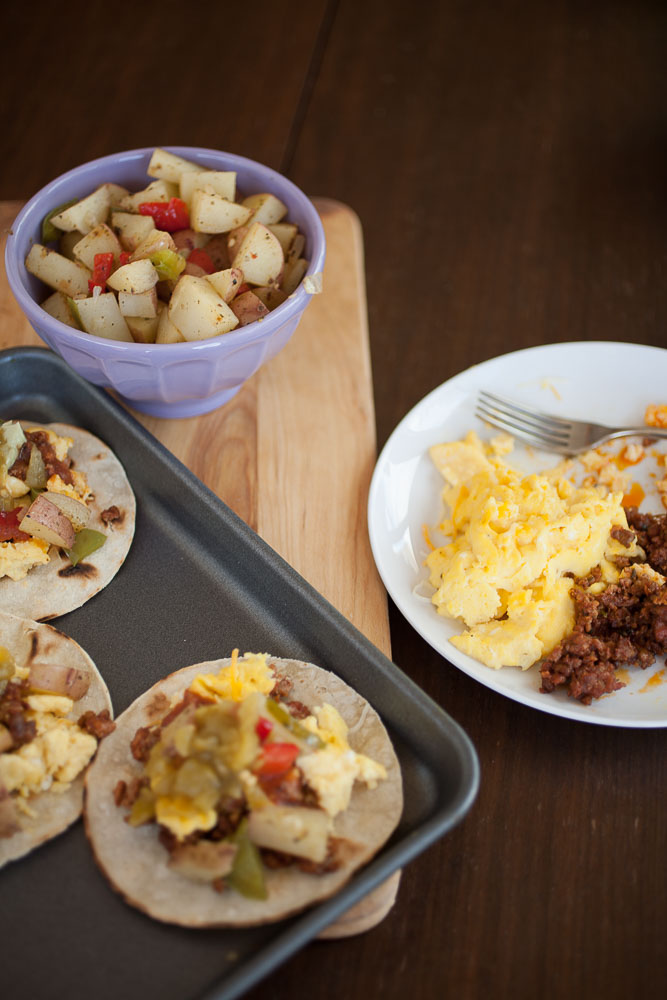
Thankfully, I don’t have that problem anymore, and I love these breakfast tacos. They’re full of soft, fluffy eggs, crispy bits of chorizo (or bacon), potatoes topped with melting cheeses, a creamy, slightly sweet and cooling avocado cream sauce (my addition), and, of course, green chile! We use Hatch green chile that we roast in August and keep in the freezer (you can also find it in the frozen section of Trader Joe’s, I believe, as well as in cans), but you can use other types of chile like Anaheim. The Hatch green chile is really what makes it New Mexican, though, and gives it that authentic taste.
If you see this in photos, by the way: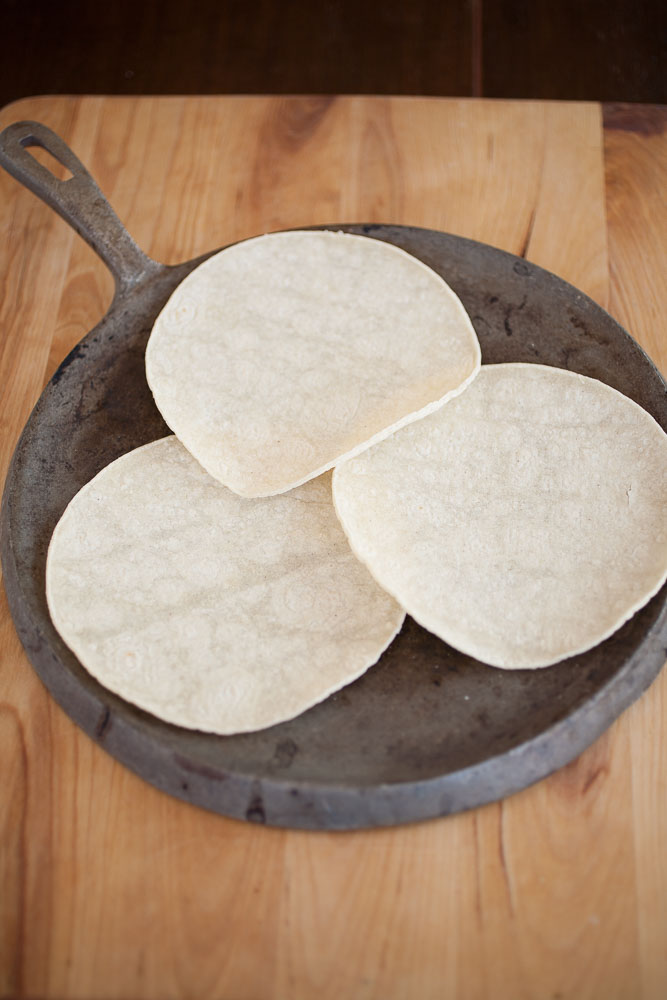 this is a comal. It’s a flat griddle used to cook and heat tortillas (and maybe some toast every once in a while…). It was given to us by my husband’s mom and I’m not sure how old it is.
Also, while you can make potatoes just for this recipe, my husband usually makes his perfect brunch potatoes that I featured on the blog last week!
This breakfast is completely delicious, completely satisfying, and comes with a little New Mexican kick to get your morning going!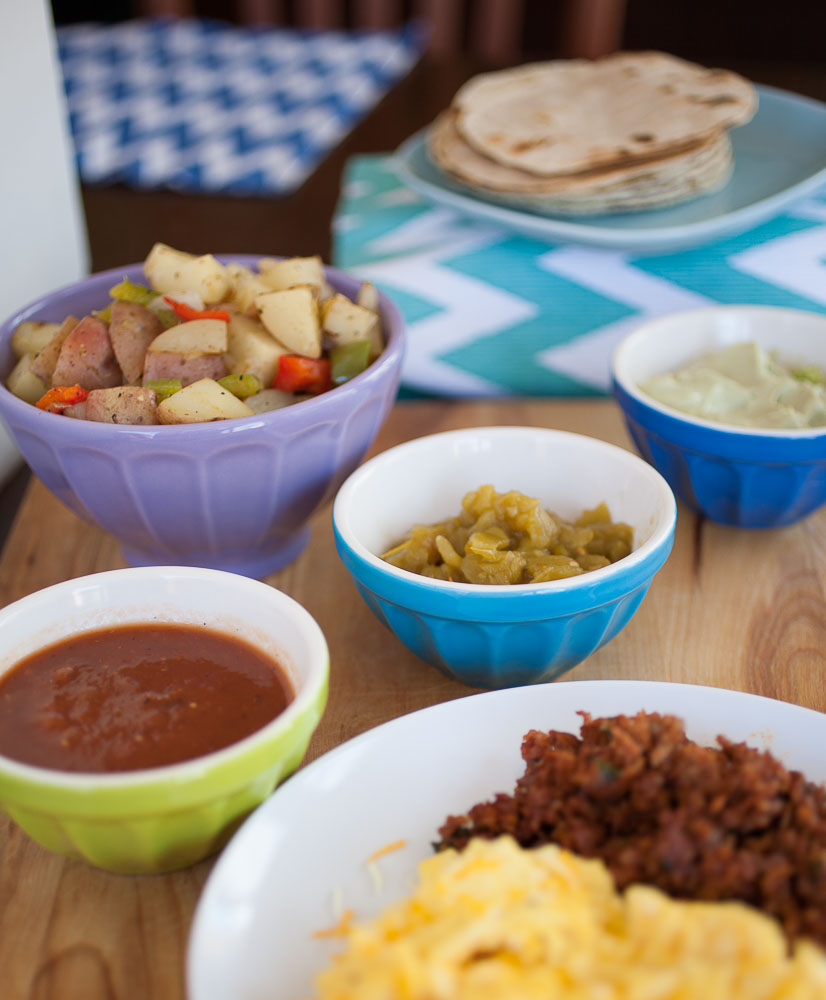
Green Chile Breakfast Tacos
Prep time
Cook time
Total time
This breakfast is completely delicious, completely satisfying, and comes with a little New Mexican kick by way of Hatch green chile to get your morning going!
Author: Samantha Gallegos
Recipe type: Breakfast
Cuisine: New Mexican
Serves: 4
Ingredients
- Tacos:
- 8 Small Flour or White Corn Tortillas
- 10 Eggs
- 2 Tbsp. milk or milk alternative
- ½ pound of sausage, like chorizo, or 4 strips of bacon
- ½ C. of grated cheddar cheese
- 3 Tbsp. olive oil or other cooking oil
- Salt
- Pepper
- Salsa of your choice
- 1 recipe of hotel brunch potatoes
- Avocado Cream Sauce:
- 2 ripe avocados
- 1 C. coconut milk or Greek yogurt
- Juice of ½ a lime
- ½ tsp. salt
Instructions
- Heat a pan over medium heat with 1 tablespoons of olive oil.
- Sautee the chorizo in the pan until cooked through. Take the chorizo out of the pan and place onto a plate lined with a paper towel and set aside. Alternately, you can cook the bacon any way you choose.
- While the chorizo is cooking, make the avocado cream sauce. Combine the avocados, coconut milk or Geek yogurt, and salt in the blender and blend until a smooth cream forms. You can add more coconut milk or yogurt if you want a more creamy consistency. Set aside.
- Crack the eggs into a bowl with the milk, salt, and pepper and whisk until a froth forms.
- Heat an oiled non-stick pan over medium heat and pour the eggs in. Keep stirring gently until the eggs are soft, fluffy, and curds are sticking together.
- Heat a pan over medium heat. Heat the tortillas until warmed through and slightly colored.
- It’s assembly time! Place the tacos onto a serving plate or platter. Spoon over the eggs, bacon, potatoes, then sprinkle the cheese and green chile on top, then drizzle over the avocado cream and salsa on top.
And you have a completely satisfying breakfast! Believe me, it’s a fantastic way to start your day, especially if it’s a lazy Saturday morning or Sunday brunch!
Enjoy, and ‘till next time!
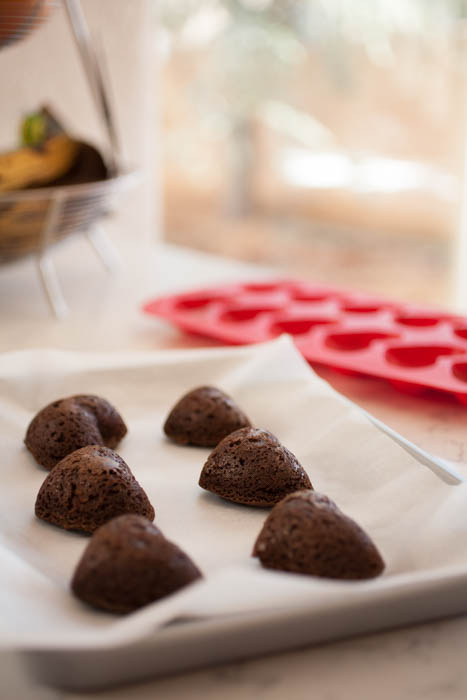
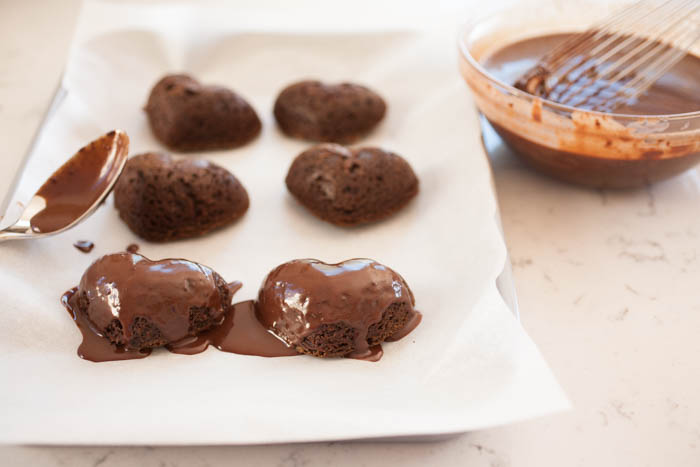
How To: Chocolate Ganache Two Ways

 Still looking at easy-to-make, basic recipes that are perfect for Valentine’s Day! Chocolate ganache is really a perfect addition to a Valentine’s dessert. Like the Valentine’s Day smoothie and the roasted strawberries, it’s chocolaty, it’s simple to make, and comes together quickly!
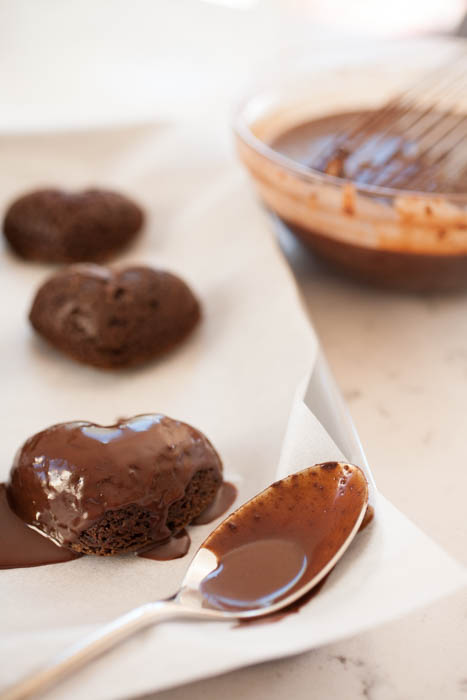
Chocolate Ganache
Outside of Valentine’s Day, chocolate ganache is a culinary basic that can be used for a large variety of desserts. It can be poured over cake as a type of frosting, combined with whipped cream to make an actual frosting, and as filling for cakes, pies, tartes, cupcakes, and pastries. And, in all honesty, it’s kind of wonderful just to take a big spoonful of it and eat it that way.
 Traditionally, chocolate ganache is made with semi-sweet chocolate, but you can use milk chocolate—it will make ganache that is less rich. I’ve even made bittersweet chocolate ganache, but it wasn’t a favorite of my guests or mine. If you love bittersweet chocolate, however, you may love bittersweet chocolate ganache too!
Two Ways to Make Ganache
 I’m including two ways to make ganache: the traditional ganache and a dairy-free version based on this recipe from the blog Flavour and Savour. Both follow similar techniques and aren’t really that different. For traditional ganache:
- Warm the liquid in a heat-safe bowl over a pot of about an inch or two of water simmering on very low heat (make sure the top bowl doesn’t touch the water).
- Place the chocolate in a separate bowl.
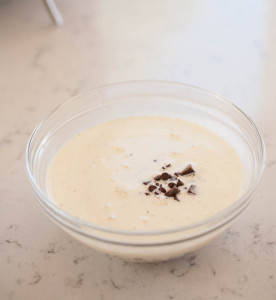
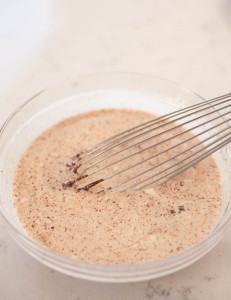
- Once the liquid is simmering slightly (when small bubbles form around the edges), pour it over the chocolate.
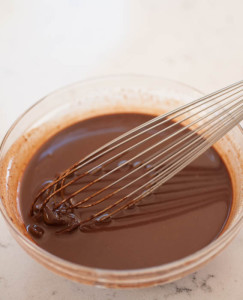
- Let the chocolate sit for a minute, then begin to slowly stir. It will come together into a beautiful silky, smooth mixture.
For dairy-free ganache:
- Place the coconut oil and chocolate in a heat-safe bowl over a pot of water, just as above. Again, make sure the bowl does not touch the water.
- Let the mixture sit for a minute or two as the chocolate begins to melt, then begin to stir, holding the bowl as you do.
- Stir just until the entire thing is smooth, then take off the heat. You can use it then or put it in the fridge to set for a bit before you use it.
 The ingredients:
Traditional Chocolate Ganache:
- 1 C. heavy cream
- 8 oz. semi-sweet chocolate chips
Dairy-Free Chocolate Ganache:
- 3 Tbsp. coconut oil
- 1 Tbsp. hazelnut chocolate almond creamer or other dairy-free milk (optional)
- ¾ C. semi-sweet non-dairy chocolate chips
I hope your Valentine’s Day is wonderful, no matter how you celebrate!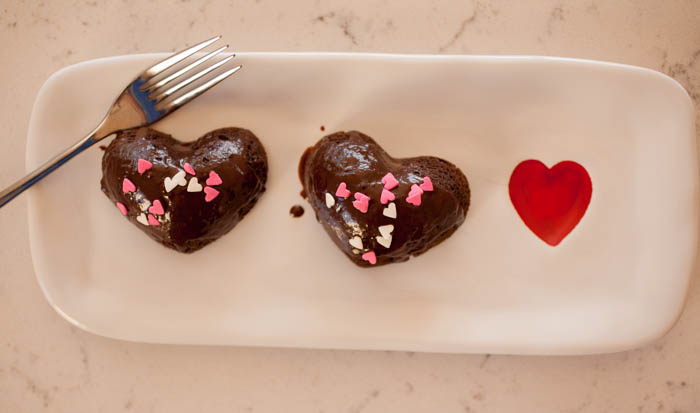
‘Till next time!
Simple Fall Dessert: Pumpkin Spice Panna Cotta

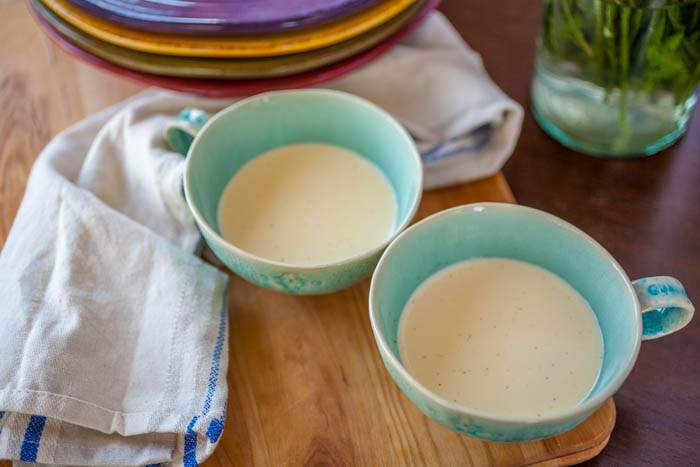 When we have people over for a dinner party, I love creating a show-stopping dessert. If I’m cooking the entire meal, however, I don’t always have the time it takes to create something that will make people go “wow”. This pumpkin spice panna cotta is the indulgent but simple answer to this challenge—it’s quick to make and this silky, creamy, but light dessert has just enough pumpkin spice flavor to please anyone!
This is definitely a decadent dessert with cream and sugar, but it’s so incredibly delicious and simple! Panna cotta has to be one of my favorite desserts, and I always get compliments and then silent eating (which is the real compliment). And because it’s pumpkin and squash season, I thought, what could be better than putting two of my favorite things together? And pumpkin spice panna cotta was born!…
Sweet and Spicy Maple Roasted Butternut Squash

 This sweet and spicy maple roasted butternut squash is a little bit sweet and a little bit salty with a pinch of heat. Roasting brings out the deep color and richness of the butternut squash, and the crispy edges from roasting add an extra layer of flavor. It’s a perfect fall side dish next to almost anything, even mixed in with a salad!
Autumn is definitely squash season, and this recipe is the perfect way to celebrate! Not only that, but I’ve included a tip that makes cubing butternut squash so much simpler!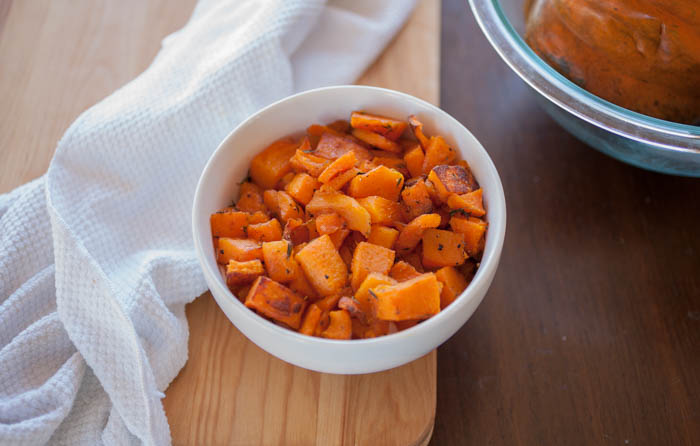 …
…
Oh So Perfect Basic Granola Recipe
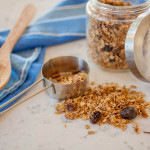
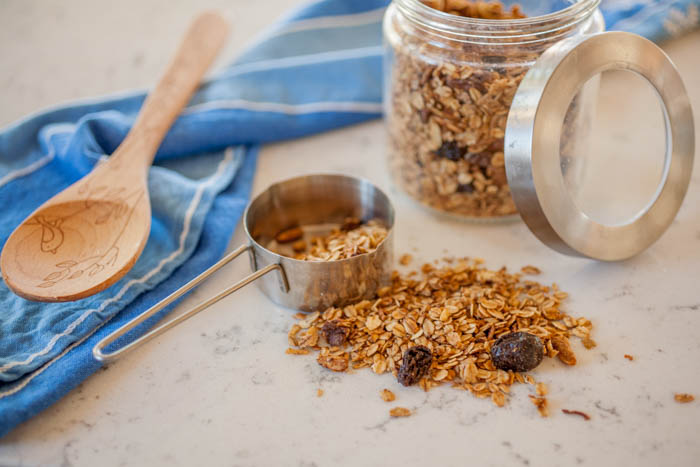 I love cereal of some sort in the morning. Lately, my husband and I have been eating oatmeal in the morning and one of our favorite things to add to the oatmeal is granola. We just sprinkle it on top to get an extra boost of flavor, sweetness, and crunch. And the best part is, it’s homemade granola!
Despite the long name of the blog, this recipe is simple and results in a sweet, crunchy, an oh-so-satisfying morning (or afternoon, or evening) treat! It’s so perfect by itself as a quick snack or with milk, mixed with yogurt, or even sprinkled over ice cream!
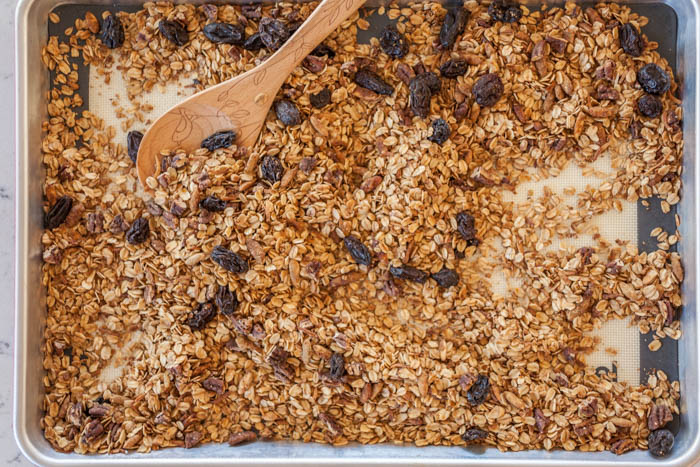
This recipe is the very basic building blocks of granola. From here, you can add almost anything you want to change up the flavor! You can choose how sweet your granola is, how toasted it gets, etc. More on that below.
…
Pasta Primer Part 4: Fast and Simple Tomato Sauce

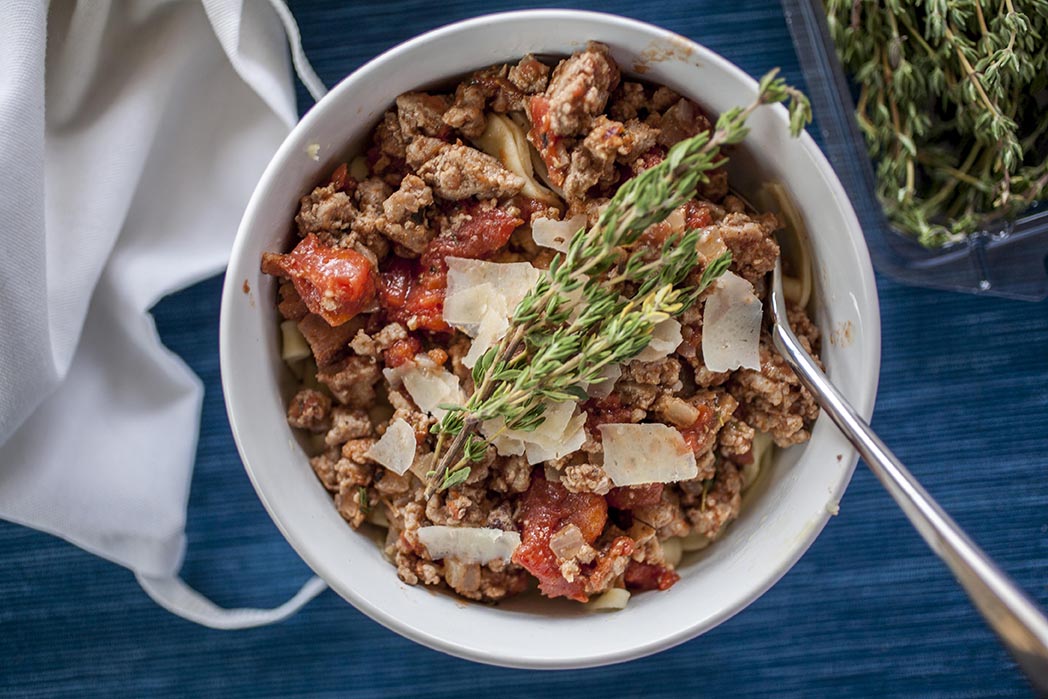 Can you believe it’s October already? I can’t. I’m not sure where September went. Heck, I’m not sure where the entire year went. I do love October though—it may just be my favorite month. In New Mexico, besides chile, we have the Balloon Fiesta, as well as my birthday and our wedding anniversary, all within the same twoish weeks. Plus, all the trees start changing color, the chamisa are blooming, and the weather is finally cooler! And cooler weather means comfort food, like big bowls piled high with pasta and a hearty sauce.
Last Monday we covered how to make homemade pasta. Today, I’m giving you a short recipe you can use along with your freshly-made pasta. It only takes about 45 minutes to prepare, from start to finish. You can learn more about pasta and how to cook pasta in series part one and part two….
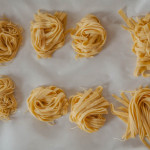
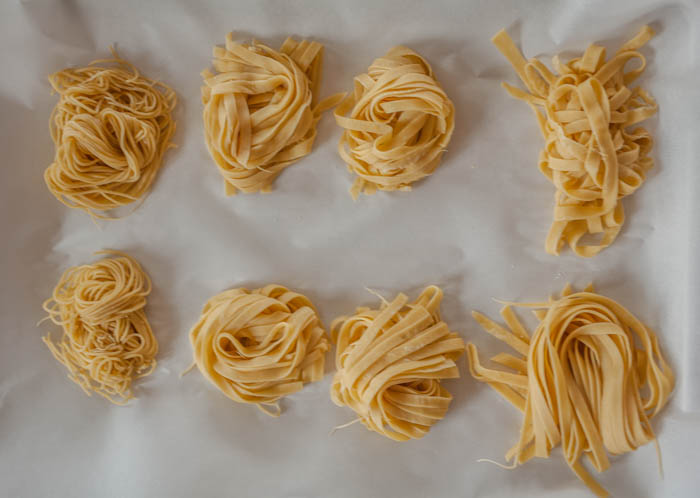
Pasta Primer Part 3: Making Pasta from Scratch
 I had a roommate at the University of Washington (go Huskies!) who was always studying. She would come home late, sing in the shower at the top of her lungs, not caring who heard, make a quick dinner, then go to sleep, only to repeat the process the next day.
She went through several weeks where she’d make spaghetti at home. She’d come home from studying, throw flour and water into a bowl, mix and cut, and boil the noodles. It took all of thirty minutes before she had a meal.
So why am I sharing this story?
To illustrate just how easy it is to make pasta from scratch!
Making good pasta from scratch doesn’t have to be intimidating—the ingredients are minimal and so are the steps! Granted, it is a little more complicated than my roommate’s, but once you have the basics, it’s something you can repeat without a recipe. Think of it as something you can pull out whenever you feel like it, whip it up quickly, throw a sauce together, and you’ll have a meal to impress!
You don’t need any special techniques and you don’t need any special tools to make fresh pasta, although I’ll show you a few in this blog. I promise the taste of fresh pasta is completely worth it!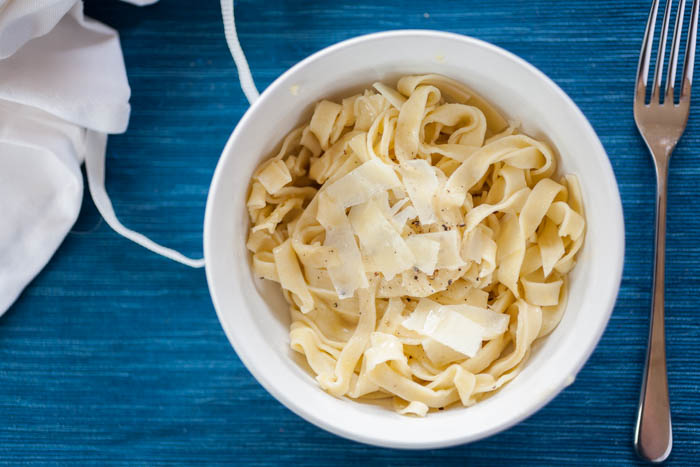
So let’s get to it!…