
 When this blog first started up, I did a post all about the kitchen gadgets for the holidays. While I definitely use all of them, there are other gadgets I use nearly every day. And perhaps more important than kitchen gadgets, however, are the food items we use all the time. They’re what help you get the food the way you want it, make the food taste good, and make it nutritious….
How To: Make a Double Boiler
 So I’ve used double boilers several times on this blog (like the chocolate ganache blog).Though a double boiler is a specialty item that can be super expensive, there are times when you really do need one to get a certain dish to turn out well. Thankfully, you don’t need to buy something will take up space—all you need you probably have in your kitchen already!
On another note, I’ve had to retype the word “boiler” every time it’s appeared so far because I keep spelling it “boilder”.
Anyway…
When to Use a Double Boiler
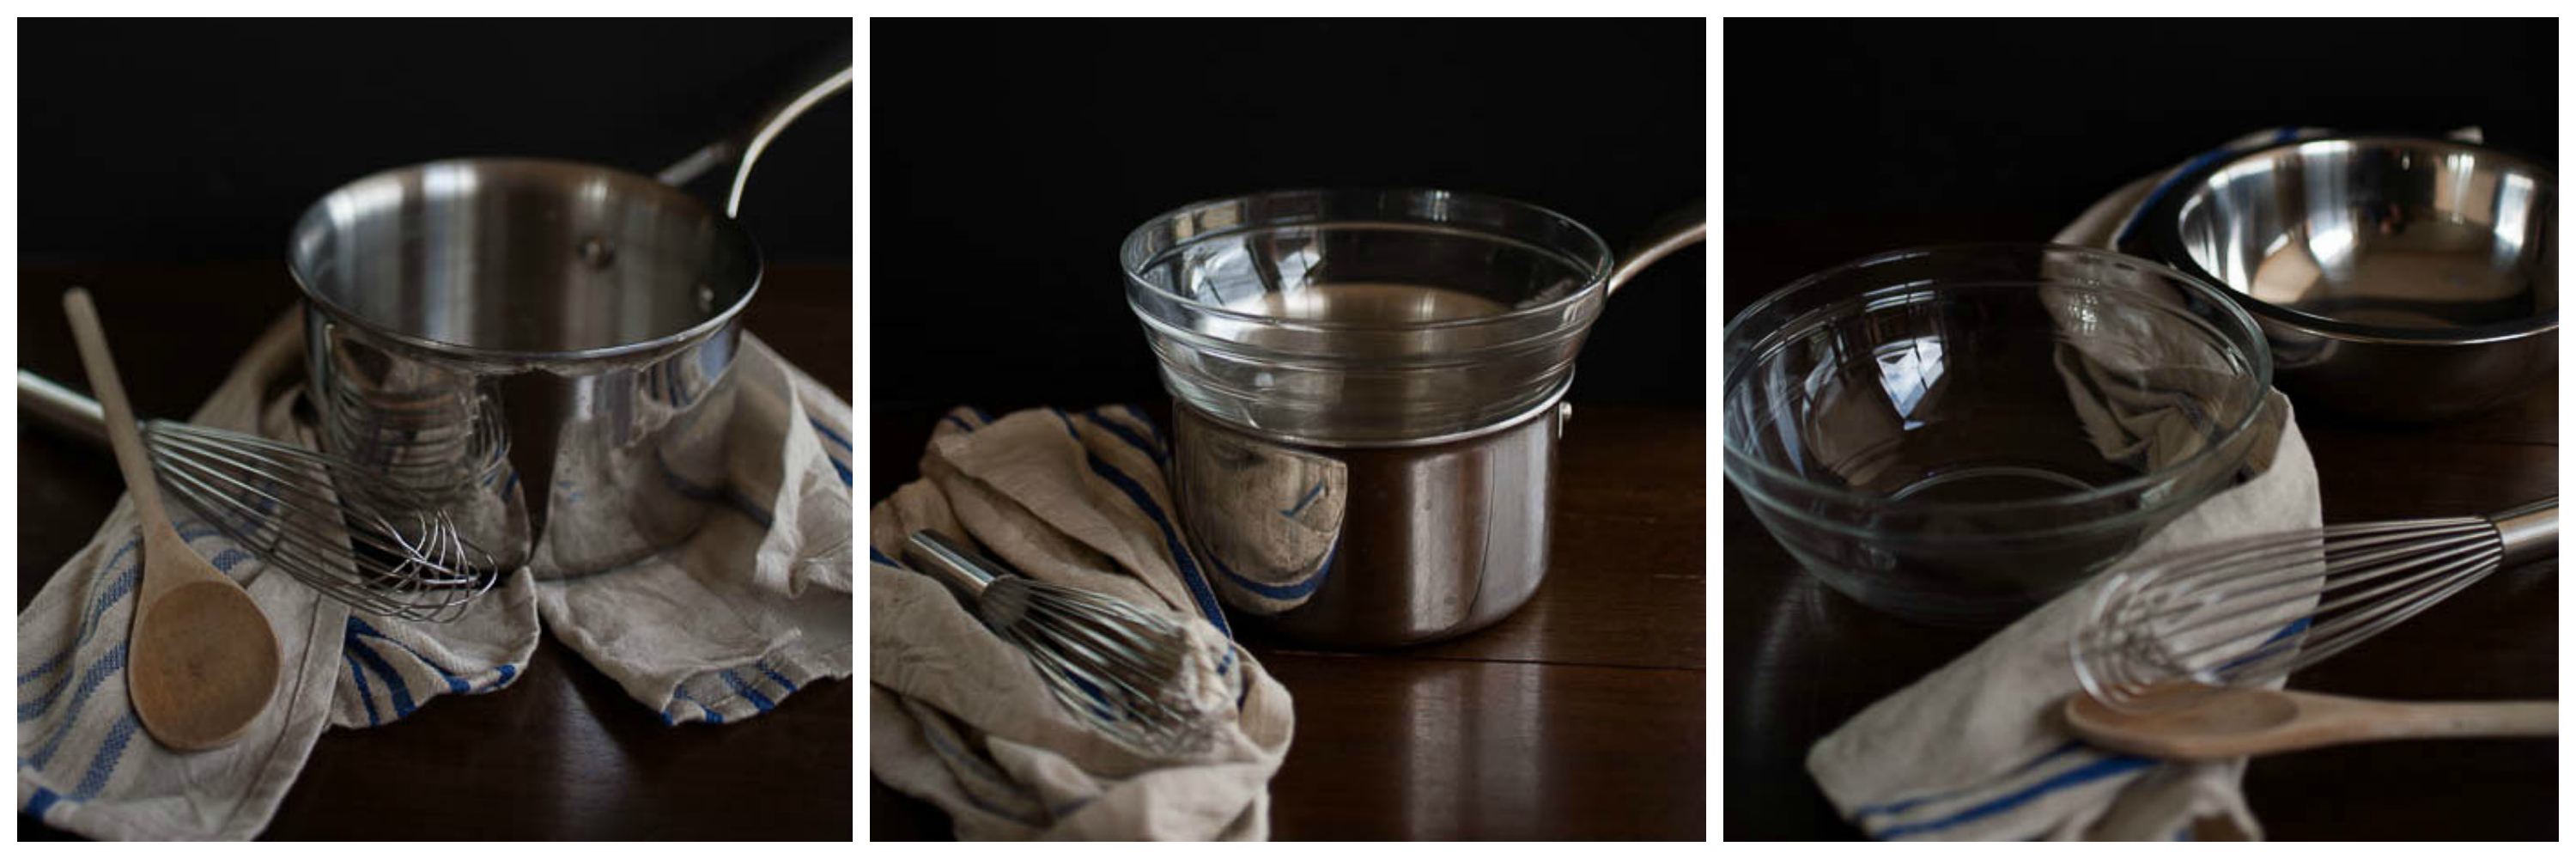
 First, what is a double boiler? A double boiler is, basically, a pot on top of another pot. So what’s the point? A double boiler allows you to cook food gently over indirect heat. It works like this:
- Place about an inch of water in the bottom pot and turn the heat on medium-low/low so the water begins to simmer
- Place the second pot on top of the first pot, making sure it doesn’t touch the water
- Cook the food in the top pot
The heat source doesn’t touch the bottom of the top pot, which is called indirect heating. It’s the simmering water and steam in the bottom pot that creates just enough heat to gently cook the food in the top pot.
So, going back, what’s the point? Certain foods need to be gently heated, otherwise it may burn, curdle, or cook too quickly. This is true for melting chocolate for tempering and delicate egg-based dishes like sabayon. There are even some people who use a double boiler to make fluffy, creamy scrambled eggs.
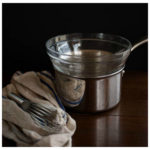
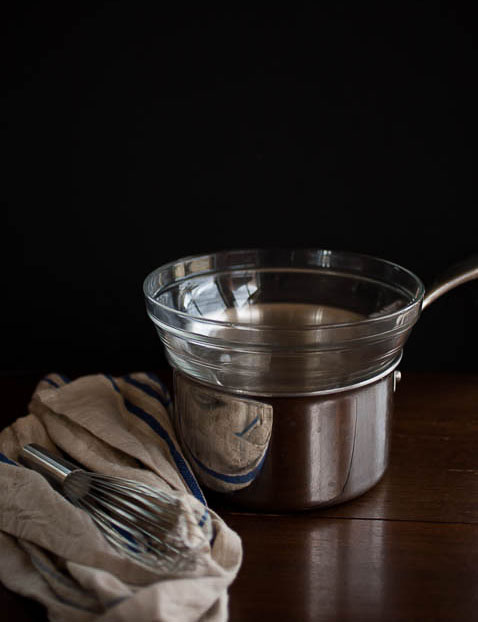
Making a Double Boiler at Home
Making a double boiler at home is pretty simple. You’ll need a pot for the bottom, something with higher sides like this:
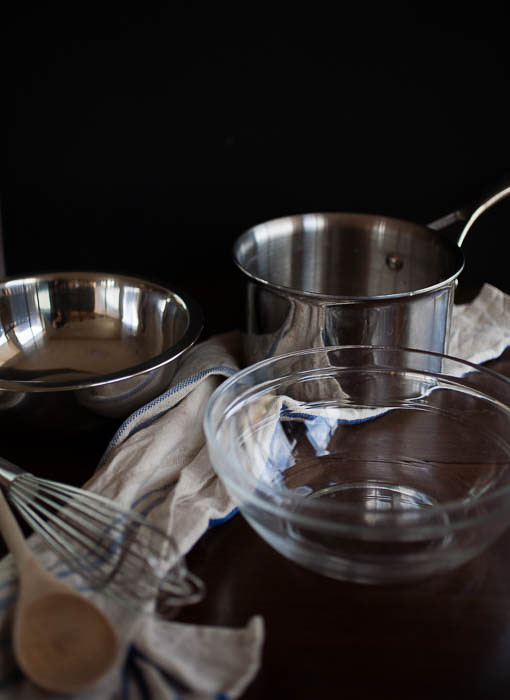
And either another bowl or another pot that is similar to the shape of the bottom pot, like this: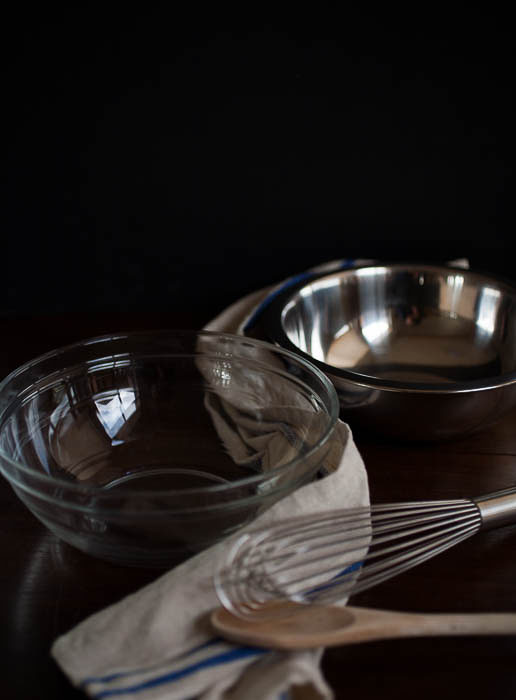
To be fair, the top won’t be as steady as an already-made boiler you will buy at the store. However, I usually don’t have a problem with it. If the top pot/bowl does move a bit, just have to be careful about holding the top bowl with a heat-safe something (like an oven mitt). Also, watch out for steam that may come out of the sides.
Tips for Using a Double Boiler
A few tips for using a home-made double boiler, learned from experience:
- Make sure the top and bottom pots are as close to the same size as possible so the top pot fits snugly without falling too close to the water
- Use only about an inch to two inches of water and, if you’ve been cooking for a while, check to make sure the water hasn’t evaporated completely
- As I said above, watch out for movement and steam when you’re using a bowl. When you stir, the bowl will move, so I usually use an oven mitt to protect my hand from the hot bowl and my wrist from steam.
- Make sure your water is simmering, not boiling. You want low heat to ensure the water stays as a simmer and doesn’t get too hot. Start at low to medium-low heat.
So, next time you see a recipe that calls for a double boiler, don’t skip it! Just make your own at home!
Some delicious recipes are coming your way soon, too—I’m excited for summer and all the fresh produce!
‘Till next time!
5 Ideas for Old Bananas (Besides Banana Bread)

 I have a couple of old, black bananas sitting in my fruit basket right now. I also hate throwing food away if I don’t have to. And, finally, as much as I love it, I can’t always make banana bread. So, over the years, I’ve come up with a few ways to use old bananas (that aren’t banana bread) when I just don’t want to eat them anymore.
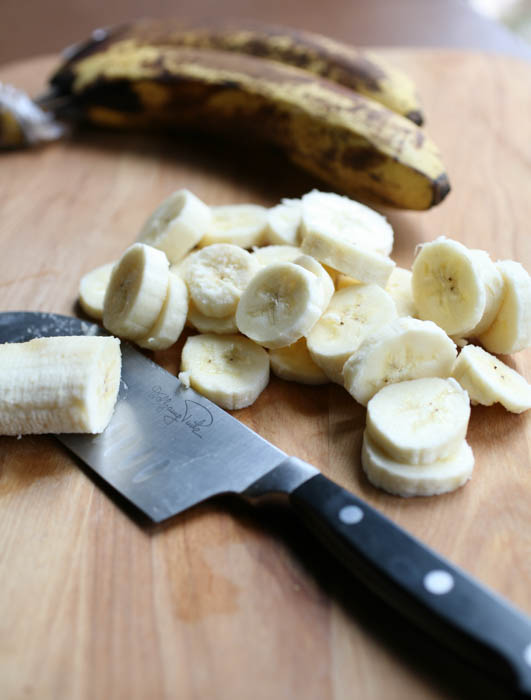
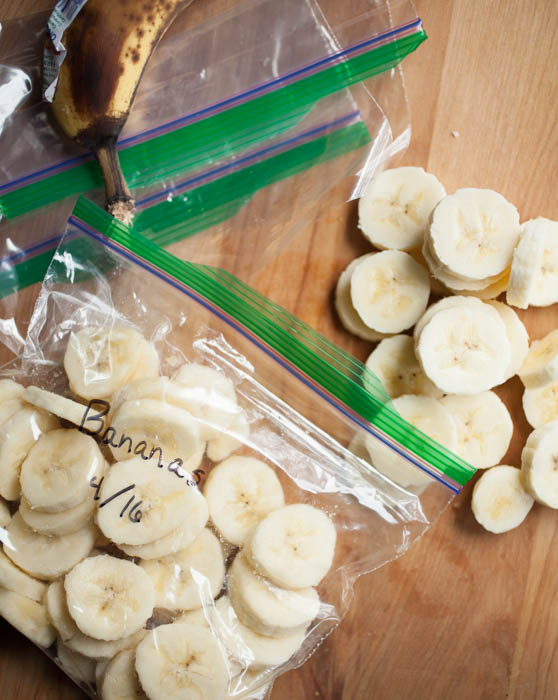
1. Freeze Them
Freezing ripe bananas is one of the best ways to use them. I take them out of their peel, slice them up, and put them in a bag. Once frozen, they last for 4 to 6 months. They’re especially good in smoothies, but you can also defrost them and use them for baking, for chocolate-dipped banana bites, or for any of the ideas below:
2. Make “Ice Cream”
There are dozens and dozens of recipes out there for banana “ice cream”, and most of them are super easy. It’s a gluten-free, dairy-free, nut-free, egg-free sweet treat that is pretty good at relieving any cravings I have without adding a heaping of guilt.
3. Make Oatmeal
Not only is this a natural way to sweeten oatmeal, it tastes really good. Mash the ripe banana into the bottom of a pot until it’s completely mashed, then cook the oatmeal like you would normally (although you may need slightly less liquid), stirring to make sure everything is incorporated. It’s banana oatmeal!
If you want, you can add peanut butter, chocolate chips, crushed macadamia nuts, walnuts (think banana bread oatmeal…)… it’s up to your imagination!
4. Make a Smoothie
I do not like to eat old, mushy bananas. They actually have to be on the green side for me to really like them. But old, mushy bananas are perfect for my smoothies/green drinks because they add sweetness in addition to healthy vitamins and minerals like potassium. Plus, it makes the smoothie cold without adding too much ice!
5. Pancakes
Similar to the oatmeal above, you can add bananas to your pancakes by mushing them like you would for banana bread, then continue on with the recipe as usual. The only adjustment you will need to make will be for liquids.
 Okay, so banana bread still made it into this blog, and I’m not denying a healthy love for it. But, if I’m being honest, I don’t have time to make banana bread that often and use old bananas for one of the above.
What’s your favorite way to use old bananas? Let me know in the comments below!
‘Till next time!
4 Essential Kitchen Tools for the Holidays

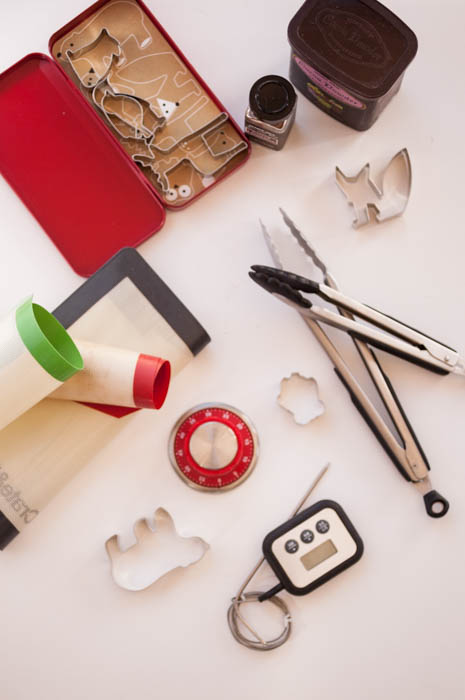 The holidays are known for big feasts, from Thanksgiving to Hanukkah to Christmas, New Years, and even holiday dinner parties. These five kitchen tools are the tools I find most essential when I’m cooking a big dinner for a lot of people!
From tools that time to tools that ensure the food doesn’t stick to tools that monitor temperature and even just a good set of tongs, these guys help me stay organized and on top of all everything! That way, I can spend less time frustrated in the kitchen and more time mingling with friends and family! (You can also check out last year’s post about my favorite tools in the kitchen.)
My 5 Essentials
I do use these tools year-round, but they definitely make the holidays easier! Also, you many notice that not everything I talk about is pictured. Some things don’t seem to have made our move and I haven’t found them yet… 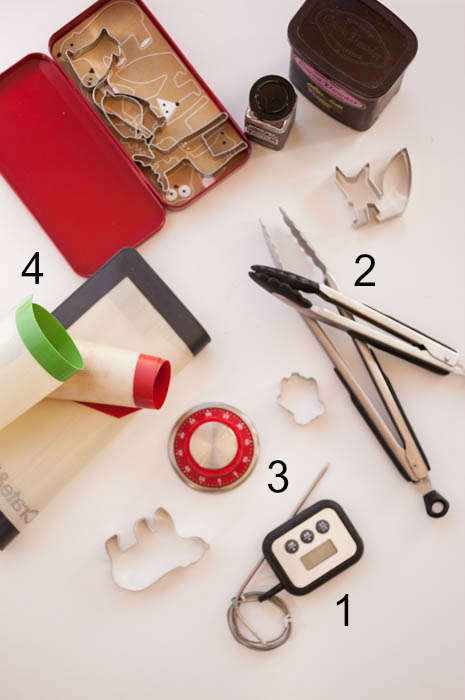
- Kitchen Thermometers
Kitchen thermometers I have include:
- Oven thermometer
- Candy thermometer
- Probe cooking thermometer
The oven thermometer and the probe cooking thermometer are essentials in my book. So many holiday treats are finicky when it comes to the temperature of your oven, and an oven thermometer can help you keep the temperature regulated. A probe thermometer is fantastic too—you can stick it into a turkey or ham, close the oven door, and monitor the internal temperature. Some will even beep when they reache the correct temperature so you don’t overcook anything. It saves me so much time when I don’t have to stop what I’m doing and open the oven to check the temperature every ten minutes.
I also use candy thermometers quite often for making candy, boiling milk, etc.—all things that seem to happen more often during the holidays when you’re baking holiday sweets. You can also use it as a frying thermometer to check the oil temperature.
- Kitchen Tongs
There’s nothing like having a good set of tongs in the kitchen, and I like having at least two. That way, you can be using tongs for everything you need and don’t to stop to wash it, then wash it again.
I have two pairs of tongs right now and that usually serves me just fine. One is a regular pair of tongs, the other a pair of tongs with rubber on the outside so it won’t scratch delicate cooking surfaces.
- Kitchen Timer
Yes, ovens and microwaves have timers, but you may be timing multiple things at once. Or, like my mom’s, your oven may inexplicably turn off when the timer goes off. You may need to use the microwave. I also don’t feel extremely comfortable keeping my phone in the kitchen, especially when I’m cooking multiple dishes. Thus, a kitchen timer is my solution.
I have two: one looks like the dial of a locker lock (it even make that wonderful clicking sound!) and the other is a cute replica of a macaron!
- Silpat
I mentioned it in my previous blog, but I absolutely adore Silpat. You just lay it onto the sheetpan and have an instant non-stick surface on which to bake.
Don’t get me wrong—I love parchment paper and use it quite often. But having to pause to measure, cut, spray, flour, and then deal with paper that will not. stay. down(!) can cause more frustration than I need at the moment. Thus, Silpat! (You do have to clean it afterwards, but in my book, worth it! Especially because my husband usually does the dishes…)
So what are your favorite kitchen tools, especially during the holiday rush? Let me know in the comments below!
‘Till next time!
Kitchen Renovation Diaries: Part 2

Apologies for the radio silence again, but we’ve been finishing up the renovation and moving in to the new house. I’ve heard that all renovations have issues, and ours was definitely not an exception. We went from a moving date of late May/early June to early August, as you may remember from my last post about the renovation. The oven took over a month and a half just by itself to install (yes, there is quite a story attached to that fact).
Thankfully, after several pretty manic weeks, there are just a few finishing touches and we’ll be finished. We’ve even started unpacking, including finally unpacking our weddings gifts that have never even left the boxes:
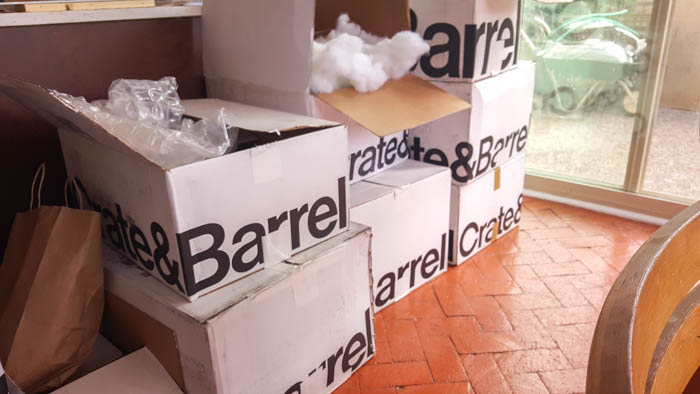
Can you tell what my favorite store in the world is?
…
Pantry Basics: Pantry Staples

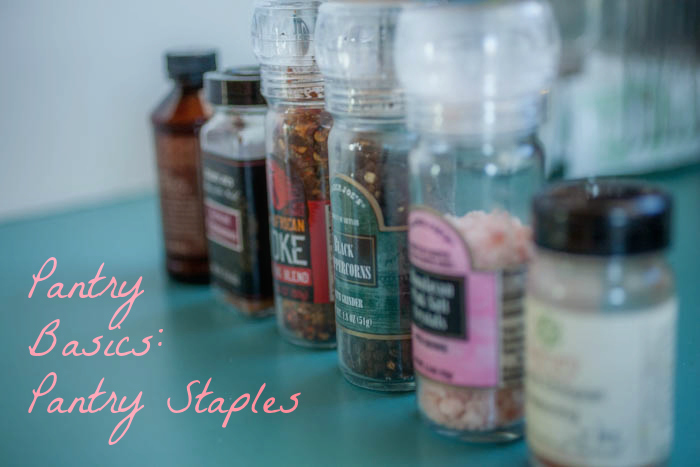 The pantry. Kind of a big subject. You could talk about the types of flours you could have, or the range of spices, or even how to organize your pantry. That’s why this blog is the first in a multiple part series wherein each blog will cover a very specific part of the pantry.
For this first blog, I’m going to talk about the very, very basic dry ingredients that I have in my pantry at all times: pantry staples. So part one of the ” Pantry Basics: Pantry Staples” series starts with……
Kitchen Renovation Diaries: Part 1

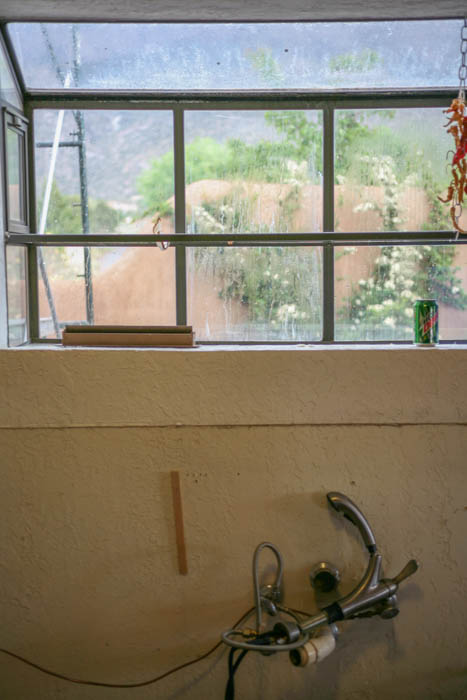
The old garden window.
In about a month and a half (hopefully), my husband and I (and our mutts, of course) will be moving into my grandmother’s house. We won’t be the owners but more like caretakers until the time my mom and uncle decide to sell the house….
Kitchen Basics: A Basic Flour Primer

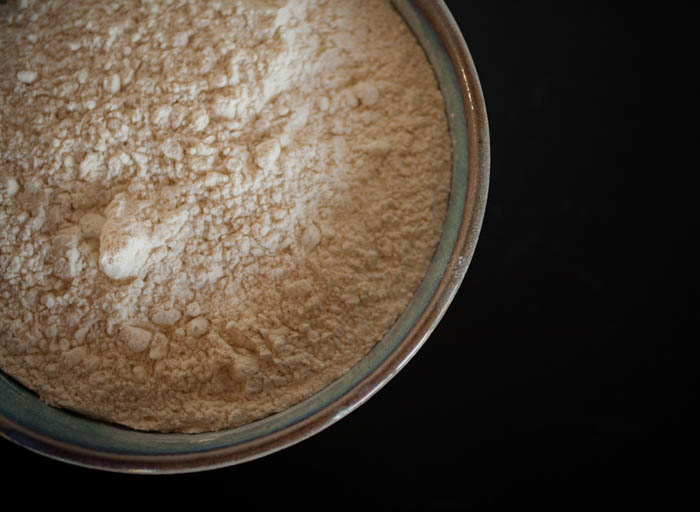 My great-great-grandmother was the daughter of a miller in Lithuania who immigrated in the late 1800s. From all accounts, she was an incredible baker who made dining-room-table-length pastries for her family of nine children and their children nearly every week. She could even tell the quality and type of flour just by feeling it.
I’m not my great grandmother and most people aren’t either.
So this blog covers exactly what is says in the title: flour. I feel like this is important basic kitchen knowledge to have. Not everyone likes to, or even wants to, bake. But if you’re cooking you probably will, at some point, use flour. You may even need to know the difference between bread flour, pastry flour, and even pasta flour (for those moments you desperately need pasta but don’t have any in the house. And if that moment comes up, you’ll have this post!)
…
Kitchen Mistakes: Blog One

There are a lot of things you don’t think you’ll be worrying about as an adult. Like standing in the toilet paper aisle and trying to decide which you should buy—the quilted strong+soft or the ultra plush (is there a difference? Has anyone tested this?). Then there are the mistakes: some only slightly annoying, some really bad, and others costly. But the main thing is, there is no avoiding mistakes.
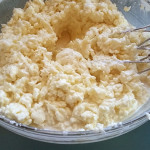
It’s pretty much the same thing in the kitchen. Like the Swiss meringue buttercream I tried to make when I threw my friend a baby shower back in September.
The Swiss Meringue Buttercream Story
Swiss meringue buttercream isn’t horribly difficult to make, but it can be finicky. I’d made it a few times before, however, and didn’t feel like it would be a problem.
However, I also didn’t have my usual tools, like my beautiful soft yellow KitchenAid® stand mixer because I decided to make the cake/frosting at my mom’s house. Why? The shower was being held there instead of my small apartment and I didn’t feel like hauling things back and forth.
Of course, what was supposed to be a beautiful buttercream broke which means it turned into an ugly, watery and separated mess:
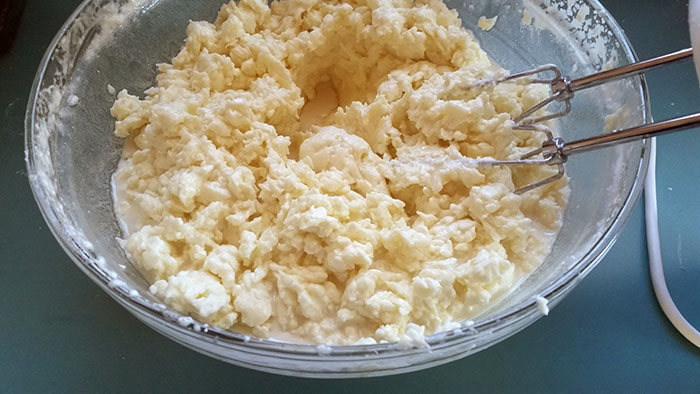 Let me tell you, I was near tears thinking I would have to run out to buy more supplies and start all over again when I was already far off my schedule….
Kitchen Basics: Everything in Its Place with Mise en Place
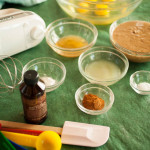
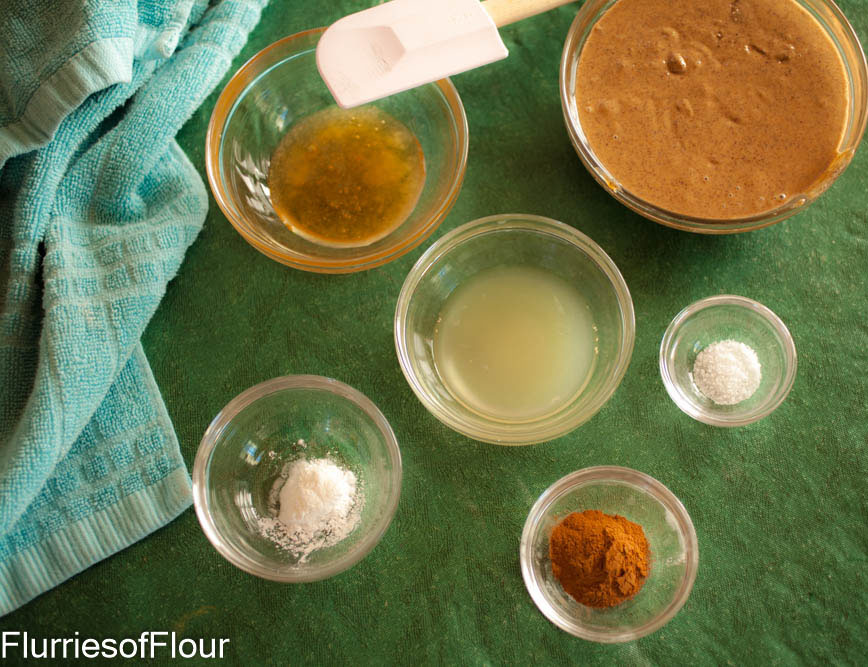
There are many tips and tricks you can use in the kitchen to make cooking faster and definitely more pleasant. One of the most basic and most important of those is called mise en place and it will definitely make your time in the kitchen easier!
What is Mise en Place?
Put simply, it means “everything in its place”, or having all of the ingredients for your recipe laid out and ready to go before you start cooking.
Mise en place is one of the culinary foundations. It’s one of the very first concepts you’ll learn about in culinary school and it’s one that you must follow at all costs (or face the wrath of your instructors… scary)….