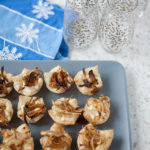
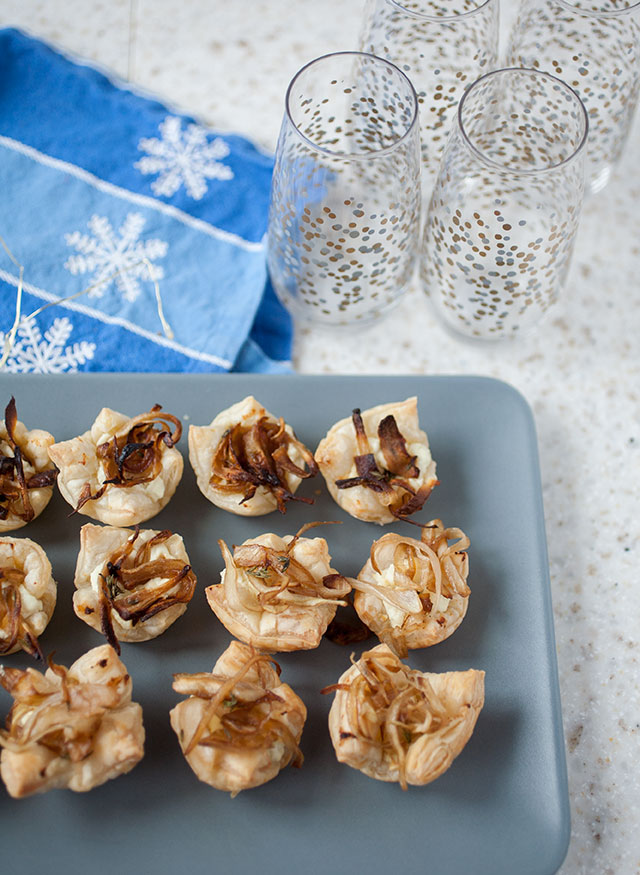
 Here is a new series just for December: party appetizers! No matter which holiday party you’re celebrating (Hanukkah party, Christmas party, New Year’s party, etc.…), these appetizers are perfect small bites to delight your guests! And I’m starting off with one of my all-time favorite appetizers, caramelized onion and goat cheese tarts! They only require a handful of ingredients, aren’t very labor intensive, and the sweet-savory flavors meld perfectly in the flaky pastry crust! These holiday appetizers will fly off the plate!…
Homemade Roasted Garlic

 I like garlic, but roasted garlic takes this basic kitchen staple to an entirely new level.
You might have had roasted garlic before, probably at a restaurant, maybe in a compound butter or in a dish (like the time, on a date, I bit into a piece of bread thinking it was cinnamon raisin bread and, wow, that was a surprise. Still tasty, but definitely not what I was expecting…). Thankfully, you don’t have to eat out just to have roasted garlic. It’s probably one of the simplest things to make at home—it just requires patience.
It so incredibly good in pretty much every savory dish—the roasted garlic compound butter I posted here a few weeks ago, in pasta dishes, egg dishes, mixed with roasted veggies, and even just spread over a piece of toasted bread.
If you haven’t had roasted garlic, don’t imagine the taste of raw garlic. Roasted garlic takes on a mild, sweet-yet-savory flavor with just a hint of that garlic bite. It really adds such a layer of flavor to any dish!
It’s kind of heavenly, just like the smell that fills your house while the garlic is roasting. I promise it will make your mouth water!
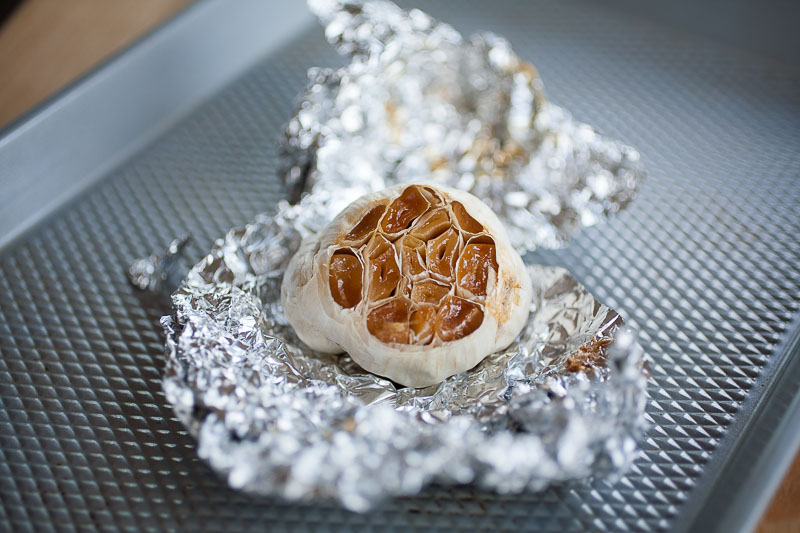
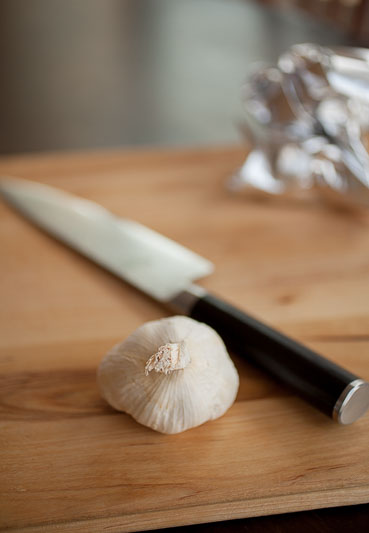
The process is, again, very simple. You take an entire bulb of garlic, but don’t peel it (although you can peel the very outer layers off if they’re already flaking). Instead, just cut the top off so the tops of the cloves are exposed. You’ll pour olive oil over the bulb, just enough to cover the top and seep into the cloves. Then, you’ll cover the bulb snugly in foil, stick it in the oven, and wait for the goodness!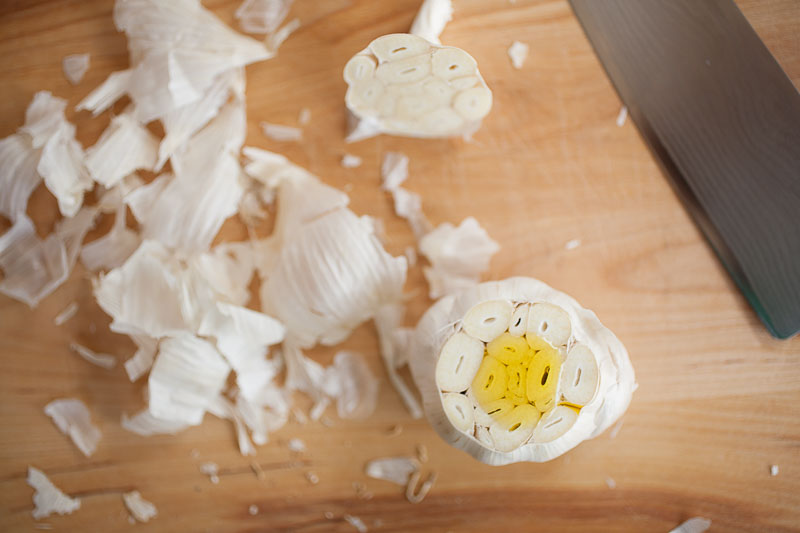
Homemade Roasted Garlic
Prep time
Cook time
Total time
Author: Samantha Gallegos
Serves: 15
Ingredients
- 1 full garlic bulb
- Enough olive oil to cover the top of the garlic bulb
Instructions
- Preheat the oven to 350°. Alternately, you can heat your grill to medium heat.
- Cut off the top of the garlic bulb and pour enough olive oil to cover the top of the garlic bulb.
- Cover the bulb tightly in aluminum foil and place in the oven or on the grill.
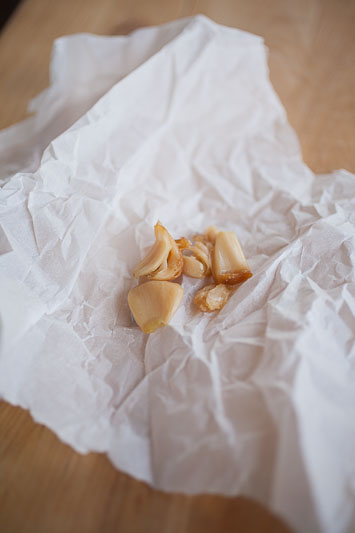
- Let the garlic roast for an hour or more until the garlic bulbs are a deep caramel brown and soft (you can take the packet out of the oven and unwrap it to check).
- Remove garlic from its peel and use any way you wish!
It’s that simple! Really, all you need is patience as the garlic fills your kitchen with this rich, garlicky, savory-sweet smell. It’s hard to resist.
‘Till next time!
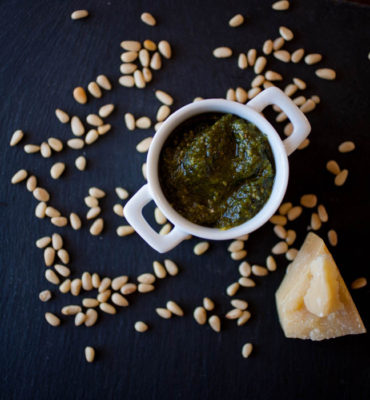
Summer Fresh Basil Pesto
 I promised in last week’s double-boiler blog that I would have some recipes coming soon, and here’s the first! Classic basil pesto is one of my favorite sauces. It’s simple to make, packed full of fresh spring/summer flavors, and you can use it in so many ways! We put it over grilled veggies, grilled meats like chicken or steak, grilled or baked fish, into chicken rolls, mixed into dips, and, of course, as part of one of my favorites: caprese salad.
And believe me, homemade pesto is so much better than store-bought.
Pesto: A Recipe
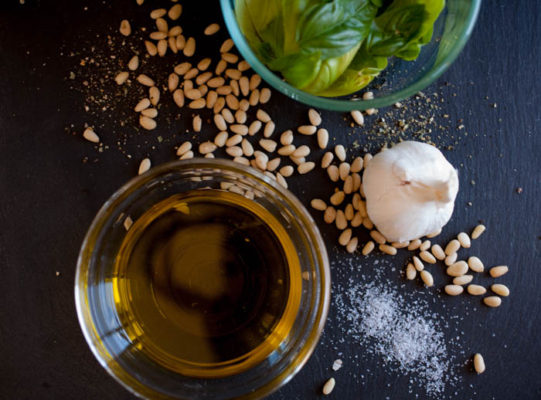 This is the basic Italian-type of pesto you’ll find in most store and at many restaurants. I know I say it a lot, but pesto is very simple. You’ll need just a few ingredients:
- Fresh basil
- Pine nuts
- Parmesan cheese
- Olive oil
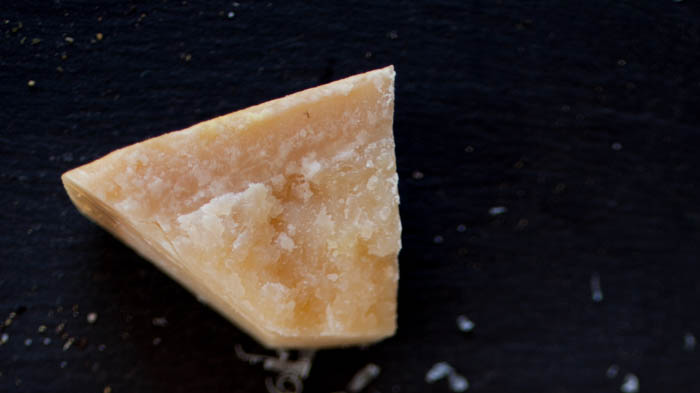
A few notes: first, make sure you use real Parmesan. It really, really makes a difference in flavor and texture. The powdered stuff you find in a can or the tubs of waxy stuff make pesto taste off to me. Also, try to find a good extra virgin olive oil. You’re eating the olive oil raw and you will be able to taste good olive oil and bad olive oil.
The only obstacle to making pesto you may have is that it does require either a food processor/high-powered blender or a mortar and pestle. You’ll have to grind everything together until it’s emulsified and it’s difficult to do that with just a knife or a regular blender.
Summer Fresh Basil Pesto
Prep time
Cook time
Total time
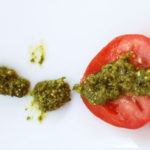
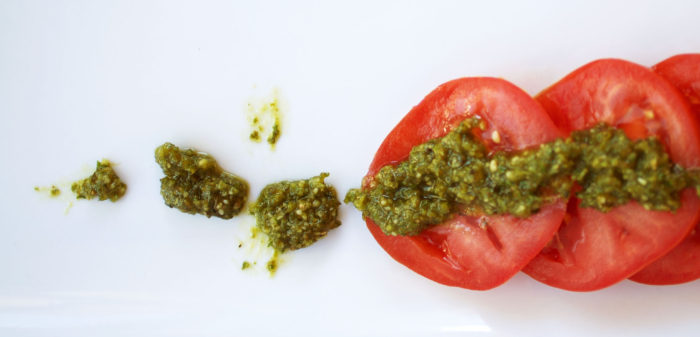
Fresh pesto is perfect for summer and it's simple to make! This classic recipe comes together with just a few ingredients in just minutes so you can spoon it over summer salads, roasted veggies and meats, over fresh tomatoes and mozzarella...
Author: Samantha Gallegos
Recipe type: Italian
Serves: 1 cup
Ingredients
- 2 C Fresh basil leaves
- ½ C Pine nuts
- 2-3 peeled garlic cloves
- ½ C grated Parmesan cheese
- ½ tsp. salt
- 1 tsp. pepper
- ½ C Olive oil
Instructions
- Place the basil leaves, pine nuts, Parmesan, pine nuts, and salt and pepper into the bowl of a food processor.
- Pulse the food processor a few times until everything is combined.
- While the processor is running, drizzle in the olive oil. You may not use the entire two cups--keep drizzling until the pesto comes together and starts looking like a paste. If you want to add more olive oil, however, feel free! It's up to you.
- Serve and enjoy!
 Riff on Your Pesto
Pesto is amazing in its versatility. I will be sharing a few of my favorite recipes for pesto this summer, but you can mix, switch out, and swap so many ingredients. For this type of pesto alone (there are many different types) you can substitute:
- Play with the ingredient ratios. The numbers I put above are suggestions
- Replace walnuts for pine nuts
- Replace Parmesan with another type of hard cheese like Grana Padano or Manchego
- Add sundried tomatoes or fresh spring peas (yes, seriously. It’s kind of amazing…)
Also, you can save your leftover pesto by freezing it in a ice cube tray. That way, it’s already in small portions and you won’t have to unfreeze an entire bag or chip out what you need–nice and neat!
So, that’s the classic basil pesto recipe–perfect to enjoy all summer and beyond.
‘Till next time!
Homemade Dipping Sauce Two Ways
 Like I said on Monday, in our house, March Madness is a big deal. I learned this pretty soon after my husband and I started dating. For years, he and his friends have taken off the Thursday and Friday of March Madness to watch basketball. Everyone brings food and beer (of course) and it’s really a lot of fun. (This coming from someone who watched very little in the way of sports before I got married).
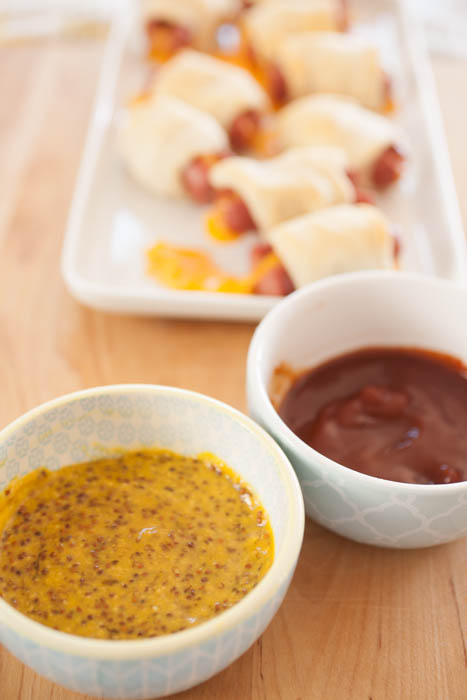
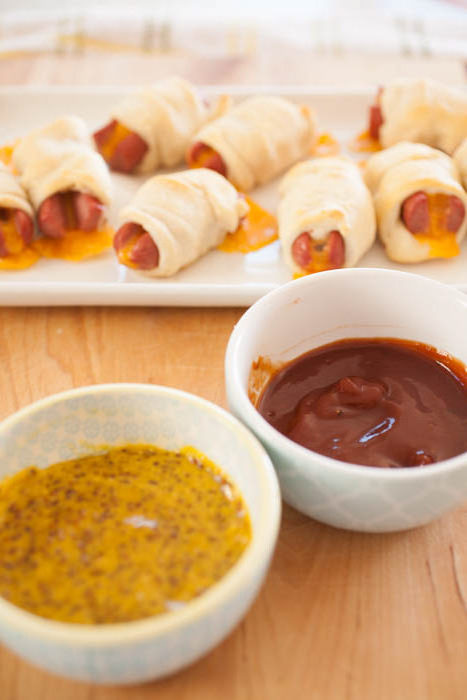
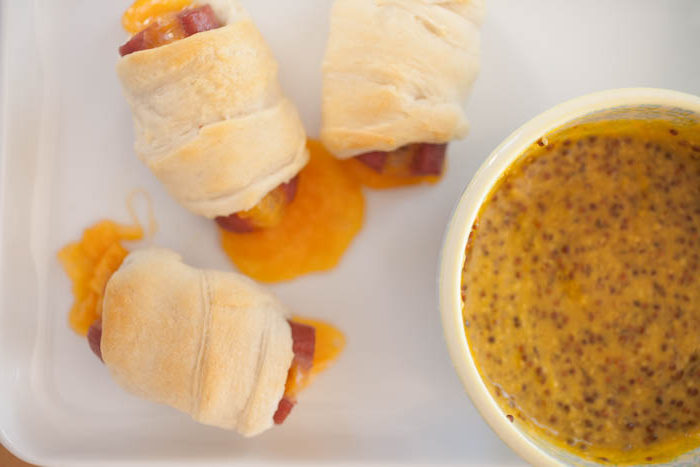
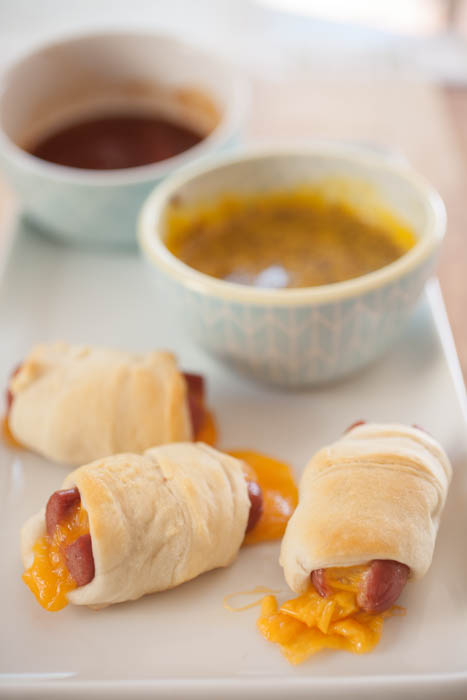
This year, my husband and I are bringing the cheese-filled mini crescent dogs I posted on Friday. Today, I’m sharing the homemade dipping sauces I’m making to go along with them! They’re also great as additions to all-around game-day and party foods!
 The Dipping Sauces
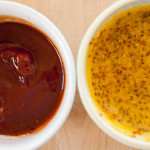
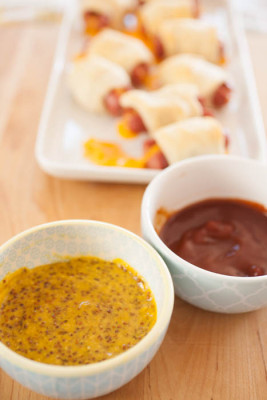
These dipping sauces are perfect to go along with the cheese-filled mini crescent dogs. They’re both sweet, spicy, and a little savory. And they only take two minutes to whip up–seriously!–meaning they’re perfect for any last minute game-day or party prep!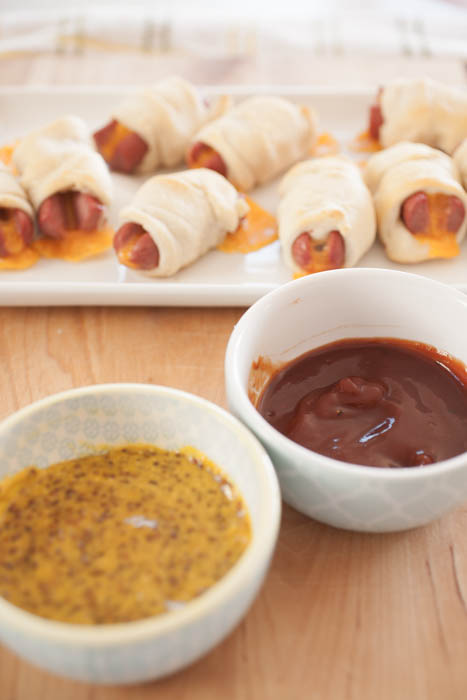
Homemade Dipping Sauce Two Ways
Prep time
Cook time
Total time
Sweet, salty, and a little bit spicy--these two homemade dipping sauces pair perfectly with cheese-stuffed mini crescent dogs and they only take minutes to whip up!
Author: Samantha Gallegos
Recipe type: Appetizer
Serves: half a cup each
Ingredients
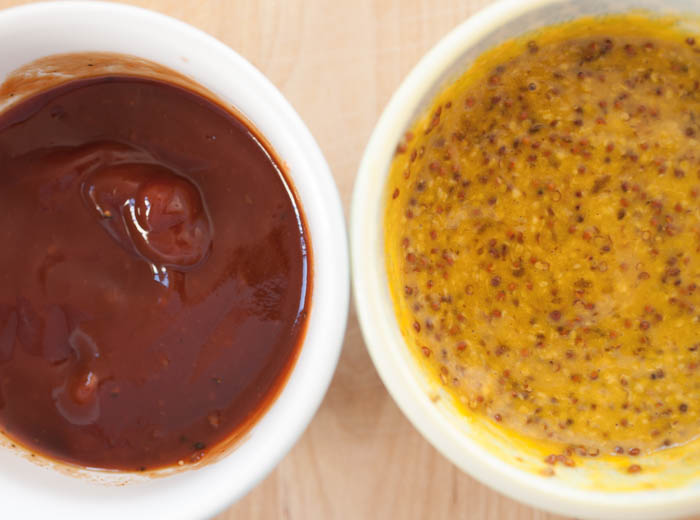
- For the Spicy Ketchup:
- 3 Tbsp. ketchup
- 2 Tbsp. barbecue sauce
- 1 Tbsp. sriracha
- ¼ tsp. soy sauce
- ⅛ tsp. pepper
- For the Honey Mustard:
- 2 Tbsp. regular or grainy Dijon mustard
- 2 Tbsp. yellow mustard
- 1 to 2 tsp. honey
Instructions
- Combine ingredients from each in their respective bowls, stirring until fully mixed.
- Serve next to your favorite appetizer!
So, if you’re watching March Madness, enjoy! If not, enjoy your weekend, too! (To balance out all the sports and testosterone, we’re going to the symphony on Saturday—yay!).
‘Till next time!
Cheese-Filled Mini Crescent Dogs

 Next week is March Madness, and it’s always an event in our house. We go to my husband’s friend’s house and watch basketball, eat, laugh, and play Cornhole. It’s a lot of fun and my husband and his friends have been doing it for years.
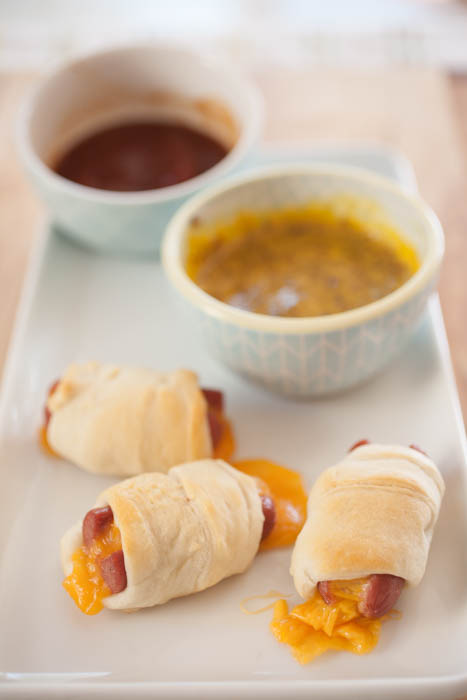
Everyone also brings food, and this year my husband came up with a great idea—to bring mini crescent dogs filled with cheese! It has everyone’s favorite game foods all in one: cheese, hot dogs, and a doughy outside. What’s best beside the taste? Like most of my recipes, they’re really quick and easy to make.
And on Monday, I’ll be posting two sweet-and-savory dipping sauces to go with these crescent dogs!
 Quick-and-Easy Game-Time Recipe
In all honesty, we were originally going to make our own pretzel dough to make pretzel dogs, but, like most people, we’re busy. We both work, we’ve have packed weekends, and there just isn’t enough time. So I’m taking a short-cut for this recipe and using ready-made crescent roll dough. Someday I promise I’ll publish a pretzel dog recipe, but for now, this recipe is perfect when you want party food fast!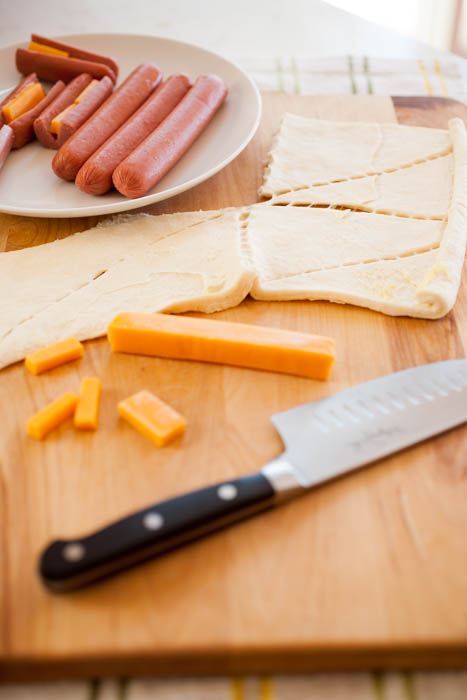
A note: For the cheese, I used sticks of cheddar versus a block. It was a lot easier to cut them that way. I cut them in half horizontally, then in half again vertically, then cut those in half vertically, then in half vertically again, and finally one more cut in half horizontally so I ended up with small pieces of cheddar, like so: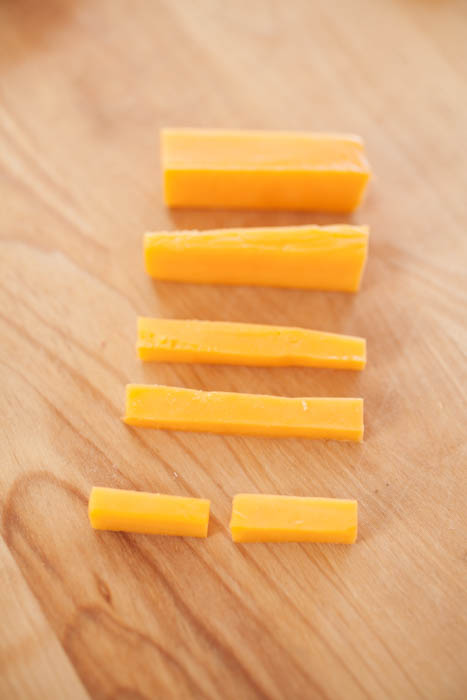
I did a bit of experimenting and, even though the difference was small, small pieces like these made for easier stuffing and rolling.
Cheese-Filled Mini Crescent Dogs
Prep time
Cook time
Total time
These cheese-filled mini crescent dogs are perfect for game-time, party time, and snack time for little hands. And they're as delicious as they are quick and easy to make!
Author: Samantha Gallegos
Recipe type: Party Food
Cuisine: American
Serves: 15
Ingredients
- 1 can of pre-made crescent dough
- 1 package of hot dogs
- 4 to 5 sticks of cheddar, or a block of cheddar (I just found sticks to be easier)
Instructions
- Preheat oven to 350° and line a baking sheet with either parchment paper or foil.
- Cut each hot dog in half, then cut through each half length-wise but do not cut all the way through. You’re trying to make a small pouch for the cheese.
- Cut the cheese sticks in half horizontally, then cut each half vertically, then vertically again, and vertically one more time, and finally horizontally, until I had small pieces of cheese.
- Stuff each cut hotdog half with two small pieces of cheese.
- Take out the pre-made crescent dough, separate the triangles and cut each triangle in half length-wise (you want two triangles).
- Stretch the crescent dough slightly, then wrap each cheese-stuffed hotdog half with a triangle, covering the open side with the longest end of the triangle.
- Place each wrapped hot dog on the baking sheet and put into the oven for about 15 minutes, or until the dough is lightly browned and the cheese is melted.
- Let cool for five minutes and serve!
And that’s it! These cheese-filled mini crescent dogs are not only perfect for game-time, but they’re perfect for party trays and fun treats for the littles in your family.
And don’t forget to check back on Monday for the dipping sauces!
‘Till next time!
Better-than-a-Restaurant Guacamole

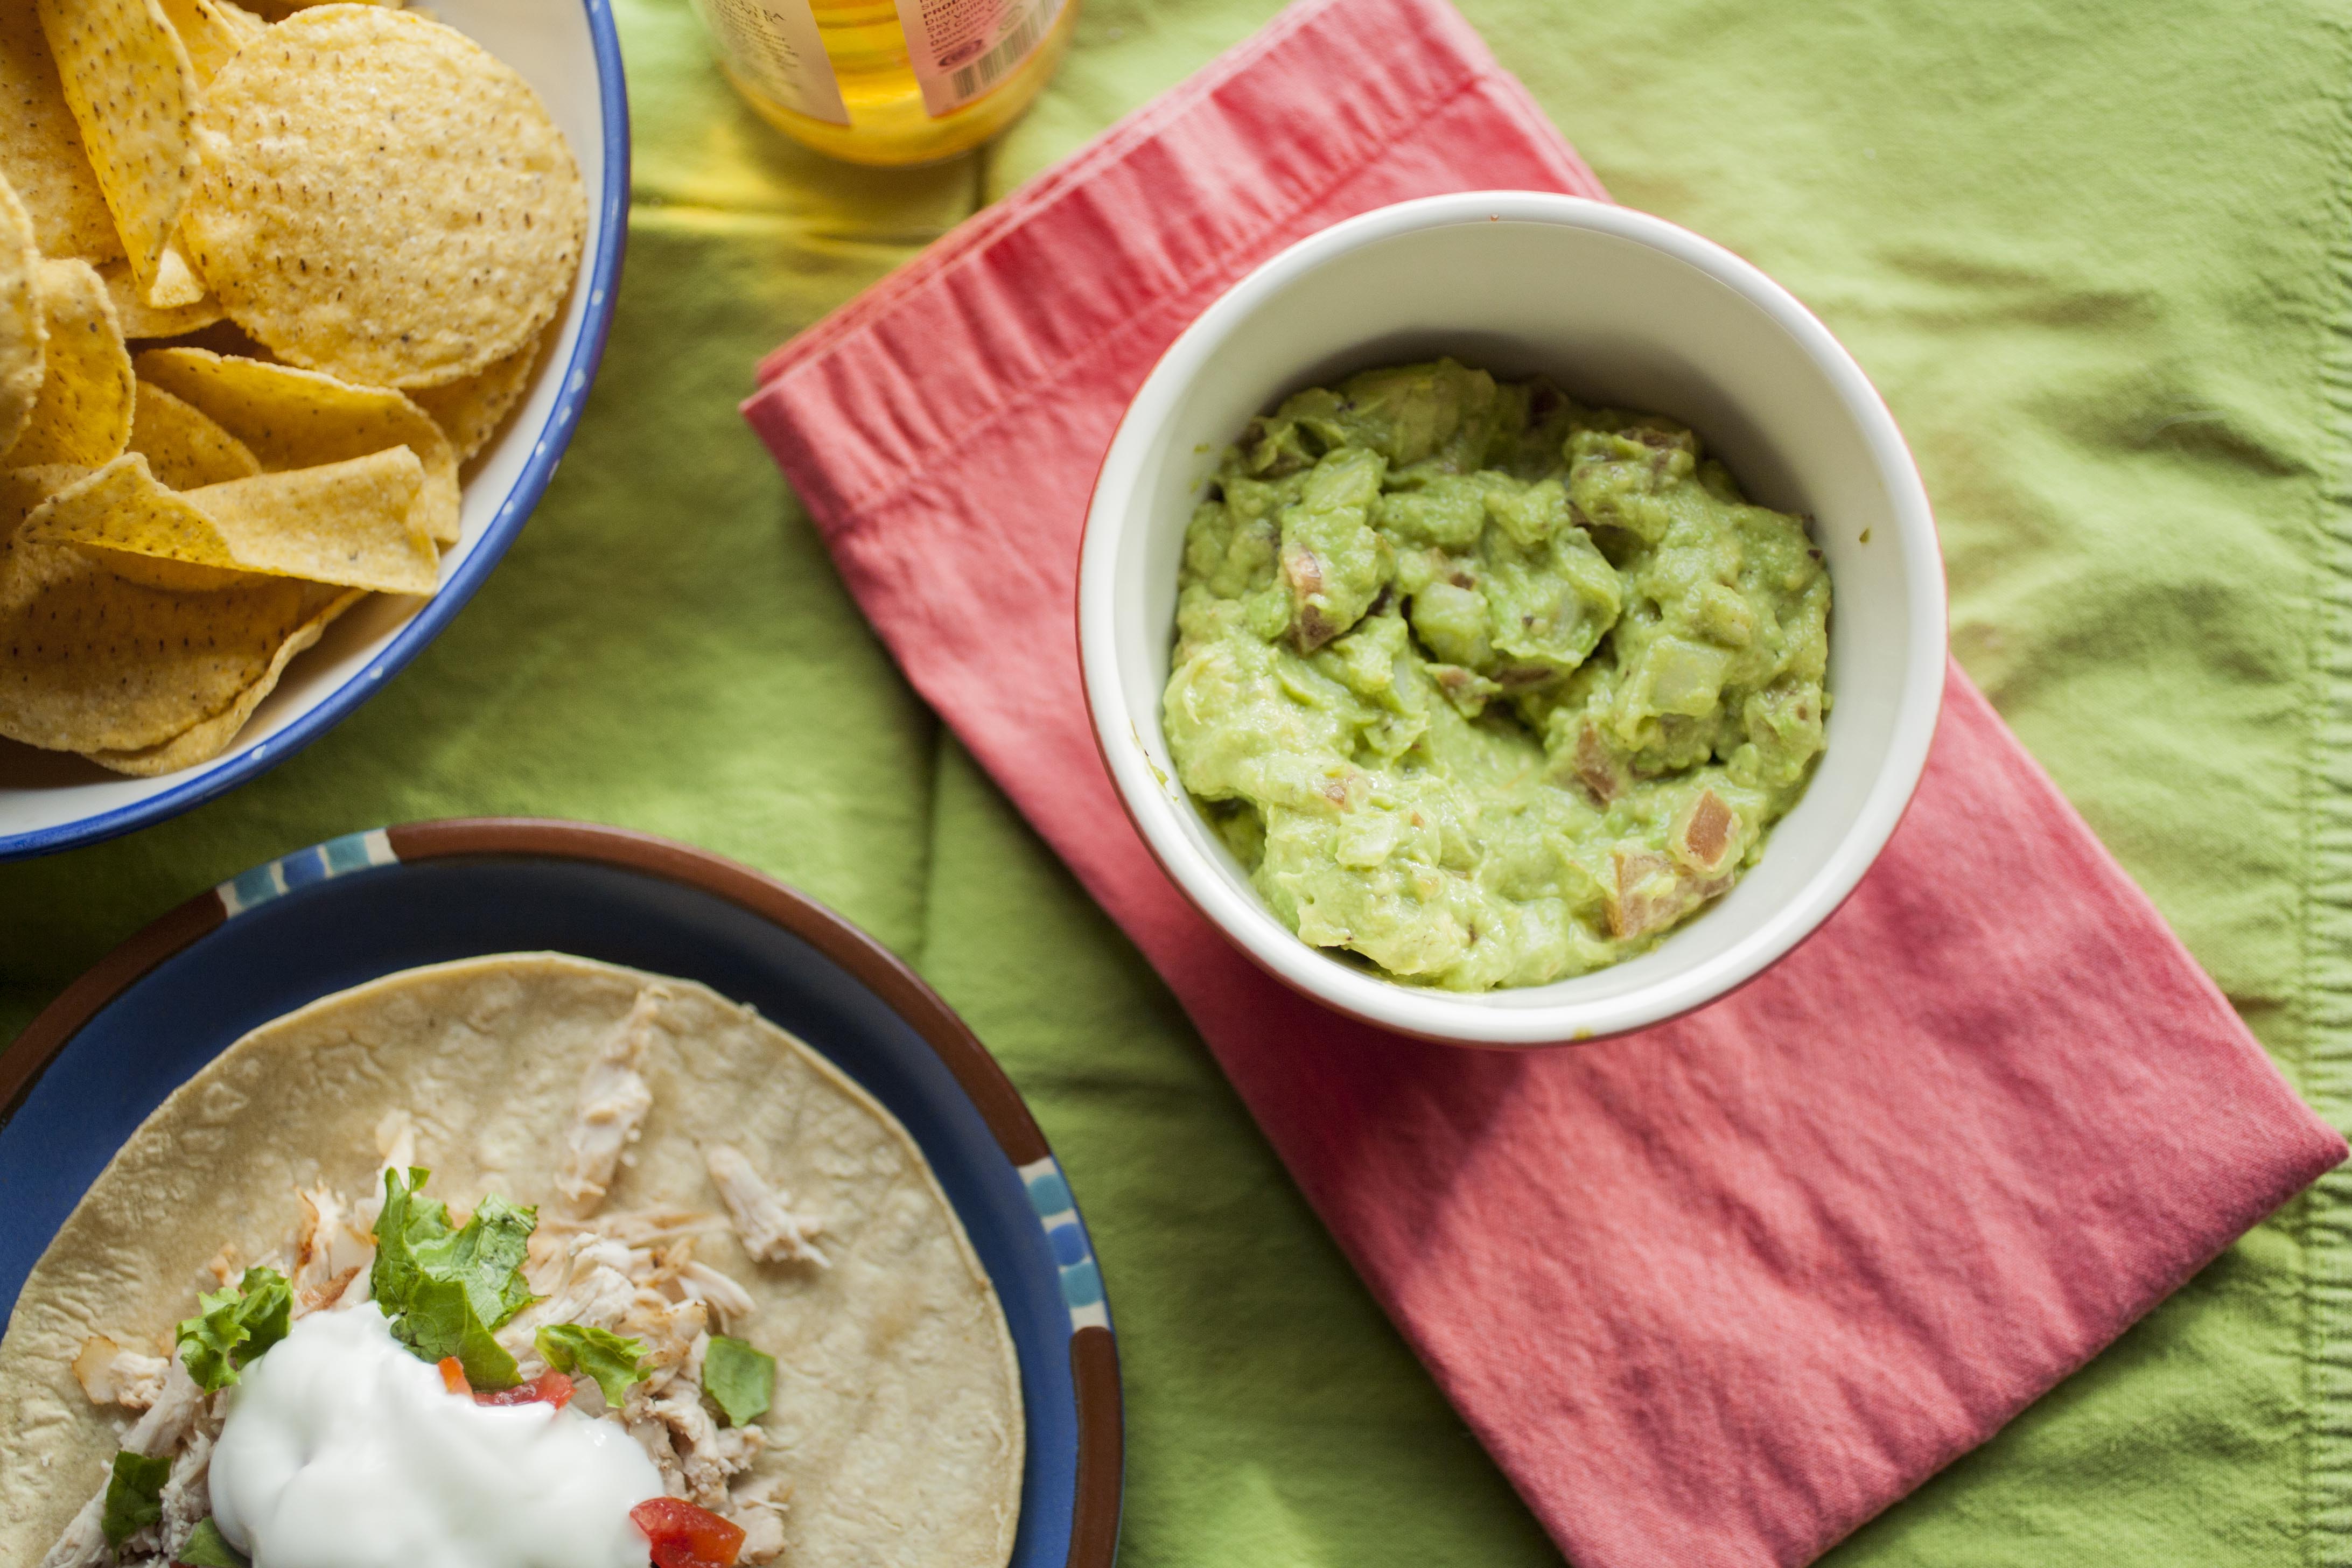 So Cinco de Mayo is coming up (can you believe May starts on Friday?!). We don’t really celebrate it because 1) it’s a Mexican holiday vs. New Mexican, and 2) I’m not the biggest fan of going out and dealing with a lot of crazy (and probably drunk) people. So yeah. But, for those who want to celebrate at home or have a party to go to (on May 5th or any other time), here is an incredible recipe for fresh, flavorful, and delicious guacamole!
…